Thursday, August 30, 2018

A Few Words about Wordless Wednesday #230 - East Wallingford


I have to be careful I don't start wanting to model East Wallingford, CT on the New Haven's Air Line. Yes, yesterday's Wordless Wednesday was yet another shot of this evolving-into-iconic location. This time, the photo is taken from the other side of the tracks, looking southeast rather than southwest, and was lensed by the inimitable Kent Cochrane.

Click here for the previous blog post on this location, including a present-day modelable industry.

As always, you can click on the image for a larger view. In addition to the Star of the photo - J-1 #3022 & 17-18 cars (love the "skyline" on these early-postwar freight trains), you can easily make out the outline of the feed mill, a shed (freight house?) that was hidden in last month's post, as well as a nondescript building and then the raised passenger station in the far background. But perhaps best of all, especially for us model railroaders, is how clear the track layout is. Nothing too complicated, and easily modelable - but a great amount of detail from this height and angle.

Super-observant folks will even notice that the saplings in the foreground have been recently cut. Could it be that ol' Kent had a handsaw with him to remove any impediment to such a great shot?

Whether you model the steam or diesel eras, you can see that this little Layout Design Element has a lot to offer - might even be ideal for an 18" by 8-10' shelf. Despite the strong temptation to model this scene though, I, for one, plan to resist - at least for now....

Thursday, August 16, 2018

A Couple Quick Bluepoint Tips

My layout focuses on operating four local freight trains and most of the turnouts over which they operate are thrown manually, just like the prototype (well, if by "prototype" you're ok with moving the switchpoints with your finger - click here for all the different ways I manually operate turnouts). By contrast, down on the Shoreline (the big mainline through Saybrook), all those turnouts are thrown by the guy in the tower manning a control board which controls a bank of Tortoise switch machines (though I'd started out with Micro-Mark's machines).

But when one of my operators suggested after a recent ops session that I provide some sort of remote control for a turnout under the Rt. 1 overpass in Saybrook, I wasn't quite sure what to do. The turnout was already installed and had been thrown using the included center-over spring (I use Micro-Engineering turnouts). I didn't want to install a Tortoise machine there, since that would be inconsistent with their use elsewhere (i.e. just on mainline turnouts), and the turnout's points would get increasingly difficult to reach as the overpass actually gets installed the scenery develops in the area.

So I decided to go back to the solution I used for the turnout at the north end of the Saybrook wye and installed a Bluepoint switch machine. But of course, given the turnout's location and the fact that it was already thoroughly installed (and ballasted!), adding a new switch machine was a bit complicated. Here's a few tips on how I did it:

The completed installation - you can just make out the turnout/points where the "#25" sign is. Yup - this turnout is in a wall, behind the backdrop, and a bridge will be going over it. No wonder somebody suggested I do something about that!

As I mentioned, I installed a Bluepoint. Fortunately, I had the foresight to have drilled a 1/4" hole under the throwbar before installing the turnout (in anticipation of powering it sometime in the future). Unfortunately, the hole wasn't quite big enough (since the throwbar actually ended up a little off-center) and I had to drill it out a bit. BE CAREFUL if you do that - otherwise you risk the drill bit going right up through your turnout! Yeah, that almost happened to me. Fortunately, all it did was rip out the center-over spring I no longer needed!

I used a regular coat hanger through a slightly-reamed-out hole in the machine for control. Note the four holes - yup, I'd mounted the machine there at first (turned 180) and then realized that the coat hanger/actuating rod would be going right through the adjacent Tortoise machine! Don't be like me. Check first.


This view shows how the actuating rod cleared - once I'd turned the machine around!
The Bluepoint installation instructions are pretty straight-forward. As I mentioned above (and in my previous install), I used a wire coathanger as an actuating rod. It was threaded through a hole drilled through the fascia and then bent into the machine. And I used a yellow wire nut for a knob.

Thankfully, it works like a charm. Now crews switching Saybrook don't have to worry about reaching this turnout - or knocking a bridge, or scenery, over in the process!

Monday, August 13, 2018

Modeling Monday: Rt. 15 Overpass - Trimming & Cleaning the Castings

If there's a downside to operations, it's that it can take up all your hobby time. Between all the paperwork, setting up, the actual session itself, and the inevitable punch list afterwards, managing an operating layout can quickly become all you do in the hobby. In fact, I've discovered that the Plywood Pacific is all-too-typical among round robin operating groups.

But there really is nothing that can compare to having your railroad operate through finished scenes - so that it looks like an actual railroad as well as it operates like one. So I've been itching to get back into some modeling with a view to making more progress on the Wethersfield area of the layout. Dave has graciously offered to help me over a major hurdle at the north end of Wethersfield - namely, the distinctive concrete abutments for the Rt. 15 overpass.

Way back in April, I finally got around to duplicating some very cool Shapeways girders my friend MikeR had made for me from prototype photos of the actual bridge. In fact, creating additional girders was my first foray into resin casting. Unfortunately, after all the excitement of successfully casting additional girders from the Shapeways masters, they've just been sitting around. But now that I may be able to solve my abutment problem, it's high time to get back to this project.

Overpass looking northbound to the Hartford/Wethersfield line. This was originally built as part of the Hartford Bypass over the Charter Oak Bridge during WWII. It allowed workers to get to Pratt & Whitney in East Hartford without having to drive through downtown Hartford. Note the distinctive steel girders.

Looking southbound from the other side, showing abutment & girder detail.

Southerly view looking at the north side of the west abutment. While my layout views only the south side, this is the most unobstructed view of these distinctive abutments nowadays.

Mockup of the overpass on my layout. View looking "north" but obviously compressed. Valley line is on the left, but instead of going over the Middlesex Turnpike on the right as the prototype does, I have the Berlin branch coming through there. Ah - the joys of selective compressing and modeler's license! The bridge itself is a Rix "Vintage Highway Overpass" which is my best guess not having a prototype photo of the original bridge. But at least I plan to get the girders right! The carved pink foam block on the left is my attempt at the abutment.

Here's how I left things after duplicating the girder masters.

To give Dave a sense of how tall the abutments would need to be, I test fit the master parts. Total height from bottom of bridge shoe to top of girder: 3 11/32".

Today's project was a baby step of progress - but progress nevertheless. Trimming and cleaning the castings.

A couple of Xacto blades (#11 to score & snap, #17 chisel to trim more closely) and a coarse sanding stick made for easy work, but it did take some time and patience..

But patience paid off - they look really good.

I'd primed the masters before (last October - yikes!), so needed to remove the paint from where I'll have to glue them. In addition to the resulting sanding dust, there was trim & sanding residue on the castings as well. A quick wash with some Dawn, water, and a brush got everything nice and clean. Now they just sit and dry. I'm trying to decide whether to paint everything first, or glue them together first before painting. Any recommendations?
It's nice to be making progress of any sort lately, but going back through some of my posts and photos I see how long this (and other) project(s) has been lingering along. I'm certainly not getting any younger, and life is short. Gotta keep moving forward. Hopefully I can get the north end of Wethersfield - if not that entire section of the layout - done by Thanksgiving! #gauntletthrown

Saturday, August 11, 2018

WW #227 & Another Reason Model Railroading is the World's Greatest Hobby

In case you didn't guess already, Wordless Wednesday #227 was supposed to be a quick few videos showing "typical Shoreline passenger trains" running through Old Saybrook. Well, video 1 and video 2 went fine. And for video 3, I figured I'd shoot at "eye level" for more realism. So far so good. Until I realized - too late - that my elbow was across the track. BOOM! The engine ran right into it and rolled over and the train stopped dead. I should have included a photo of the wreckage - it actually looked pretty realistic. Well, as much as a 1:87 scale steam locomotive does when it hits a 1:1 scale elbow(!) Thankfully, no actual damage or harm done. Except to my pride, of course. . . .

In other news.... here's reason #742 why Model Railroading is, in fact, "The World's Greatest Hobby" - you can easily adapt the skills you learn to everyday household repairs. Not only do you learn some carpentry and electrical skills (hopefully, not just enough to be dangerous), but you also can get some good practice with taping and topping. And today, I discovered another use for my handy, dandy gluing jig:

It's just the thing for gluing a picture frame back together. I just wish it was a bit bigger.

Unfortunately, that's all the "modeling" (well, the using of modeling tools anyway) that I've been able to do lately. The Missus and I got some discouraging news about her dad this past Tuesday. The skinny is that he has to go back in the hospital next week for a week and then has two months of additional treatments before the doctors can reassess. We're hoping & praying for a Christmas miracle, so your continued prayers are much appreciated as well.

Thankfully, yet another reason this is the greatest hobby is that it provides a very welcome distraction from real life and a chance to recoup and keep going. But I suppose that can really be said of any hobby. So with that in mind, the Missus and I are going to take advantage of this rainy Saturday - she to her art room and I, hopefully, to the basement.

Friday, August 3, 2018

Friday Fun? When Realism Goes Too Far . . .

Mentioning my next-door neighbor Bill in the last post reminds me of another funny story that happened a few weeks ago (click here for the first funny story - how I discovered that Bill actually used to work in the real Saybrook tower).

It's been months, literally, since my the January session, and, as typically happens with neighbors, we didn't see each other over the winter (weather) and spring (work) except to wave to each other as we passed by. But I was out working in the yard early one morning and saw him walking his dog down the street. We yelled "Hi!" to each other and, instead of letting it go at that, I put down what I was doing and met him at the end of my driveway.

After exchanging the usual pleasantries concerning the weather and general health, the conversation that followed went something like this:

Me: "So, I'll be starting up operating sessions on my layout again pretty soon - want me to keep you posted so you can join us again?"

Bill: "Um, actually, I'm not quite so sure. It's gonna sound funny, but I gotta admit - it was a little traumatic. I'm not saying I got PTSD or anything, but it was an awful lot like my old day job, with all its stress. I couldn't get it off my mind for a few days after."

Bill operated the Saybrook tower during Penn Central and Amtrak days - certainly the twilight of railroading on the Shoreline, but still on the Northeast Corridor. And he did it with equipment that hadn't been maintained much at all in an environment that was, shall we say, less than ideal (the tower was little more than an elevated shack at that point, with little - or no - amenities).

Sure, he'd operated on the prototype, but when I invited him to operate on my model railroad he was probably expecting something more like trains running around the Christmas tree, not 
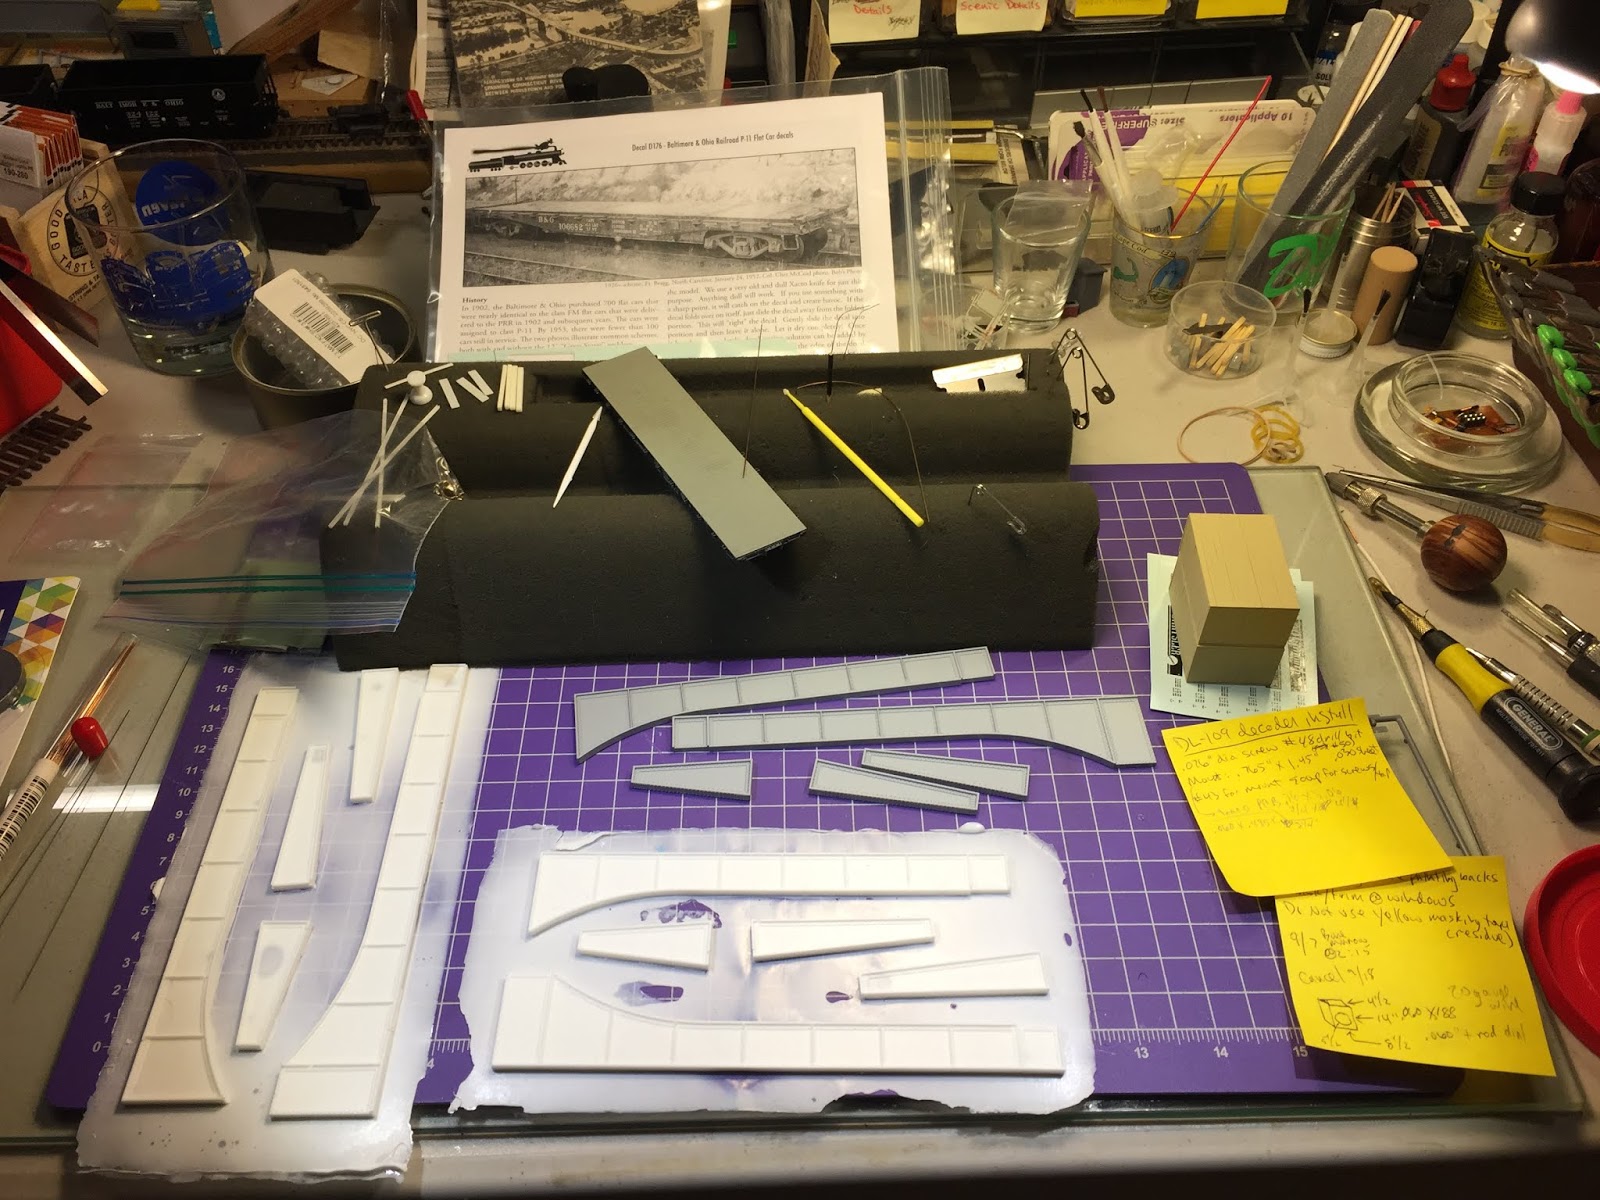
an actual late 1940s schedule of trains (71/day - and 33 during the course of the session) operated on a 4:1 fast clock!

No wonder he was a little stressed.

And therein lies (lays?) a lesson: As a prototype modeler, it may be possible to carry the realism a bit too far. We've all debated how much prototype paperwork to include in our operations, but it's clear the more you include the more it can be like actual work. And actual work isn't really what we're looking for in our hobby. I think the best balance is having just enough paperwork to convey the sense of realism - to maintain the illusion that we're operating an actual railroad - while at the same time readily jettisoning the more mundane - and often more stressful - aspects of the job that were probably the reason railroading was actually a paid job and not done just for fun.

Thankfully, even as prototype modelers, we can strike the balance between realism & fun where it suits us (and hopefully our operators) best. This is supposed to be a hobby after all. "Model Railroading is Fun" should be a fact, and not just a catchy slogan.

I did what I could to try and boil all that down and convince Bill to come back and give it another try. And I think he will at some point. But this was all a reminder that sometimes real railroaders might appreciate a change of pace from what they did for a paycheck. Remember to give them - and us - a chance to do some railroading for the sheer fun of it.

Thursday, August 2, 2018

Throwback Thursday - Ops Session: January, 2018 (a.k.a. October 4, 1948)

Typically, "Throwback Thursdays" tell you about something that happened a long time ago. Well, this one is more in the way of making up for not having posted something in the past - namely, a report on my January, 2018 ops session.

Which is really too bad, because in a lot of ways it was a banner session:
I took advantage of the new year to start a new "week" of sessions. Even though I can run 3 different eras/years (1947/1948/1949 - each with different motive power) I've been focusing my era lately on October, 1948 for the best mix of steam (still have moguls and mikes) and diesel (PAs were delivered in September, 1948 & I can use my RS-1 and RS-2). During this era, the Valley Local operated on a Monday through Saturday schedule, going to East Berlin on M/W/F and to East Haddam T/Th/Sa.

So, I figured I'd start the 2018 operations year on the first Monday in October, 1948 and, according to my handy prototype (and original) calendar, that would be October 4.


Unfortunately, as is too-often the case with ops sessions, I didn't get to take as many photos as I would have liked. Fortunately, other attendees were able to fill in some gaps.


Calm before the storm. Saybrook Junction, 8:36am Monday, October 4, 1948. There's one car on the bulk track, and cars waiting on tracks 5 & 7 for the eastbound and west/northbound Shoreline local freights.

Husband/Wife duo Mike & Mel operating PDX-1, the eastbound Shoreline local. They've worked the Saybrook house & bulk tracks (tracks 10 and 8, respectively) and crossed over the double-track main and are now working tracks 5 & 7. BillS looking on, enjoys a break from operating one of the many eastbound Shoreline passenger trains to New London/Boston.
Overview of Saybrook Jct and PDX-1 working the swap tracks.
James works the Air Line local in Somerset while Mel looks on.

A special treat this session was that Bill-from-next-door, who actually operated the real Saybrook tower before it was closed (and which I didn't even know until we delivered Christmas cookies one year, but that's another story...), agreed to operate my model of Saybrook tower, including the model board. He thought it captured his job pretty accurately, despite the fact that I have easy-to-throw toggles controlling the switches rather than the unwieldy Armstrong levers he had to deal with. His insights and stories, one of which he's probably relating in this photo, were a highlight of the evening.

Mike R, who developed the spreadsheet I use for freight car forwarding, operated PDX-2 - a.k.a. the westbound Shoreline local, a.k.a. The Haddam Local. Here he is switching cars in Essex.

The last of the four local freights, The Valley Local, was ably operated by Kaylee Zheng, who appears here to be working Rocky Hill/Dividend. James is working Middletown on the Air Line local.

While the local freights are out of the way on the branchlines doing their thing, the Shoreline continues its parade of 71 trains per day. Here's a westbound through Saybrook sometime during the late afternoon.
Ah, a late, Indian Summer afternoon in October, 1948, sitting down by the station, watching the parade of trains going by. Could there be anything sweeter?

That feeling is what I'm trying to capture on this layout. Sure, I need to do a LOT more scenery and build/install a lot more structures in order to complete the illusion. But, thanks to Mike, Mel, Mike, Bill, James, Bill, and Kaylee, operating the trains, the layout comes to life for a few hours every month (or so) and, with the use of a little imagination, we can all enjoy a nice trip back in time.

Wednesday, August 1, 2018

Wordless Wednesday #226 - New Power

PDX-2? a.k.a. The Haddam Local, northbound along the Middlesex Turnpike near the Essex/Deep River town line.