Saturday, November 26, 2022

On Giving Thanks and Making Trees


I think that I shall never see
A poem lovely as a tree.

A tree whose hungry mouth is prest
Against the earth’s sweet flowing breast;

A tree that looks at God all day,
And lifts her leafy arms to pray;

A tree that may in Summer wear
A nest of robins in her hair;

Upon whose bosom snow has lain;
Who intimately lives with rain.

Poems are made by fools like me,
But only God can make a tree.

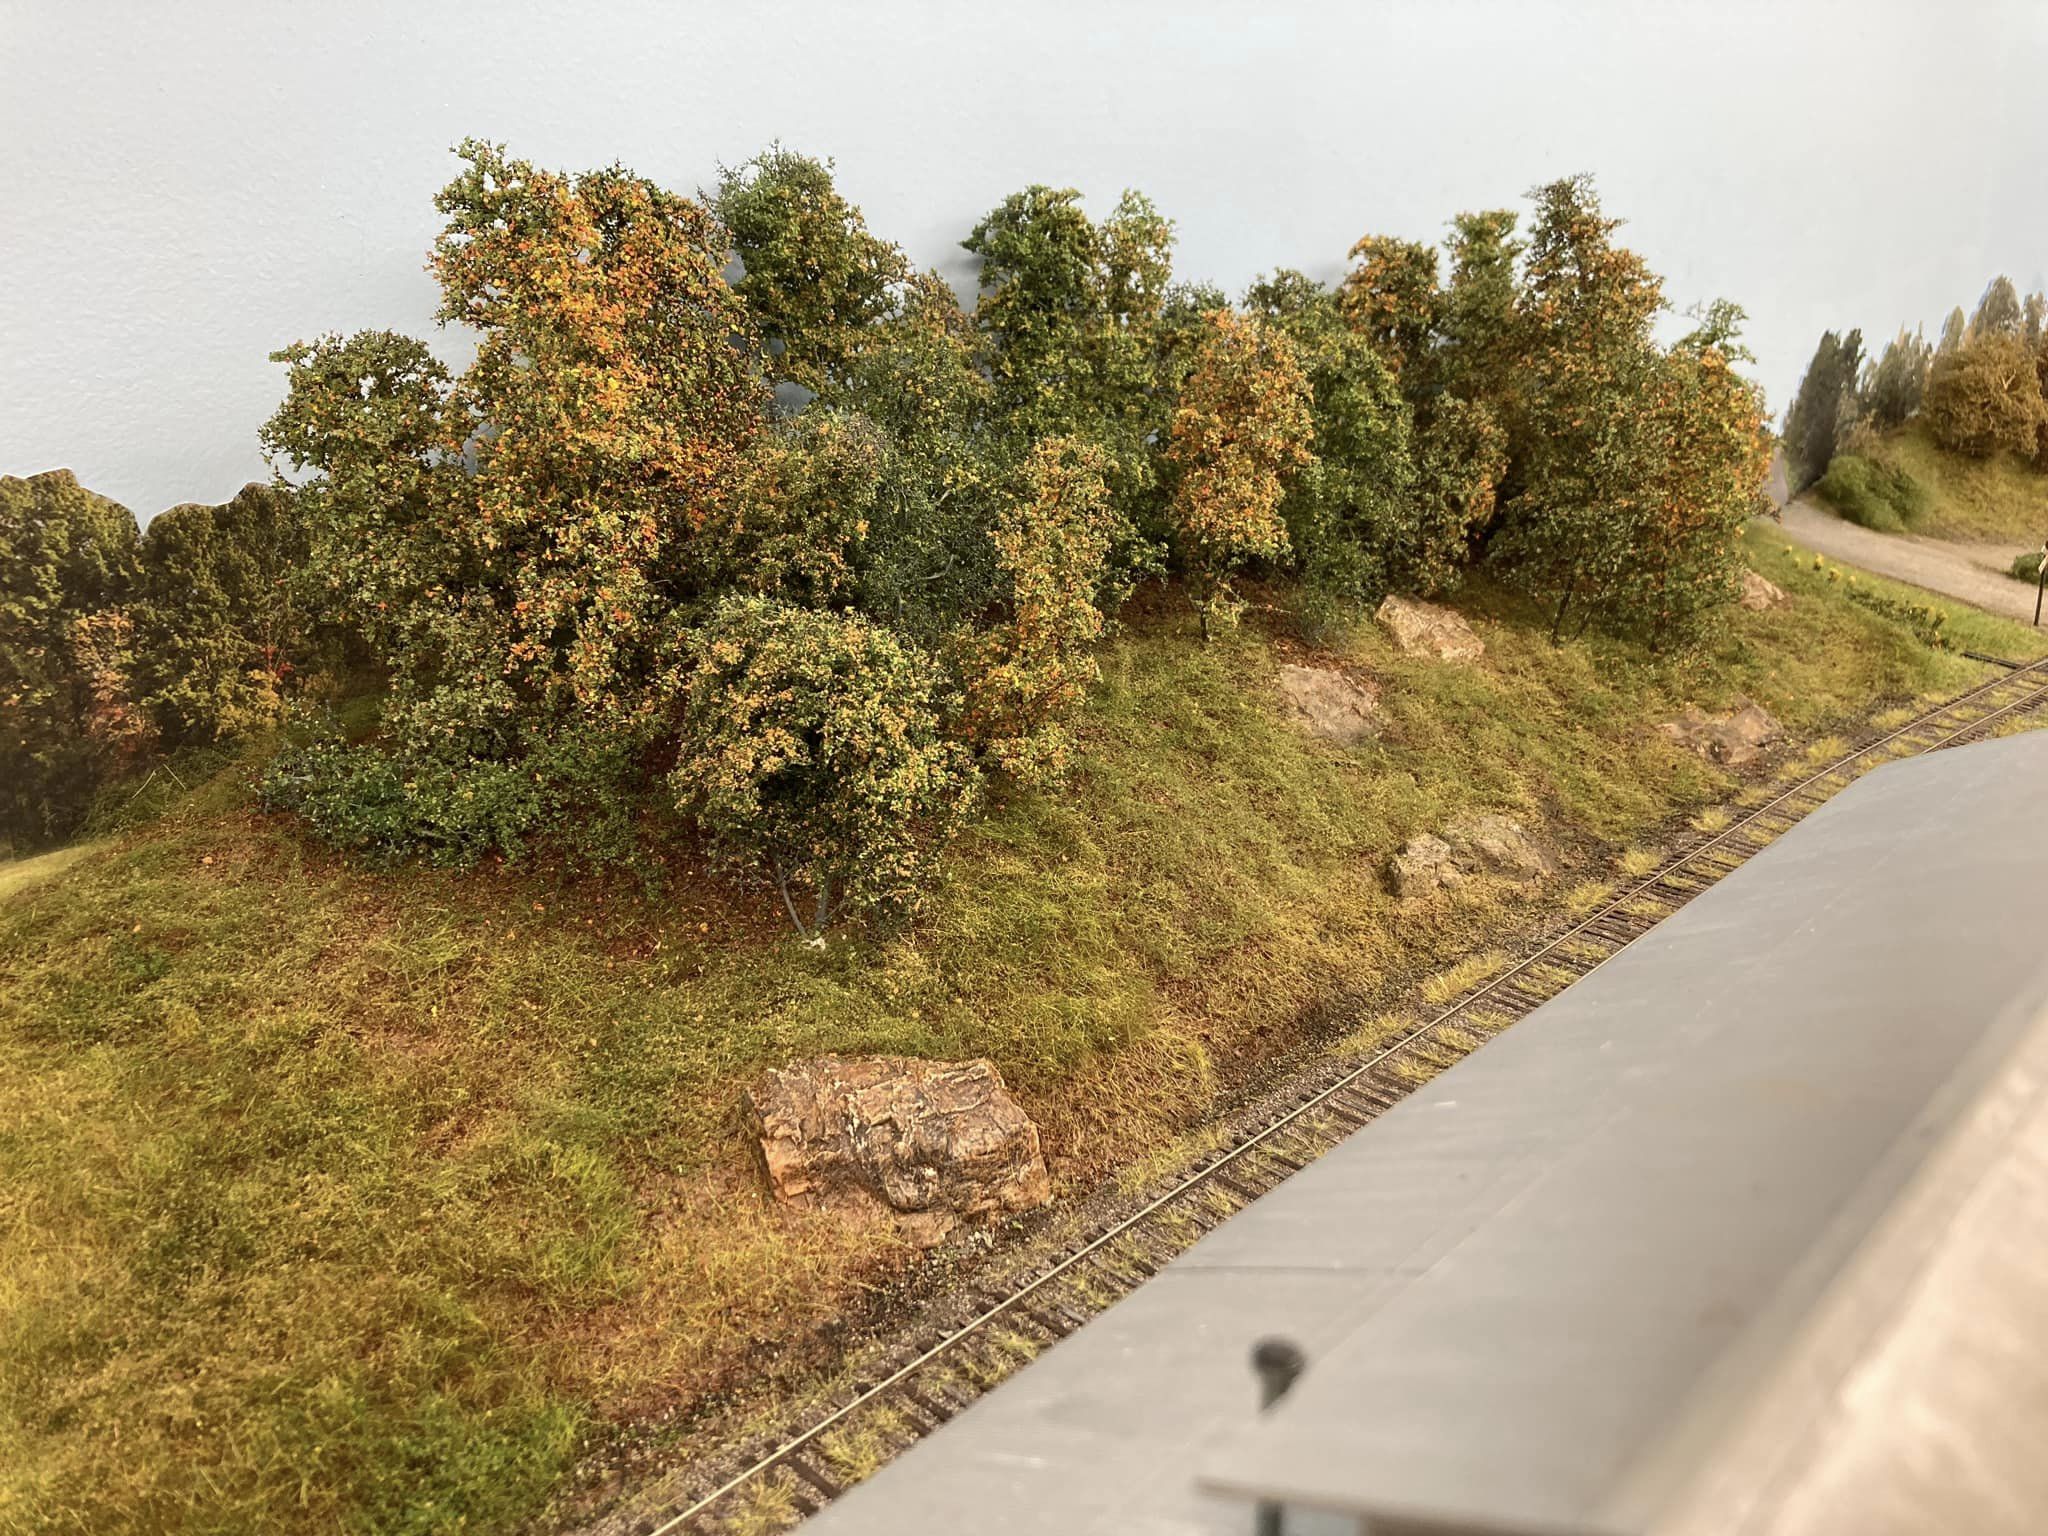
You've likely heard - and perhaps even participated - in the debate of whether model railroading is art. But have you ever thought of it as worship or contemplation?

After being sick all this past week, and almost missing Thanksgiving entirely, I woke up this morning feeling much better and noticed the beautiful sunrise from my back deck. The mood was enhanced by some nice seasonal music playing in the background (do yourself a favor and check out this song in particular). I couldn't help but try and capture it in the photograph above and the scene reminded me of the poem by Joyce Kilmer - " . . . only God can make a tree."


I think any time we engage in any creative endeavor, whether it be music, painting, dance, sculpture, or any of the arts - any time we create something for the purity of it itself - we are affirming our innate humanness and participating with God in Creation. While we can never be God, I believe our creative endeavors are reflections of the Imago Dei in our lives.

In this respect, our attempts at creating miniature worlds are echoes of our true identity as humans. We are born creators and while our attempts can never be any more than a mere reflections of the real world, I believe that the process of creating that world can itself be a contemplative exercise, affirming our humanity and providing an oasis in the midst of troubling times.

Is it any wonder, then, that a creative hobby can be so calming and restorative? And I think doing it can sometimes be an act of thanksgiving, thanking our Creator for the privilege of being able to participate in creation, in even a small way.

I've spent the past couple of Sunday afternoons dipping my toe in the deep end of this pool, trying my best to make some trees . . .

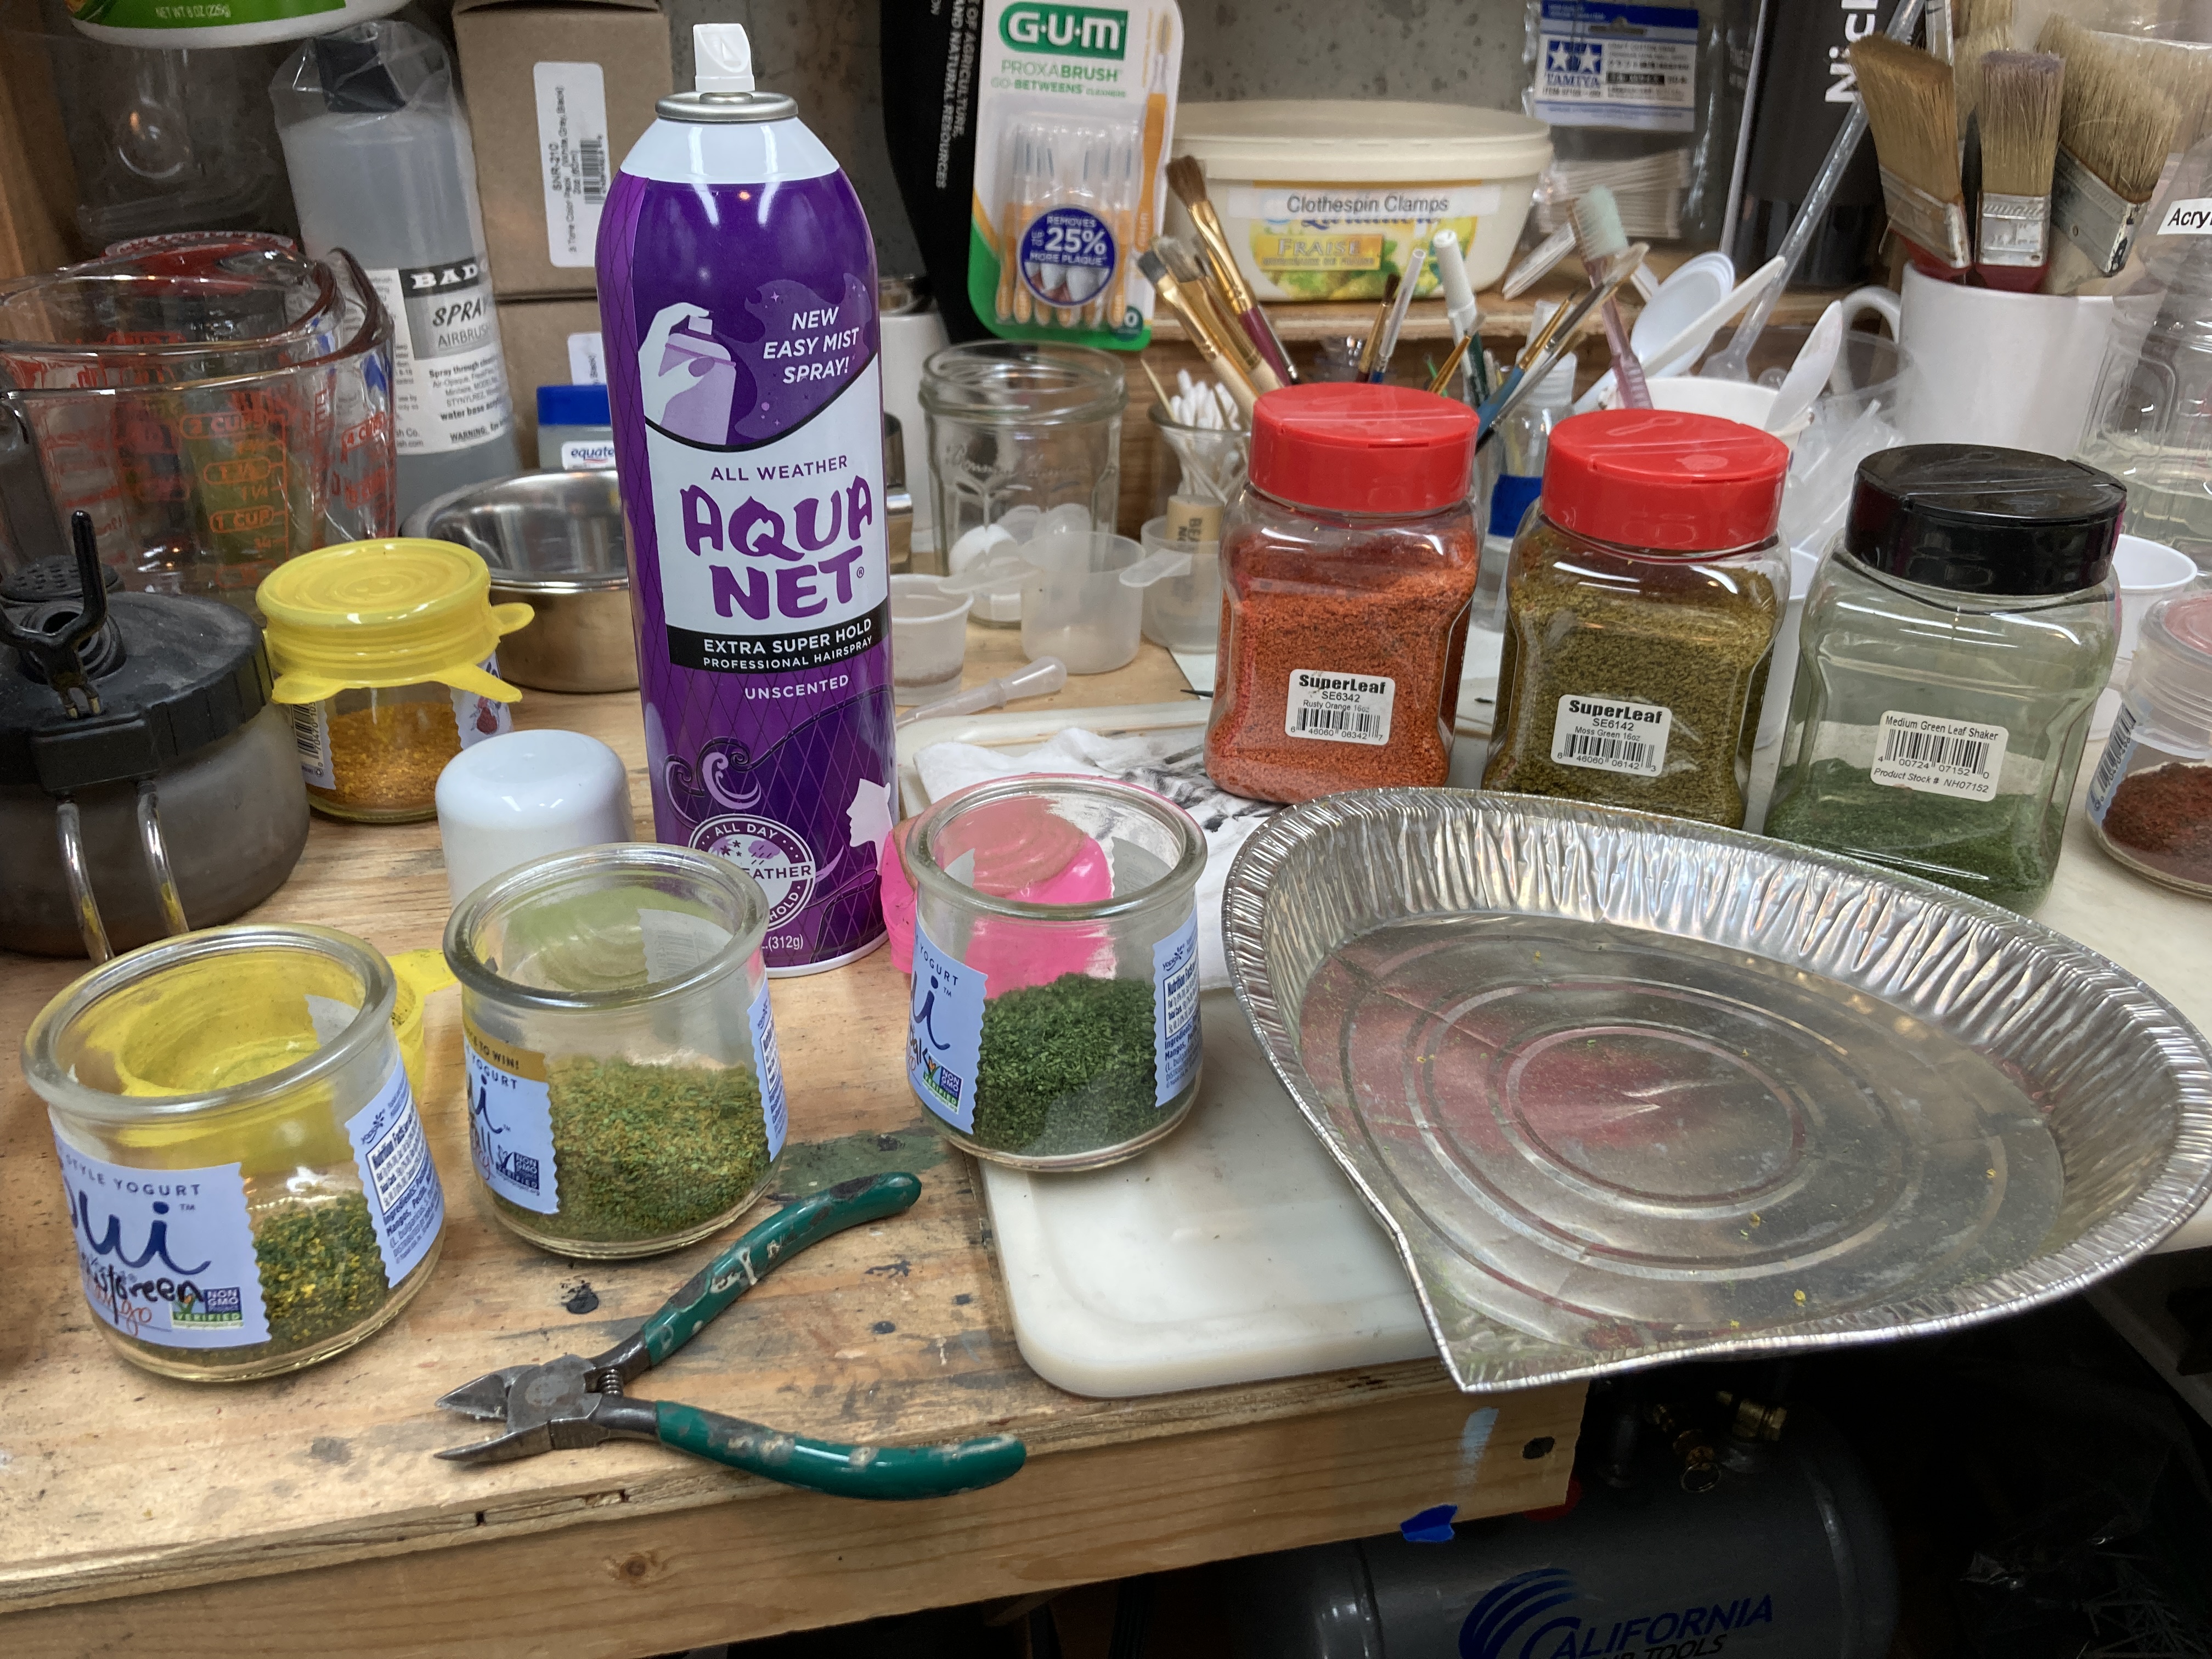
I started with armatures from Scenic Express, separating them into separate "trees" and spray painting them a medium gray color. When I was young, I always colored trees brown - but, turns out, they're often mostly shades of gray.

While the instructions recommend soaking the armatures in matte medium, I'm following the path many others have taken and am using hairspray (the cheapest, firmest hold you can get) to affix the "leaves" (various colors of flocking) to the armatures. I heavily spray the armature, then sprinkle the flocking over an old pie pan, which I then use to pour the excess flocking back into the container it came from.

It's a slow process - it took me an entire afternoon to do the trees you see above - but hopefully I'll get faster with practice.

But the results are definitely worth the time.

That's another thing I'm learning as I do more scenery on the layout: the time it takes often results in a better product, and the process itself can put you in a better, calmer, more contemplative frame of mind.

This Thanksgiving season, I hope you'll have a little extra time to spend working on your layouts - or doing whatever hobby you're in the mood for. And if you do, I hope you'll reflect on how blessed we are that, no matter what our level of skill or ability, we're able to create something that can bring us joy and maybe even a little peace.


From our home to yours, we wish you, your families and friends, a blessed Thanksgiving and holiday season.

Wednesday, November 9, 2022

Continuing B&M #1109 - Radiator Screen/Louvers & Air/Signal Hoses

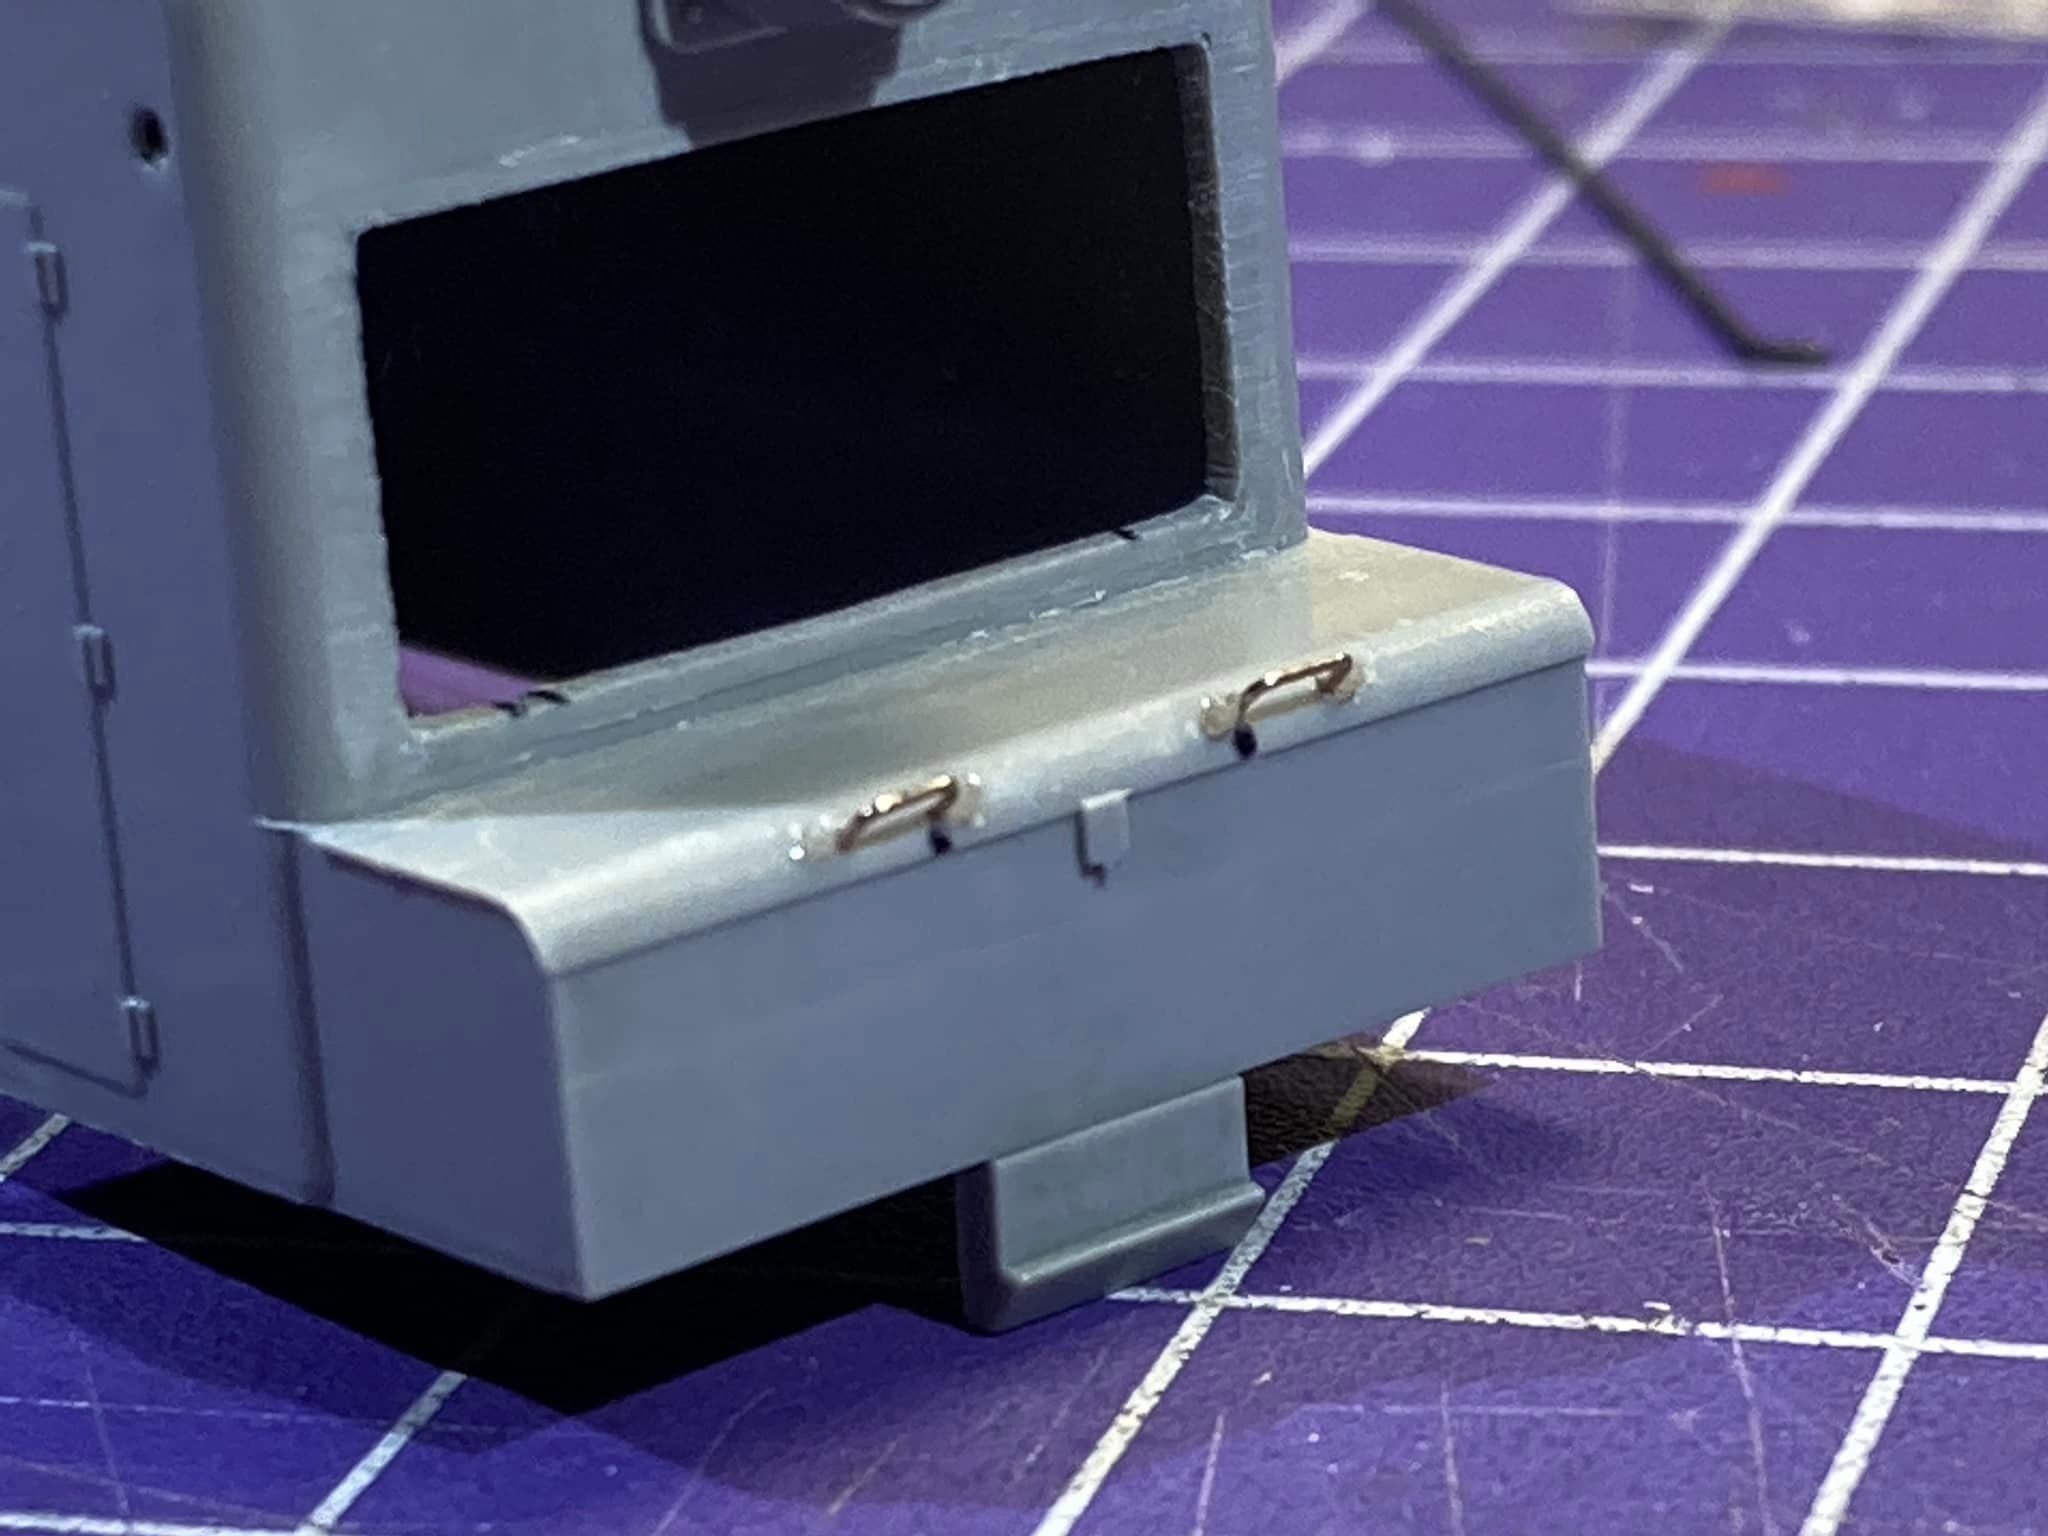
As you may have noticed from this week's "Wordless Wednesday," I stopped by the Railroad Museum of New England (RMNE) recently to get some additional detail photos of the 1109. I was also curious to get some measurements of the sandbox grabs to see where exactly they're mounted. In my last post on this unit, I mentioned that I'd eyeballed the location of these grabs from a head-on prototype photo. Turns out, the grabs are 7" between the centerline of each leg, and the outer leg is mounted 24" from the edge of the sandbox.

I'm happy - and pretty surprised - to be able to report that I'm within an inch of all the locations/dimensions! But if you ever want to add these grabs to this model, use the actual measurements provided above.

With that inspiration fueling my motivation, I spent another nice Wednesday evening with the AML Chat group making some more progress.


I started by gluing in the louvers from the KV Models "EMD SW1 Basic Detail Set" to the inside of the shell (only later being reminded by Ralph "The Mudfather" Renzetti that I should've waited to glue this in after painting the shell). I'd prepainted the parts themselves a dark gray so they'd show up in contrast to the black body and I also bent the louvers at a 45 degree angle to open things up for a "see through" effect and also let more of the sound out.


I next glued the frame/screen to the outside of the shell. I'd laminated these two parts together with CA earlier and also prepainted them with a dark gray. Note the sandbox grabs mentioned at the beginning of the post. Here's another view...


Other than adding the horn and bell, this completes the detailing of the body shell. I next turned my attention to detailing the pilots.


As you can see on this pic of sister unit 1110, all that you need to add to the model are air and signal hoses. Here's a closer view . . .


I think the Boston & Maine first used these units for switching passenger cars at Boston's North Station - thus the presence of signal hoses in addition to the normal brake line air hoses (though a B&M expert will hopefully correct me if I'm mistaken).


I used a thumbtack/pushpin to create dimples to keep my drill bit from wandering, and located them based on the prototype photo. I used a drill bit in a pinvise to create a deeper dimple, and then used a larger bit in my Dremel (speed regulated with a foot pedal) to drill out the holes. The pilot/frame of the Walthers model is metal, but it's a soft metal so it isn't too difficult to drill.


One thing to keep in mind on these units is to make sure the hoses on the rear of the unit are located on the engineer's side. This is opposite what you think would be the "normal" position for air hoses, but it ensures that the engineer can see the brakeman operating the hoses.

With that, I think this engine is finally ready for primer and paint(!) I'm going to set it aside for a bit and then give it One Final Review to make sure I haven't forgotten anything, details, etc. Assuming I haven't, it looks like the B&M 1109 will be ready for service very soon!


Wordless Wednesday #416


Monday, November 7, 2022

Modeling Monday: More Progress on the Dickinson Witch Hazel Coal Dump


In my last post, I mentioned that the next major step on the coal dump would be painting. Well, that may not be the case...

I did finally finish installing the rail clips and NBW castings and added compromise bars (Code 55 to Code 70) at the end that'll connect to the rest of the siding . . .


But now I'm reviewing various plans on how to construct a walkway along the side of the track. I'm not certain the prototype had one and the east/far side of the track was at grade, so it may not have needed one.

There certainly isn't one now, but this photo has me suspecting there may have been a walkway at one time. I've highlighted what might be the last remaining support if one existed. Click on the image to enlarge.

I may try to get over to see it in person to investigate further. If it looks like there had been other such supports (with remaining tell-tale evidence of having been cut/torched off, for example), then I'll add a walkway. But otherwise, and unless I get other evidence there was one, I won't bother adding it. This whole thing is going to be right at the edge of the layout adjacent to a narrow aisle and as cool as the extra detail of a walkway and railing would be, it'd also be very susceptible to the occasional stray elbow.

Whether or not a walkway existed, such research and investigation is a big part of the fun of the hobby for me and other prototype modelers. We just have to make sure it doesn't end up totally swallowing all of our modeling time!

Sunday, November 6, 2022

General Layout Update - An SW1, A Coal Trestle, and Some Scenery

As I mentioned in my last post, I was a little surprised to realize I haven't done a substantive post on the layout/projects since the end of August. And if you don't follow the Valley Local Group on Facebook (and, let's be honest, why would you want to get on FB during an election season anyway), you may not realize that I've actually made some decent progress these past couple of months.

So by way of catching you up - and by way of my documenting that progress - here's what I've been up to:

B&M SW1 #1109

If I'm a devoted New Haven prototype modeler, why am I doing a Boston & Maine SW1? If you don't know - and are curious - click here for the story.

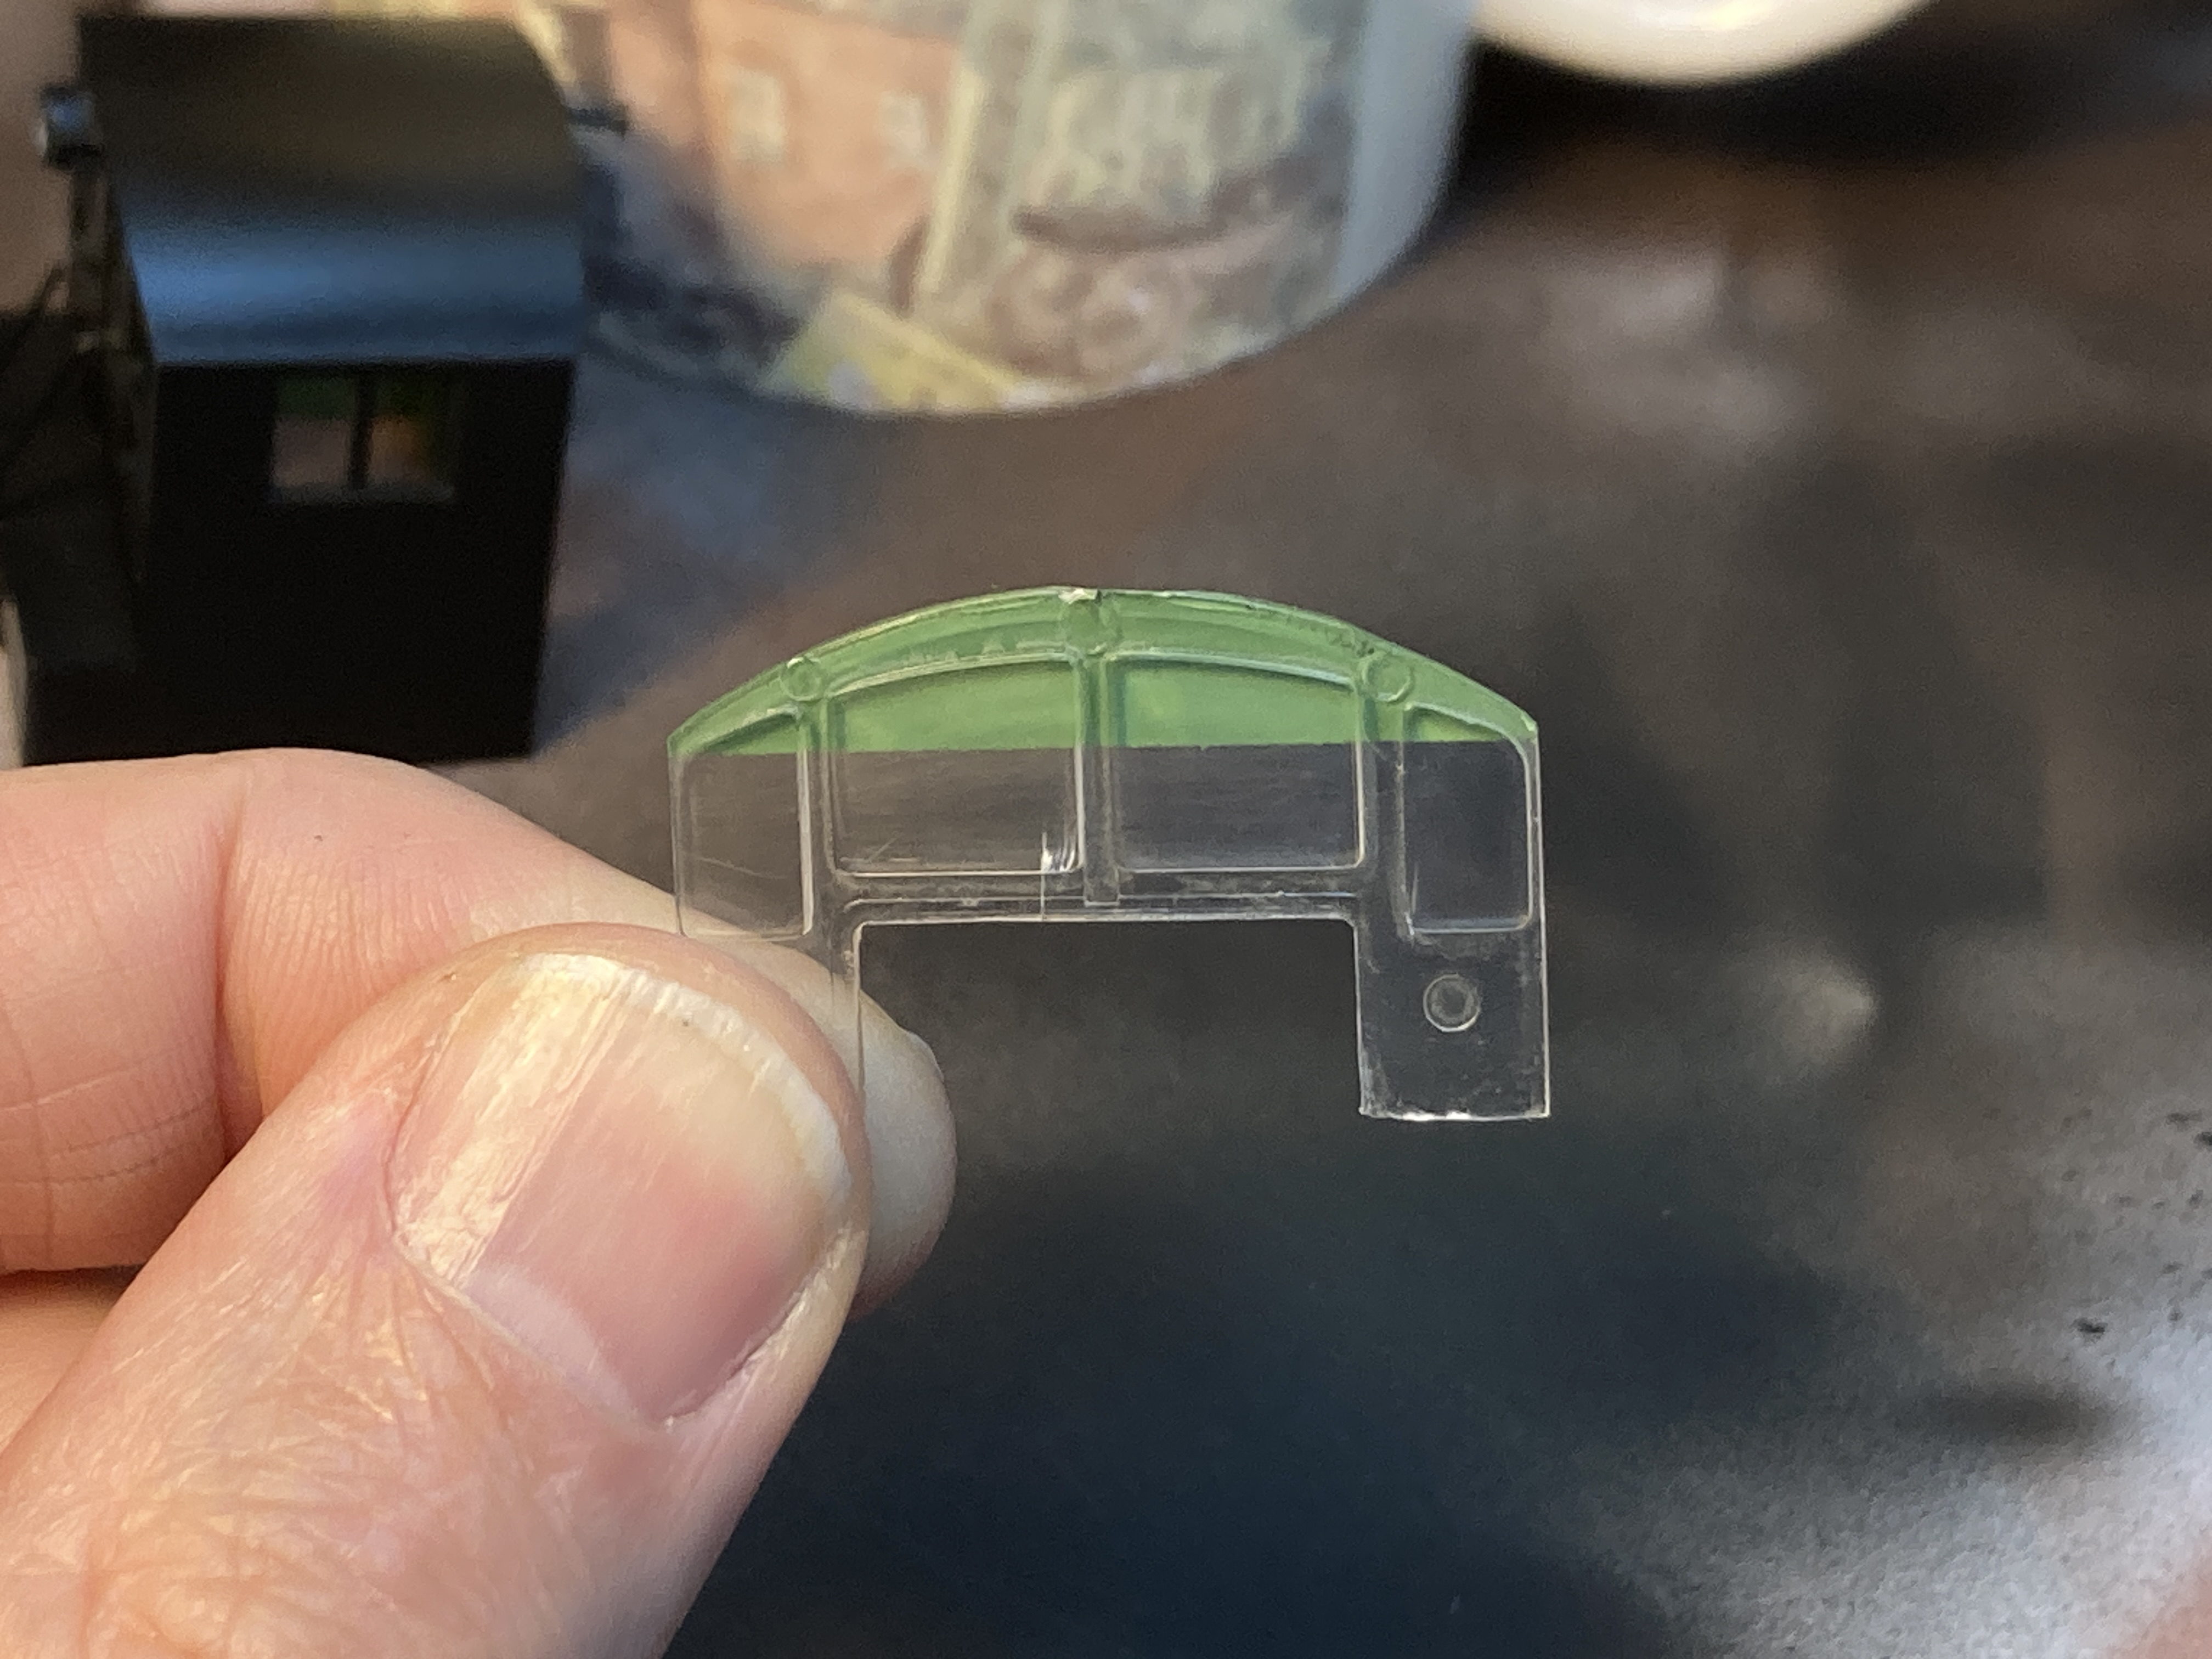
The last time I posted about the 1109, I'd just finished disassembling and stripping it. Since then, I chiseled off all the door handles & lift rings, and added some additional detail - including my first-ever foray into stainless steel details.


The Walthers model I'm using didn't have any molded-on grabs, thankfully. Unlike the P1k RS-2, they don't supply any NBW detail, but they do provide some dimples to help locate the holes. In the photo above, I've added the hood grabs and removed the radiator screen from the body shell. The plan is to replace it with the KV Models stainless steel parts you see here. I also removed the bell casting and filled in the hole.


Strangely, not only does the model not include grabs on the sandbox, but there are no locator dimples either. I used a dead-on head shot of the prototype, as well as some engine diagrams, to help me locate and size the grabs. Here they are installed, along with NBW detail added.


Here's a view of the rear of the cab with grabs added - also a nice view of the door handles I'm using.


This is where things stand at the moment... All of the door handles were replaced (I'll install the front two after decaling), the lift rings were replaced with finer detailed parts, and I reinstalled the stock handrail.

Next step will likely be to install the radiator screen (which has three separate parts to laminate(!)) and then primer. Oh! And I have to add pilot detail as well (coupler lift bars, air & signal hoses). Also want to see what ChrisZ has cooked up for a suitable replacement horn (there's no Leslie A-125 in HO scale that I know of).

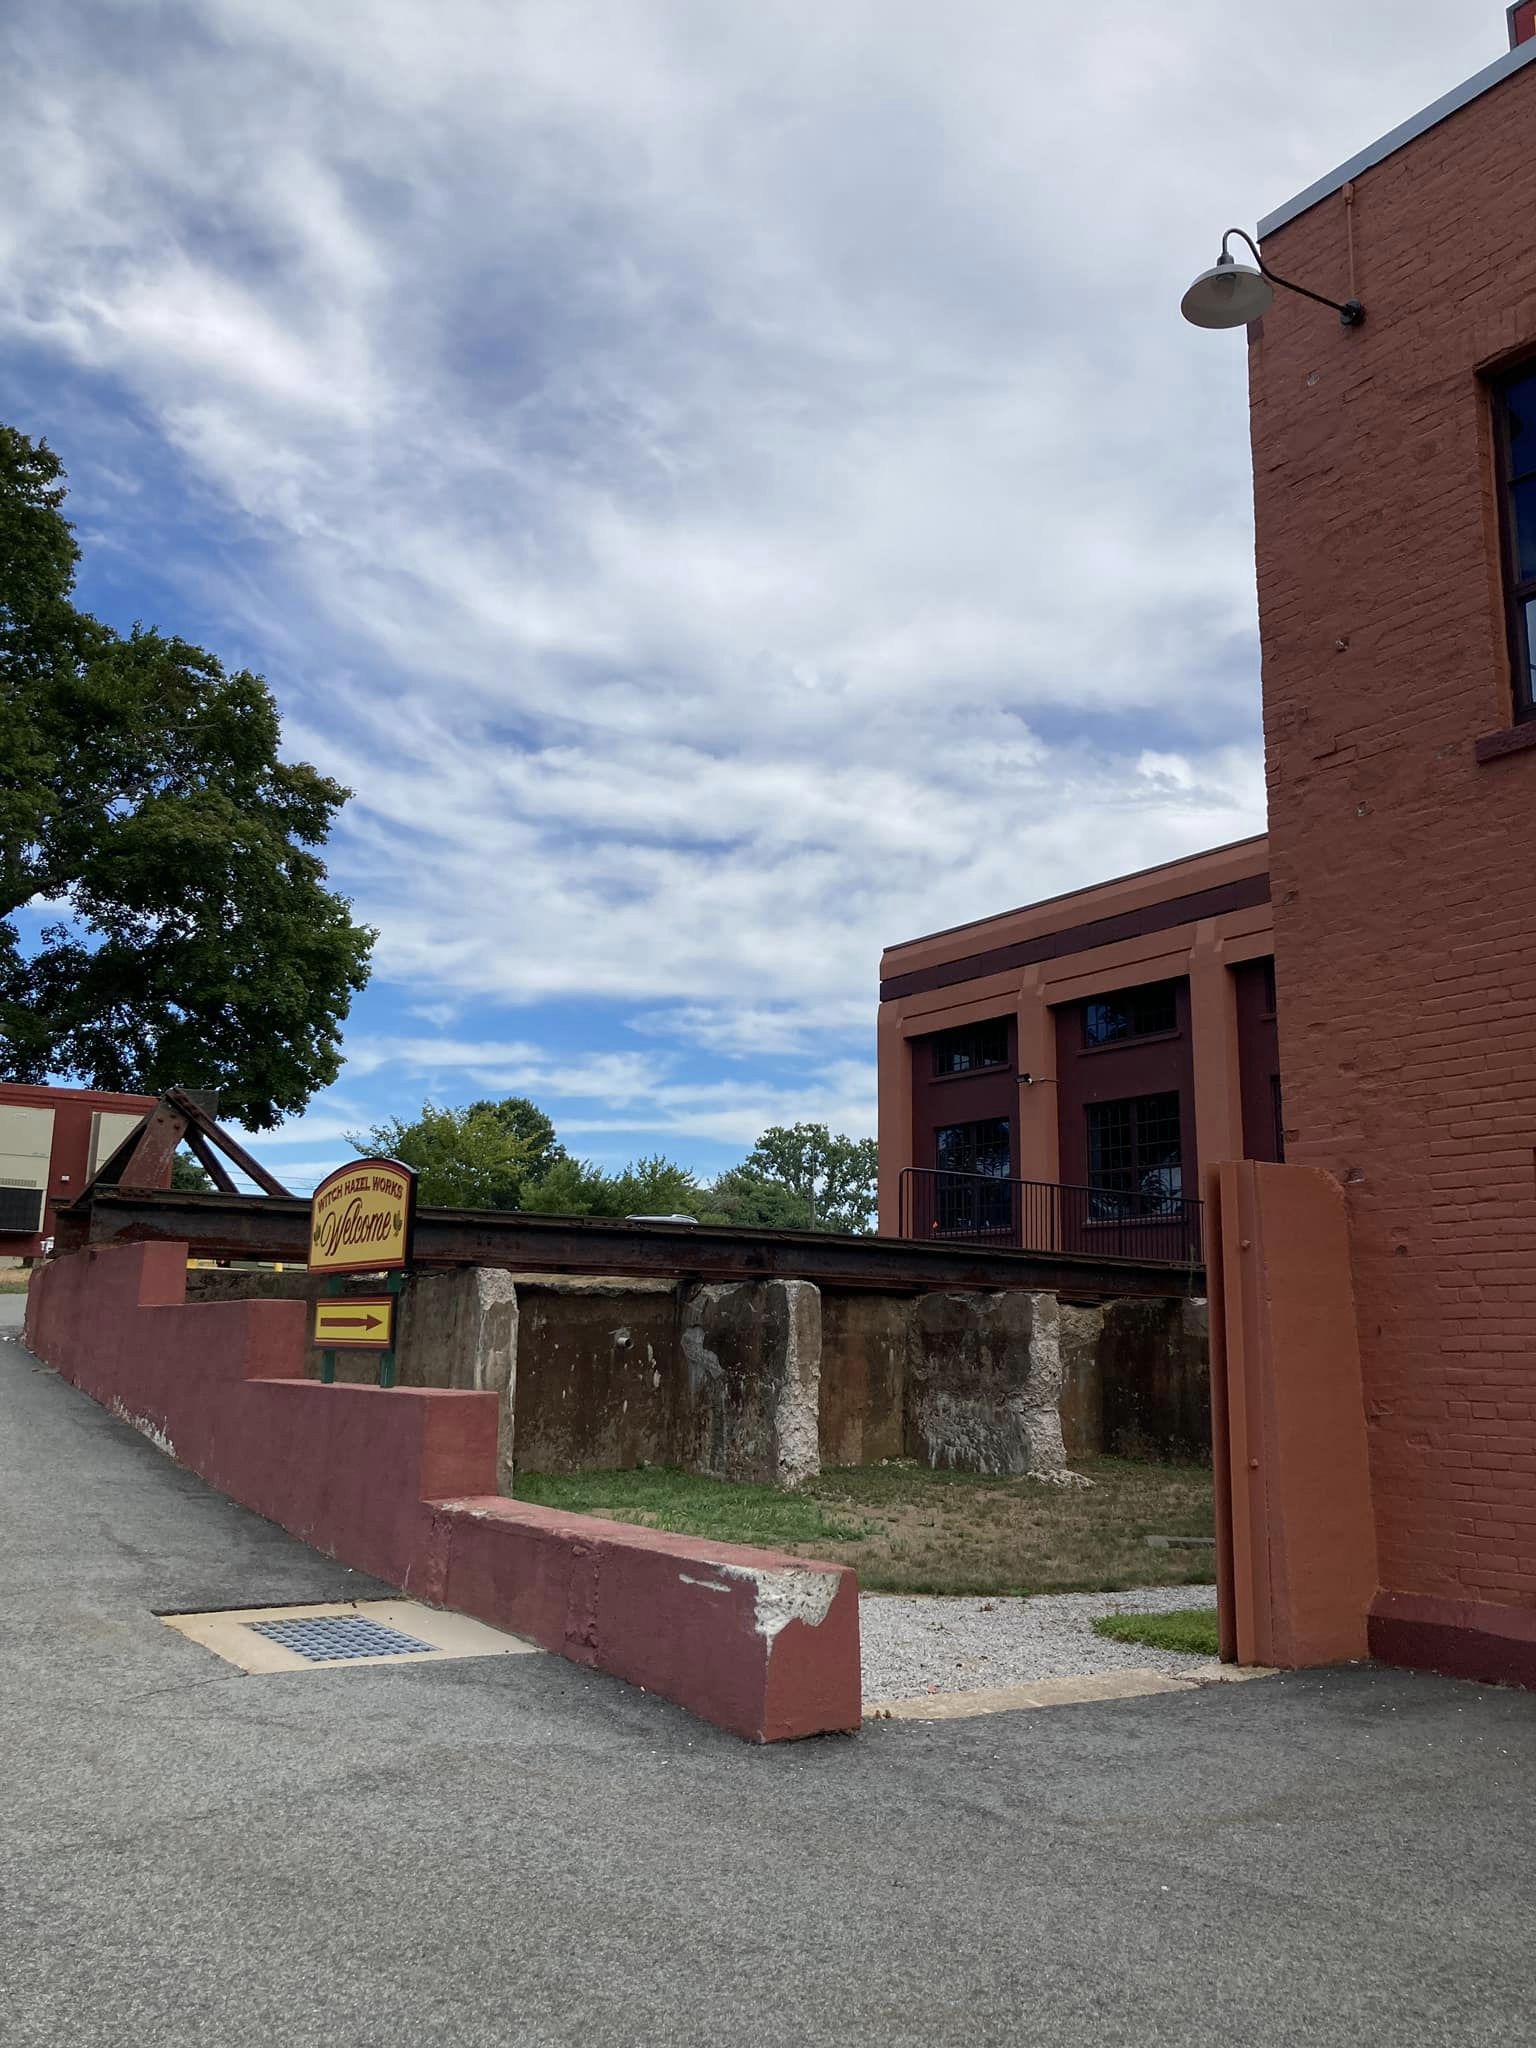
Dickinson Witch Hazel Power Plant Coal Dump

Sometimes the best thing for keeping up your layout motivation is to work on what you're actually in the mood to work on. I'd been getting pretty intense at the bench with the SW1, so as I was driving home from work one day, I decided to make a quick stop in Essex for some inspiration. I got it in the form of the old coal dump at Dickinson's. . .


On my layout, this portion of the Dickinson complex (which includes the distillery, thus the need for coal to fire the boilers) is literally right at the aisle. . .


Above is a mockup of the area, with the fascia removed in anticipation of . . .


. . . creating the pit and terraforming the area.


I decided early on that the pit itself, as well as the piers and track, would be best built at the bench (move over 1109!). The pic above shows the start, with the track dry-fit in place: foam base, foamcore walls/piers, and Code 55 rail CA'd to a support structure of I-beams, resting on steel plates.


As you may have noticed from the prototype pics, the real rails are attached to the I-beams with small plates of steel, bolted in place. The pic above shows 1/2 of the 120 of them that I needed(!)


And the pic above shows the start of my adding NBW castings, per the prototype. Yes, these first had to be cut off the mounting pins - no way was I going to drill 120 holes to mount them in. They're just glued in place. Unfortunately, I'd already added them on the inside of the rail before realizing that they wouldn't clear wheel flanges on such small rail.

So that's where the coal dump project stands. Next step is to remove the remainder of NBWs from inside the rail that didn't already get knocked off(!). I'll likely replace them with drops of CA to at least represent "something" there (rivet/NBW - the viewer will decide :^) Then I think it'll be time for painting, final assembly, and placing on the layout!

SCENERY!

Yes, with a little help from my friends, I've even had the temerity to dive into a bit of scenery over the past bunch of weeks.

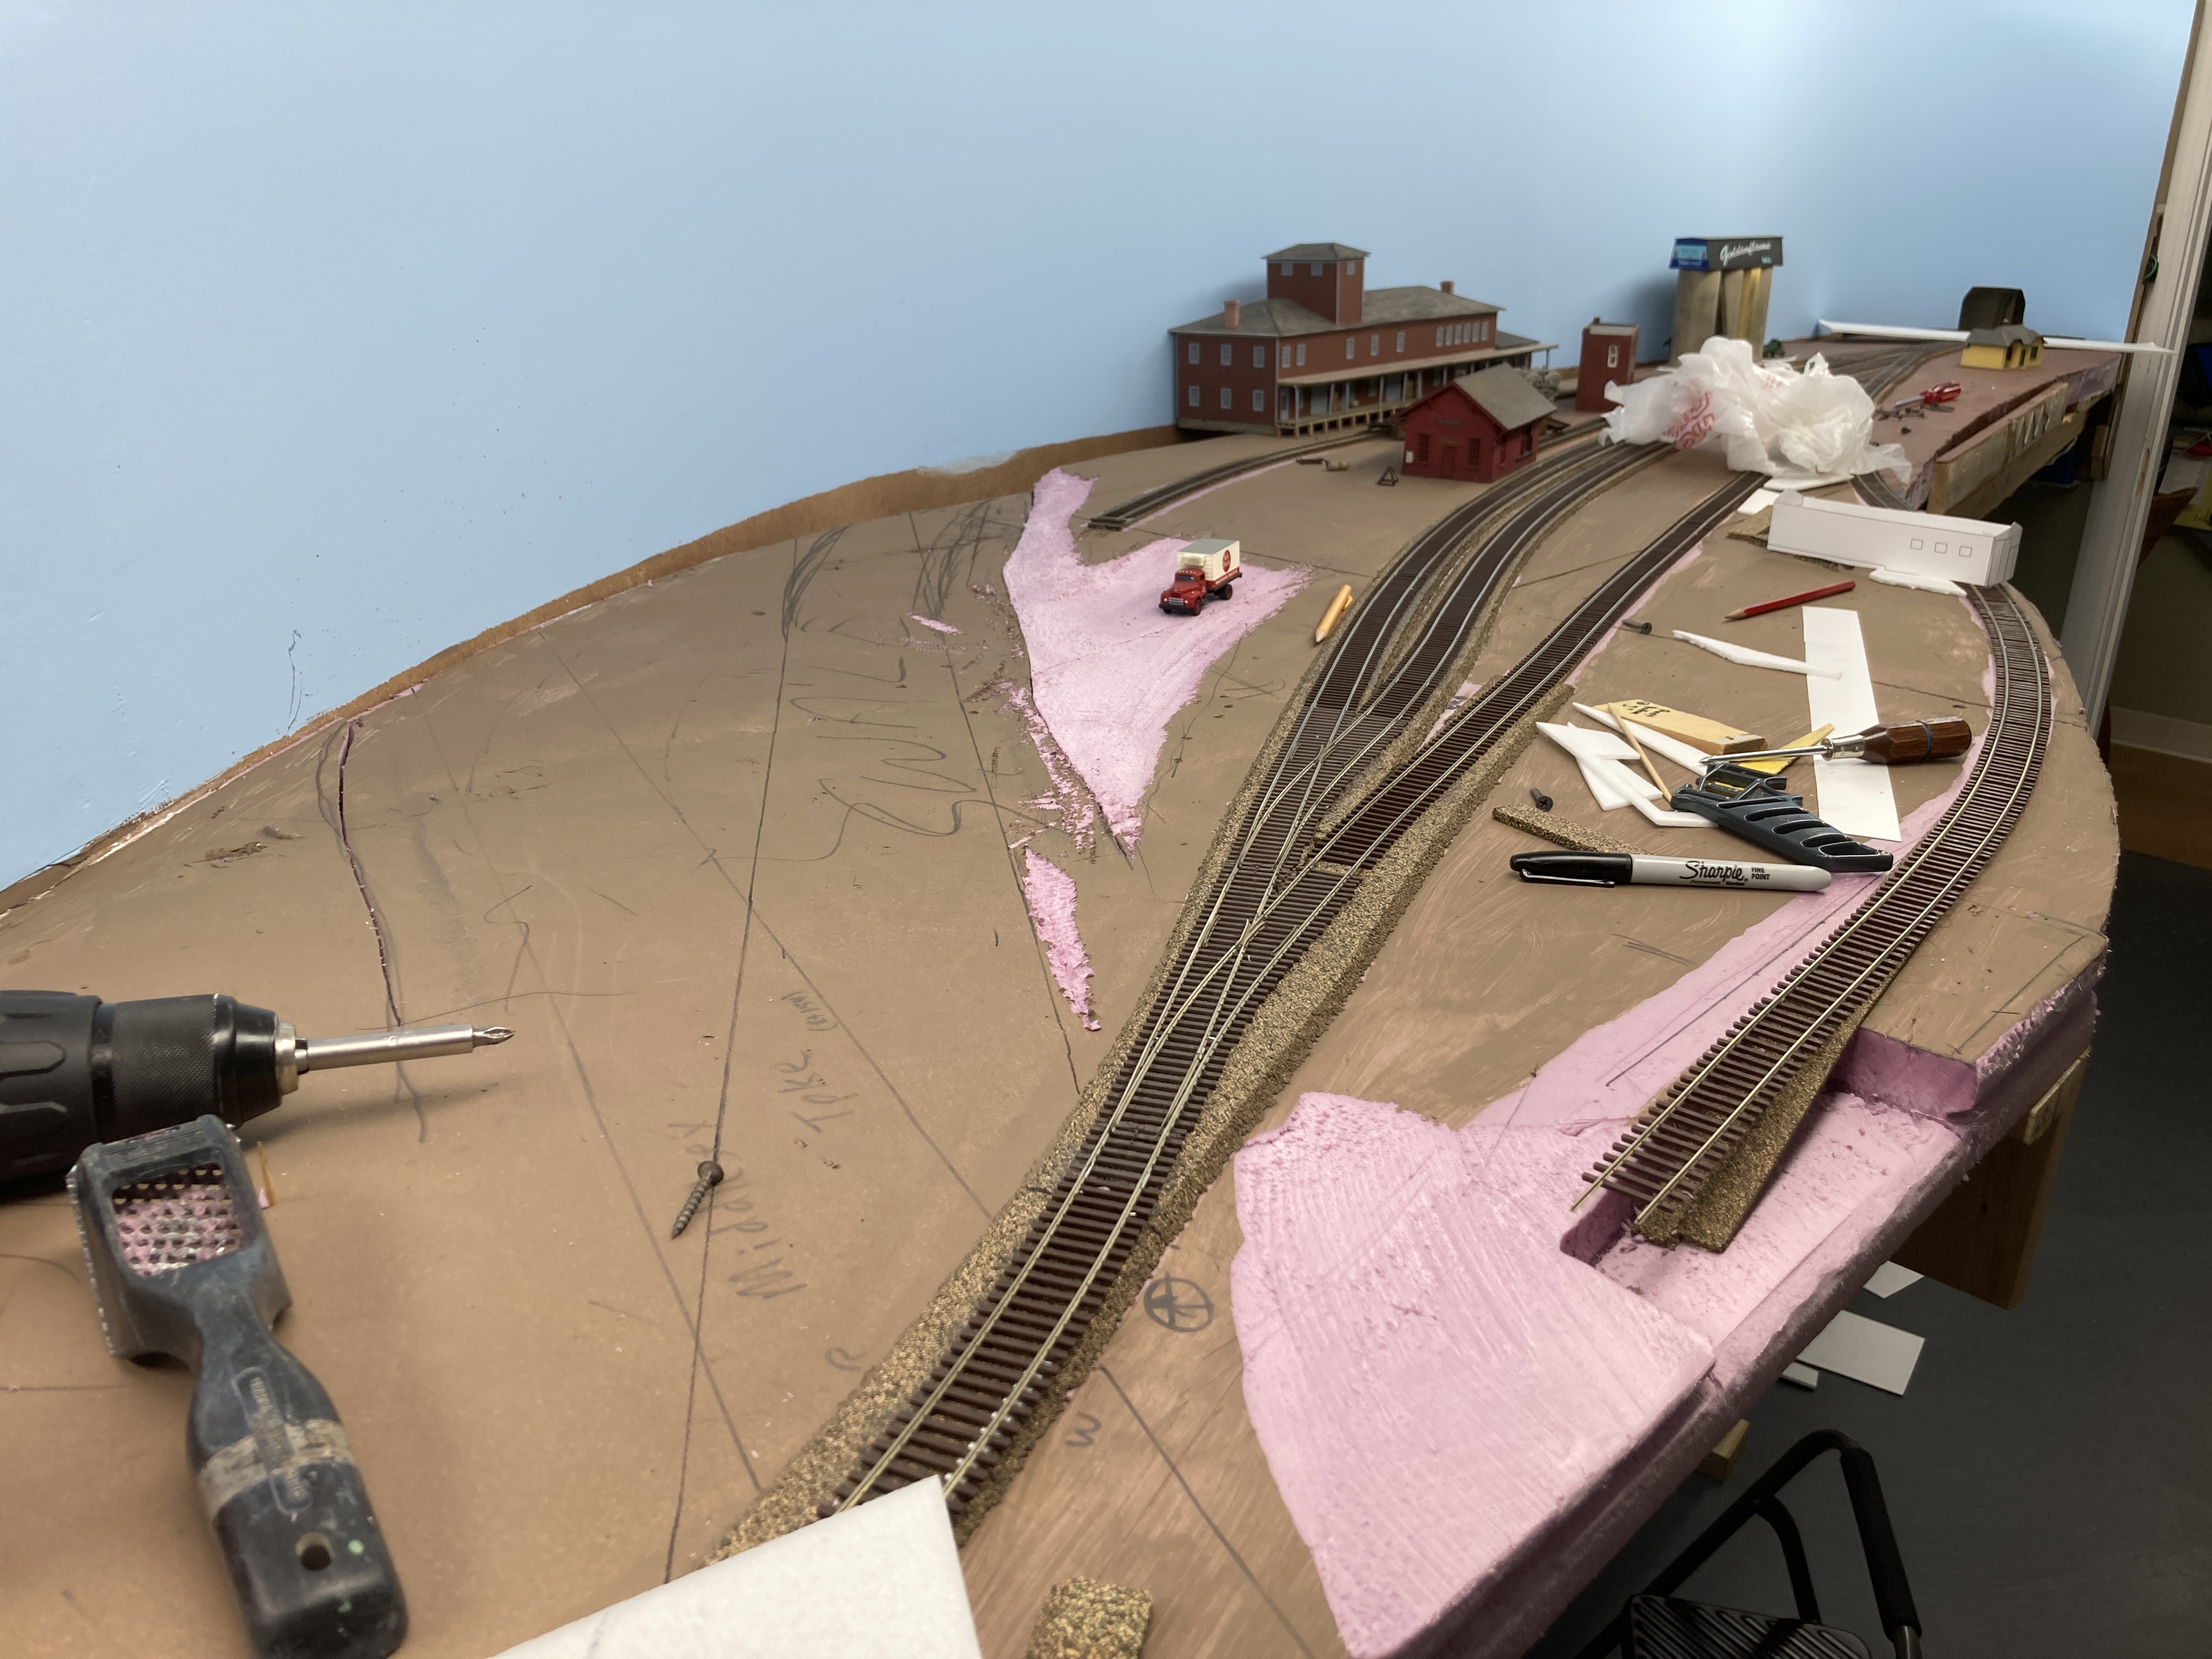
Believe it or not, the photo above is of "scenery." Well, the foamboard version of it anyway. Long-time readers may remember that I'm not much of a fan of foam base for scenery, preferring the naturally-occurring contours that result from traditional cardboard lattice & plaster cloth. But Essex is fairly flat, so it made sense to use foamboard here - but I needed help figuring out how to add the undulations. Thankfully, Bill (who, IIRC, uses foam board exclusively) agreed to come over and help me create the mess that is foamboard terraforming.

What you see above was "all" that was needed - lower the board where the road will go and rasp down the contours to match.

I'm still not sold on foamboard construction, especially when stuff like the above is necessary. Yup - that's one of the joists (actually, they're more like slats under a bedspring) that had to be cut in order to allow the board to be lowered enough. Everything went back together fine with wood glue, screws, and some PL300, but I'm glad this was the only area needing such surgery.


Needing a break from foam dust, and having a rare opportunity to have Jim Dufour visit to provide some training wheels while I get my scenery balance, I decided to tackle this area between Rocky Hill & Dividend. As you can see above, I only had basic ground cover done here - static grass, chopped up leaves, and rock castings added over my usual ground goop, plaster cloth, and cardboard lattice.

With Jim helping me think through how I wanted things to look here - and then providing advice on what materials to try to get the effects I was after - we were able to transform the above scene to this:


We focused only on the space between the tracks and the backdrop, adding the following in order:
  • Assorted talus, ballast, and cinders in the ditch along the track
  • Fine ground foam and dirt on the top of the rock castings
  • Random patches of static grass to break up the line between the grass that was there and the ground-up leaves
  • Various colors of fine ground foam on the leaves to provide the additional color & texture of "undergrowth"
  • Polyfiber, stretched as thin as possible, adhered in place with hairspray, and fine ground foam added on top (with more hairspray) to represent the brambles & thick growth leading to the treeline
  • Supertrees, rattle-can sprayed gray, and various colors of SuperLeaf material added with hairspray to get a "late September/early October" look. The season I'm modeling is early Autumn - before peak color, just as the leaves are starting to turn (IMO, nobody is more effective at modeling peak color as Marty McGuirk - and I don't intend to try :^)
I don't mind saying I'm pretty happy with how it turned out. It really looks to me like all the trackside hillsides I see around here.


One of the coolest things about it though is that it stands up really well even under close scrutiny . . .

Now, if I can just remember how I achieved this effect, I can replicate it at the south end of Dividend - along the hillside & cut that provides the scenic divide between Dividend and Cromwell.

And that, my friends, is a great reminder of why I'm going to double-down on maintaining this blog. How else am I going to be able to archive what's worked - and what hasn't - and be able to refer back to it and jog my memory? Hopefully you'll weigh in if you see me headed for disaster - or have some advice/guidance on how to do something better, or even a new technique to try.

In the meantime, I hope you've enjoyed this update as much as I've had fun putting it together. It's neat to see that, despite how I sometimes feel about the pace, I *am* making progress. Thanks for following along!