Thursday, January 31, 2019

Throwback Thursday - More Dirt & Goop

Way back when last we left the Fernwood Street area of Wethersfield, I'd just finished dumping in a lot of ground goop and was vacillating a bit out the road/sidewalks. Most importantly, I'd discovered that the area where the street was going to be was pretty well sagged. Then, after a few days of leaving my structure mockups in place, I discovered this:


You can easily see what happens when you leave something on top of ground goop that hasn't thoroughly dried. But it ended up being no problem. It did eventually dry and - bonus! - I had some nice indications where things needed to go.

Considering the terrain dip, critical path was to level out the street area. For that, I decided on a thick piece of masonite, smooth on both sides.


The masonite was cut wide enough to provide a flat area for both the street and sidewalks.


And in the photo above, you can see the street mockup laid over the masonite. Also, note the track covering in preparation of yet more ground goop application.


I used some goop to fill in under the masonite road base and pressed the masonite in place, keeping it level.


I also applied another layer of goop to the surrounding area to bring everything up to the same level.


I also applied goop to he right (north) side of the masonite, again to blend everything in.

And, finally, a few shots of the overall area after all the goop was applied:


Lastly, and admittedly not a great shot (you'll have to click on it to enlarge), you can see the masonite road base is all nice and level:


Unfortunately, it wouldn't stay that way. More-experienced folks may have already guessed what happened next. But the rest of you will have the "fun" of discovering that later - as I did . . .

Monday, January 28, 2019

Springfield 2019

Wow - what a wonderful weekend! What can you really say about North America's (and maybe the world's??) largest train show that can even scratch the surface of conveying what it's all about? It's, of course, HUGE - and there are many vendors - many beautiful layouts - and, literally, tens of thousands of people. And some of those people comes from HUGE distances to attend, for it's an annual pilgrimage for just about everyone in the hobby - and on the Bucket List of anyone not fortunate enough to have attended yet.

The show is so large and, in many senses, so overwhelming, that I typically only attend on Saturday. And it's a long day - out of the house by 6:30a to meet folks for breakfast, and not back til about 11p after capping off a wonderful day at the Steaming Tender restaurant.

And this year, I had an extra special treat - a bunch of the guys from the A Modeler's Life podcast were able to visit, joining friends BillC, Mike & Mel who were staying the weekend! I've told many times before what I fan I am of Lionel Strang's show, but to get to meet some of the folks in person for the first time was very cool (though I tended to recognize them first by their voices rather than their looks %^) And as if that wasn't enough, we all left later in the evening to go visit the New Haven Society of Model Engineers' layout, hosted by friends Lou and Kaylee.

We were up&at'em again early the next morning for our annual breakfast and show arrival. Since my locomotive roster is all set and I have enough freight cars for now (at least until Bill gets his layout going...), I didn't have any huge quests this year. But since I've started scenery & structures, I definitely wanted to be sure and stop by the Tichy booth and Scenic Express.

It's always a long, exhausting, but wonderful day at the show - and I had to motor to get through it all in just one day. My only two regrets are that I never seem to have enough time to really enjoy the layouts on display, or - even worse - get to spend much time visiting with folks. But I did get to meet some of the regular - and some new - Valley Local followers. And that's always very cool, to run into folks that see and appreciate what I'm trying to accomplish with the layout.

After the show, we hightailed it (well, as much as we could considering the traffic) to dinner where we did thankfully have some time to visit and enjoy each others' company. All in all, another wonderful day! I'll let a few pictures fill out the story . . .

Deb's AML-famous brownies just put in the oven, along with some cranberry bread in case the brownies didn't hold out...

Some of the AML crew, with BillC and Mel in the background

Some more of the AML crew, with BillC and Mike in the background

With Tom in line at the Big Shew

At the Scenic Express booth - I really should have gotten some of this, just cuz

LOVE little scenes like these - and just may not be able to withstand the temptation to get something at the Bar Mills booth next time...

A nice farm scene for some inspiration/motivation for scenery efforts on my own layout...

The Steaming Tender Parlor Car Dinner Gang

And - last but not least - The Haul/aka Booty (though I forgot to include the Big Tichy Assortment I bought to help with some scratchbuilding efforts). You can tell that I'm focusing on scenery & structures now - though I couldn't pass up some fun reading too.

Friday, January 18, 2019

The Chicken & The Egg - Roads/sidewalks & Scenery

Now that the scenery base in the Fernwood Street area is (pretty much) done (BION, I may need to add "just a little more" goop to bring the level up ...), I went back to mocking up the scene. . .

Looking north toward Jordan Lane from the Wethersfield station area

Fernwood Street scene, with Wethersfield Lumber in the background

Looking south from Jordan Lane to the Wethersfield station area, and Gra-Rock


As you might have noticed, I've narrowed Fernwood Street from "true scale" width to 3" wide (about 22' in HO scale). I figure I'm still in prototype range:

These lanes are 10'6" wide, for a total of 21'
And I also used some N-scale cork to mockup the sidewalks. As for positioning the houses, Bill & Randy (being more right-brained than I, though that's not too hard) suggested I "move the scene to the left until it starts impinging on the team track scene at the station, and move it north until it starts getting too close to Jordan Lane." With the narrower street - and the extra space that gave me - I ended up positioning the structures where you see them above.

So I'm ready to commit and complete the scene now, right? Not so fast.

Base scenery (ground foam, static grass) or sidewalks/street - which should come first? I can't decide. I've seen it go both ways - either doing the roads first then scenicking up to them, or the roads are added on top of scenery that's already been roughed in.

What do you do? And why?

Fortunately, I have a bit of time to wait for what I hope will be your many responses :^) cuz, as I mentioned above, it looks like I still need to add some more goop . . .


Am I the only guy that uses a bubble level while doing scenery? Did I mention I'm pretty pathologically left-brained? But good thing I got it out - as you can see, the terrain has quite a dip in it. And it should be fairly flat - like the prototype scene:


Heh - but maybe that's just how far the scenery base has dropped under the weight of all that goop.

And it's STILL not dry. Ugh. I think I should've just used a sheet of plywood or foamboard here.

Anyhoo. . . please <ahem> weigh in with your thoughts and comments. And especially let me know which comes first - the roads or the scenery....

Until then, I'll keep repeating the requisite mantra:
Model Railroading is Fun

Thursday, January 17, 2019

Scenery Base - Goopin' it up!

While ruminating about how wide to make Fernwood Street, I decided I could at least start filling-in and leveling out the terrain in the scene. Here's how things looked when I started:


Note a few things: I use pretty standard techniques for building my scenery base - cardboard strip lattice, hot-glued to the plywood subroadbed and the fascia, covered with a layer of plaster cloth. I think this method makes it a lot easier to have scenery below the tracks/roadbed and it also creates natural, random undulations in the terrain without having to scrape at foam making lots of static dust. Or worse - have to cut away plywood.


For areas which you want to be pretty flat, you can use plywood, foamboard or - as I did above for the Fernwood Street scene - a piece of foamcore. Note also that I've covered the track with blue painter's tape (sticky enough, but not difficult to remove without residue).

Now, I don't know if you can tell in the photos above (click on them for a larger view), but the plaster cloth/foamcore scenery base if a fair amount lower than the track and the top of the fascia. I did that on purpose since I figured it'd be easier to build up the terrain rather than have to cut it down later.

But I think that may have been a mistake . . .

On top of the scenery base, I use a variation of the "Ground Goop" that Lou Sassi popularized in his scenery books. My formula consists of:

  • 1 part Celluclay or Sculptamold
  • 1/2 part brown (dirt color) latex paint
  • 1/3 part white glue
Lou's recipe adds vermiculite and Lysol (to prevent mold in storage), but I tried vermiculite once and didn't like the big, shiny flecks it had (maybe I got the wrong type), and I seldom keep my Goop around long enough to worry about long-term storage.

You mix this all together with a little water to make a "batter" that you trowel and spread on the scenery base. If you want to make the surface smoother after you apply it, use a little water brushed/smoothed over the top. You can add base scenery materials while it's wet - including ground foam, static grass, trees, and even structures pressed-in - but here it's evening out the scenery base and saving having to paint the scenery base a dirt color.


The plan was to fill-in on top of the scenery base and bring the ground level up to where I wanted it. In this case, just below the level of the track. Lou typically uses about 1/8" thick layer on top of his base. Let's just say, I used quite a bit more . . .


Here's the scene all "gooped" in from Jordan Lane (white in the distance, just short of the painter's tape) south to the Wethersfield station site. Compare this photo to the first photo above. The good news is that I was able to level the terrain up nicely.

The bad news is that I used Two Full Batches of ground goop to do it! (Bill will tell you that's "two cookie bins of goop" - or about a full gallon!)


Or, to put it in another perspective - the goop layer on top of the foamcore in the Fernwood Street area above is about 1" thick. 8 times what Lou uses!

At least I won't have to worry about the scenery being too thin to hold trees. But I may have to worry about the foamcore and plastercloth holding almost 5 pounds of ground goop.


If one of the many things this hobby is about is learning from one's mistakes, I think I'll take this little project as a learning experience. Time will tell if it actually turns out to be a mistake (it's been 3 days and it's still not thoroughly dried...), but I think I'll build future base scenery support closer to the final level I have planned for the scene.

I hope y'all with more experience will weigh in with what you do - and whether you have any tips, suggestions, or thoughts about what I've done here so far.

Tuesday, January 15, 2019

"Mocking Up Fernwood Street" or "A Left-Brainer in a Right-Brained Hobby"

I'll leave for another time a discussion about how many left-brained folks are attracted to this hobby which relies so much on the right-brained/artistic side. How else can you explain all the detailed how-to books on scenery, weathering, painting, etc - some even with actual recipes and formulas (formulae? I'm looking at you Dave Frary, since I own ALL the editions of your scenery guide...)?

Rather than a discussion, I'll post an example - taken from my own painful experience in "mocking up" a certain scene in the town of Wethersfield on my layout. Said scene centers around John Wallace's house on Fernwood Street and a little Cape Cod house I imagine across the street.

Fernwood Street ends at the tracks. Photo taken by John Wallace, from his bedroom window. c. early 1940s
"Mocking up" conjures images of just placing things together to see what looks "right." For me, it meant blowing up Sanborn maps so that I could get the scale to equal something I could measure. That way I figured out that Fernwood St. was 40' wide, the houses were set back 20' from the street, and the footprint of John's house is - approximately - 31' 3" wide and 37' 6" deep.

But I'm getting ahead of the "fun" stuff . . .


I love maps. Especially Sanborn maps. Look at all that fun detail! Fernwood Street is near the top (north) of the diagram.


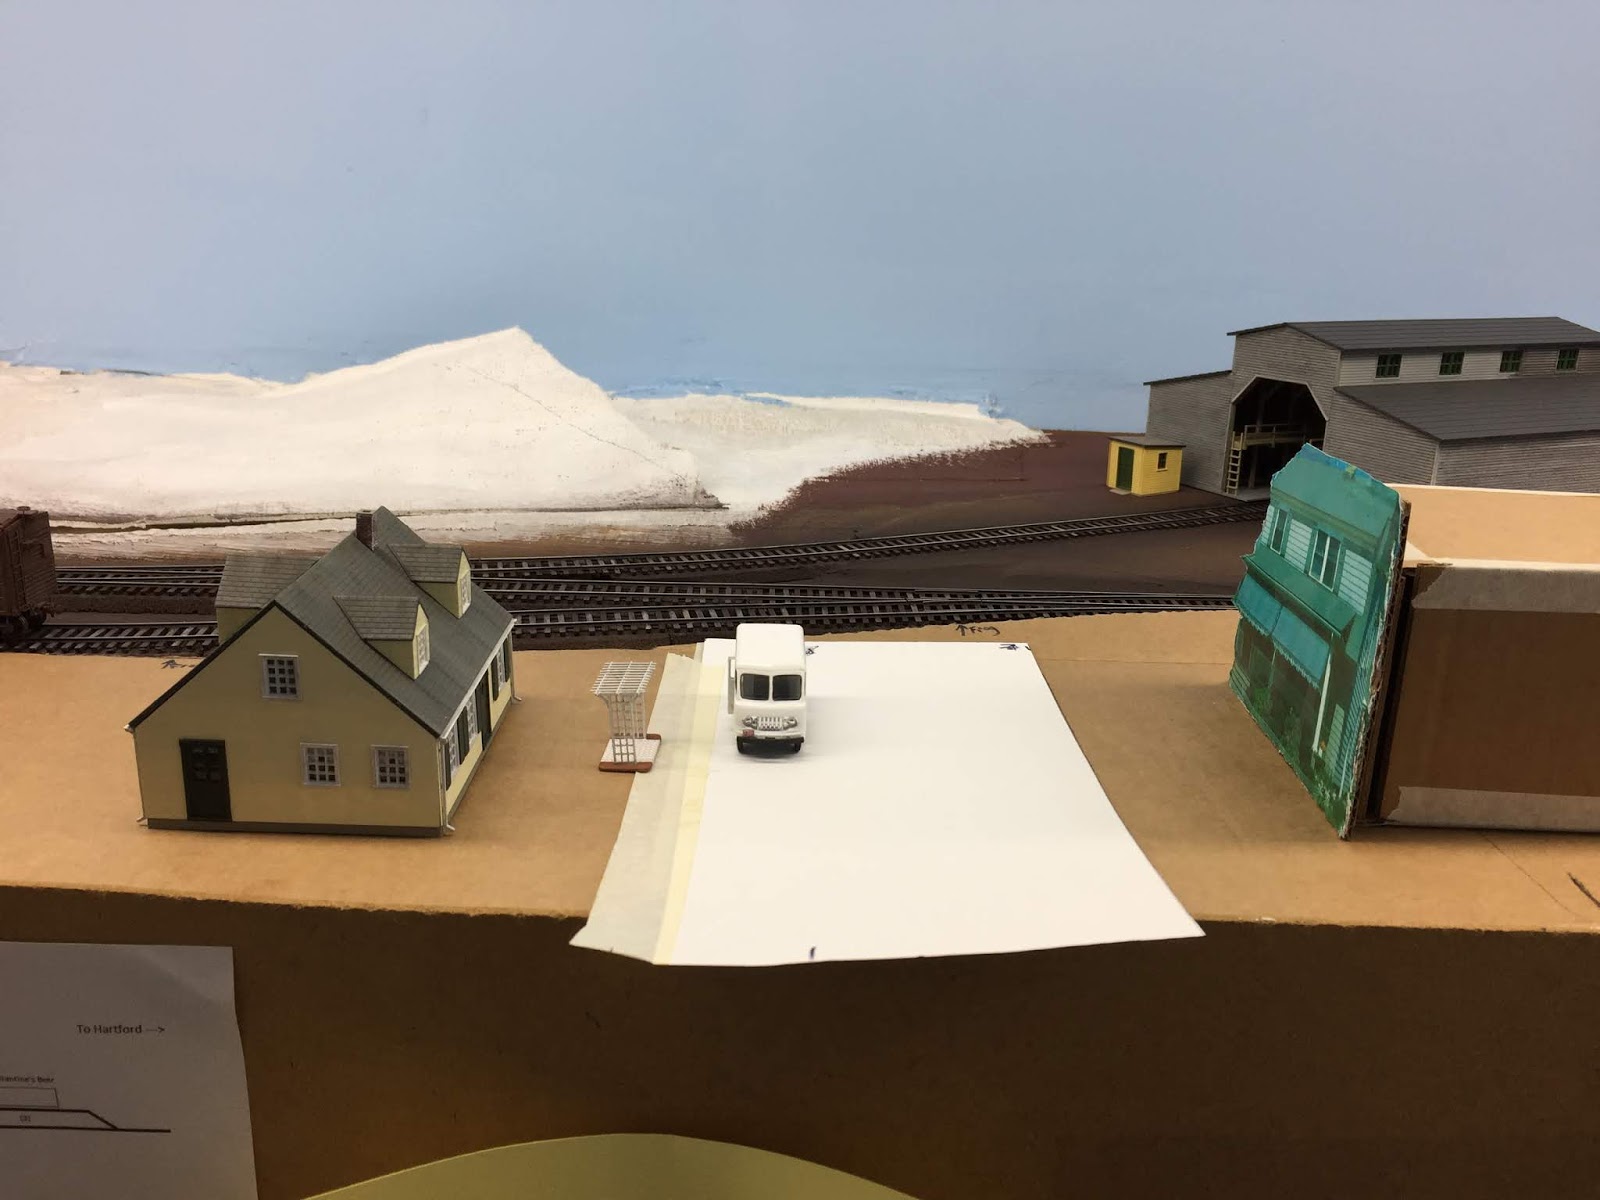
And here's the area on my layout. The coffee cup is sitting on Jordan Lane and Wethersfield Lumber is in the background, across the tracks. The taped-up paper is the start of a template I'll make of the area.


I used scrap paper to mark where to cut to fit in between the track and fascia.


And here it is all cut up. This is roughly the area that will be occupied by John's house (which will be to the north/right of Fernwood St.), Fernwood Street itself (in the center) and the little Cape (which will be across the street on the left.


I used the paper template as a guide for cutting out a more-substantial/stiffer cardboard equivalent.


While I had the cardboard out, I put together a mockup of John's house.


So, here's the first placement. A photo of John's house is taped to the cardboard mockup, the paper is Fernwood Street, and the Cape is just to the left/south.


Looking down the street, you can see better where I've marked on the template where the throwbar is for the house track switch (critical for making sure you can access it easily around the structures).


Another view, looking southeast toward Church Street, Wethersfield Station and Gra-Rock.

View from above
Another aerial view - with everything moved south (to the left) a bit.


Of course, moving the scene south starts impinging on the team track scene.


Detecting a theme here? I'm obsessing WAY too much over exactly where to put these houses. but it wasn't until I took the above photo that it hit me . . .I'm trying - again, mistakenly - to do a scale/uncompressed scene right in the middle of a layout that has to be compressed. Just take a look at Fernwood Street. It's perfect scale - but way too large for the scene.


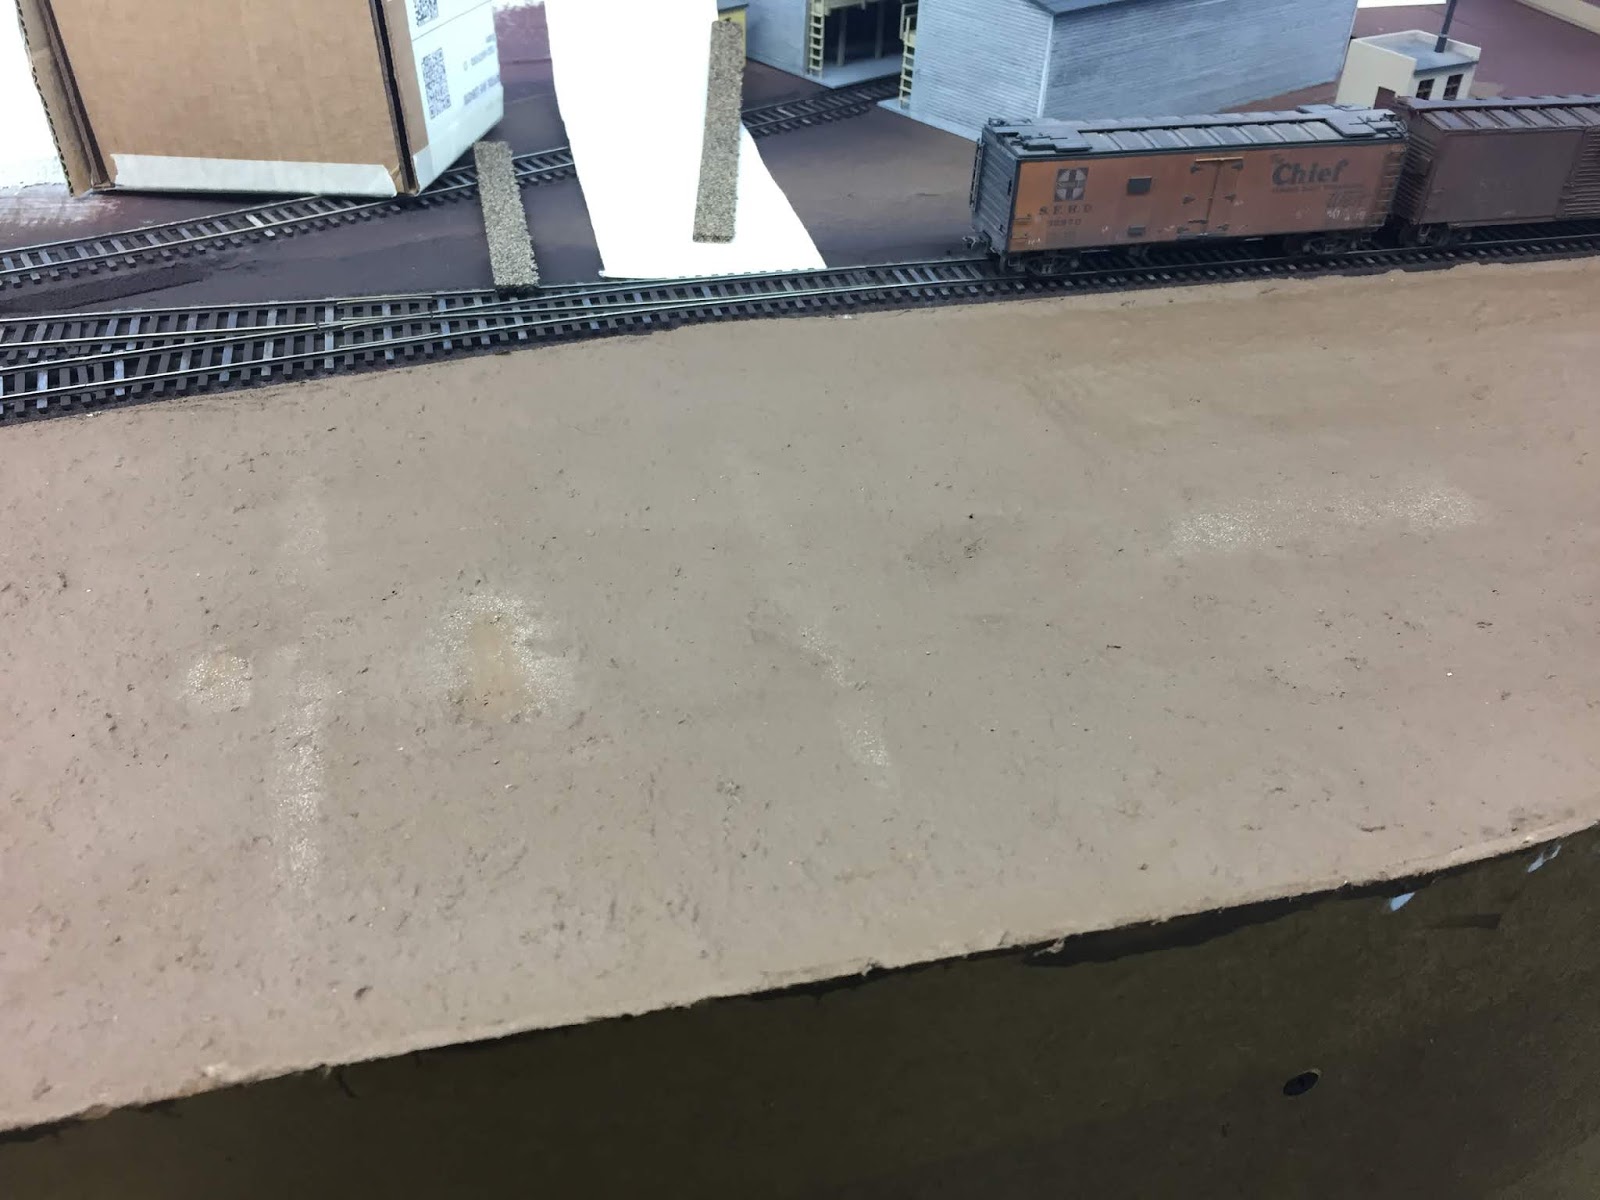
Here's my nice, scale-sized Ferwood St. template compared to Middlesex Turnpike at Goff Brook. Fernwood St. may be "correct" but it ain't "right."

As I said at the top of this post, I may explore this left-brain/right-brain tension in our hobby more some other time. Just recently, during a discussion with my friend Dean Turta (who is doing an amazing job of modeling Cape Cod on his Cape Cod & New Bedford. Sadly, Dean's blogless) he reminded me that I have to get over trying to replicate everything perfectly (a very left-brained thing to do) and, instead, focus on conveying the "look and feel." Now, that way of thinking may not pass muster when it comes to modeling a locomotive. But for scenery, and in this case, structure placement and road width, that decidedly right-brained perspective is exactly what's needed.

Sometimes, an impressionist painting conveys a scene better than a photograph ever could. So I think in this case I need to practice a little more of the "art" of model railroading - more impressionism, less photo-journalism.

So I need to narrow Fernwood Street. A lot. And - bonus! - I'll get a bit more room for the houses, and the scene as a whole will look and fit better. If I can convey the impression of the scene, that'll be much more effective than trying to shoehorn it in.

But for now, all this is making both sides of my brain hurt. I think I'll join Lexy and Rosie by the stove . . .