Showing posts with label Structures. Show all posts

Tuesday, December 19, 2023

The Sunset Diner in Cromwell, CT

One of the lessons I'm learning (and RE-learning, over and over again) is that persistent progress in this hobby is the result of doing what you're most in the mood to do - pivoting from one project to another and not allowing yourself to get bogged down. If you always - or at least often - #DoOneThing, you'll be surprised at how much you get done.

I was able to spend a good amount of time in the basement this past weekend working on setting the scene for the Camp Bethel Cottages I've been working on, but weeknights are much better for working at the bench. So I pivoted from working on scenery to finishing up the Sunset Diner in Cromwell. (Be sure to click here for a really cool story about how this diner figures in the history of big band music . . .)

To set the scene, literally, here's a period view looking north on the Middlesex Turnpike into Cromwell. . .


The diner is the white, octagon(!) windowed structure on the left.

BillS built a model of this structure for me a couple years ago and it's been sitting on the layout ever since. But it was high time to finish detailing it with some stacks, vents, and a cool sign.

The stacks & ventilators came from a Walthers rooftop details assortment. I used some scrap styrene to make bases and cleanouts.

The skylight is an old Scale Structures Ltd. kit. The little tracing/template on the right was to help me cut out clear styrene for the windows.

But figuring it would be much easier, I ended up using some Micro Kristal Klear instead.

I made the signpost from 1/16" tube, 3/64" and .015" wire all soldered together. The eyebolts are DA #2206 and the chain is Campbell #256.

The lack of sign in the first/main prototype photo I had ended up holding up this project for a while since I didn't even know the name of the diner for the longest time. Then I found this photo.

Bill used his computer skills to recreate the sign and I printed it out and mounted it to .020" styrene and used .008" wire to create hooks to hang the sign from the chain. 

The sign post and the stacks/vents were all airbrushed with Tamiya paints, thinned 50:50 with 90% alcohol.


I didn't like the vent on the skylight that came with the Scale Structures kit, so I used one from my scrapbox, securing it with some CA gel. You can also see how well the "glass" came out.

And this is the back, which you don't really see from normal viewing, but at least I know what it looks like :^) All these parts were attached to the main structure with CA gel.

And here it is on the layout. Still need to do some weathering, but I think it'll sit here like this for a bit until I can muster up some courage.

So there you have it! I think it came out really well, especially when you compare the photo above to the prototype pic at the beginning of this post. I really enjoy recreating the past in miniature, especially when there's a cool story involved. Thanks for following along and let me know what you think!

Friday, November 24, 2023

Friday Fun: Modeling Camp Bethel (terrain prototyping) pt.1

As of my last layout update, I'd pushed basic scenery north into Deep River, CT. Since the next area to be modeled is East Haddam/Goodspeeds (actually located in Haddam, on the west side of the Connecticut River, but let's leave it at that...), I figured it high time to check in with the prototype.

This is the station area looking north. The car is heading east on Bridge Street (aka Route 82) and will be crossing the river on a 1913 swing bridge in just a few hundred yards from here. Off in the distance, left/west of the track, you can see the hill on which Camp Bethel sits.

Similar view, as it looks today, shot closer - from north of the grade crossing. Same building on the right, but modified.

Walking further north, you can't really make it out through all the trees, but Camp Bethel is up on top of that little hill on the left.

Ever since hearing of our own little version of the Martha's Vineyard Campmeeting Association, I've wanted to model at least a hint of Camp Bethel - which lies conveniently between the East Haddam scene and the Shailerville Bridge scene, providing a perfect scenic break.


In fact, I'd planned so far ahead to include it, that I'd long ago cut the fascia to form the hill profile. Unfortunately, as I started looking more closely at the prototype topography, I realized the hill profile I'd made was WAY too high. I also needed some flat area for the cottages. The masking tape above indicates the proposed cut line, and also protects the painted fascia from my saber saw.

Here's how things looked after I cut the hill down - and added foam on edge along the inside of the fascia for mounting the cardboard strips.


As you can see, I'd originally planned on adding a rock casting to the side of the hill to make up for the hillside being SO steep here.


But the more I looked "north" down the track, the more the hill still looked too tall and steep - especially when compared to the topography shown in the prototype photos.


So, out came the saber saw again and down came more of the hill. I also decided not to use a rock casting since that would be really out of place in this spot - at least, again, according to the prototype.

Looking at these photos again, I think I may redo the cardboard strips so that the stacked foam doesn't look quite so much like a huge outcropping.

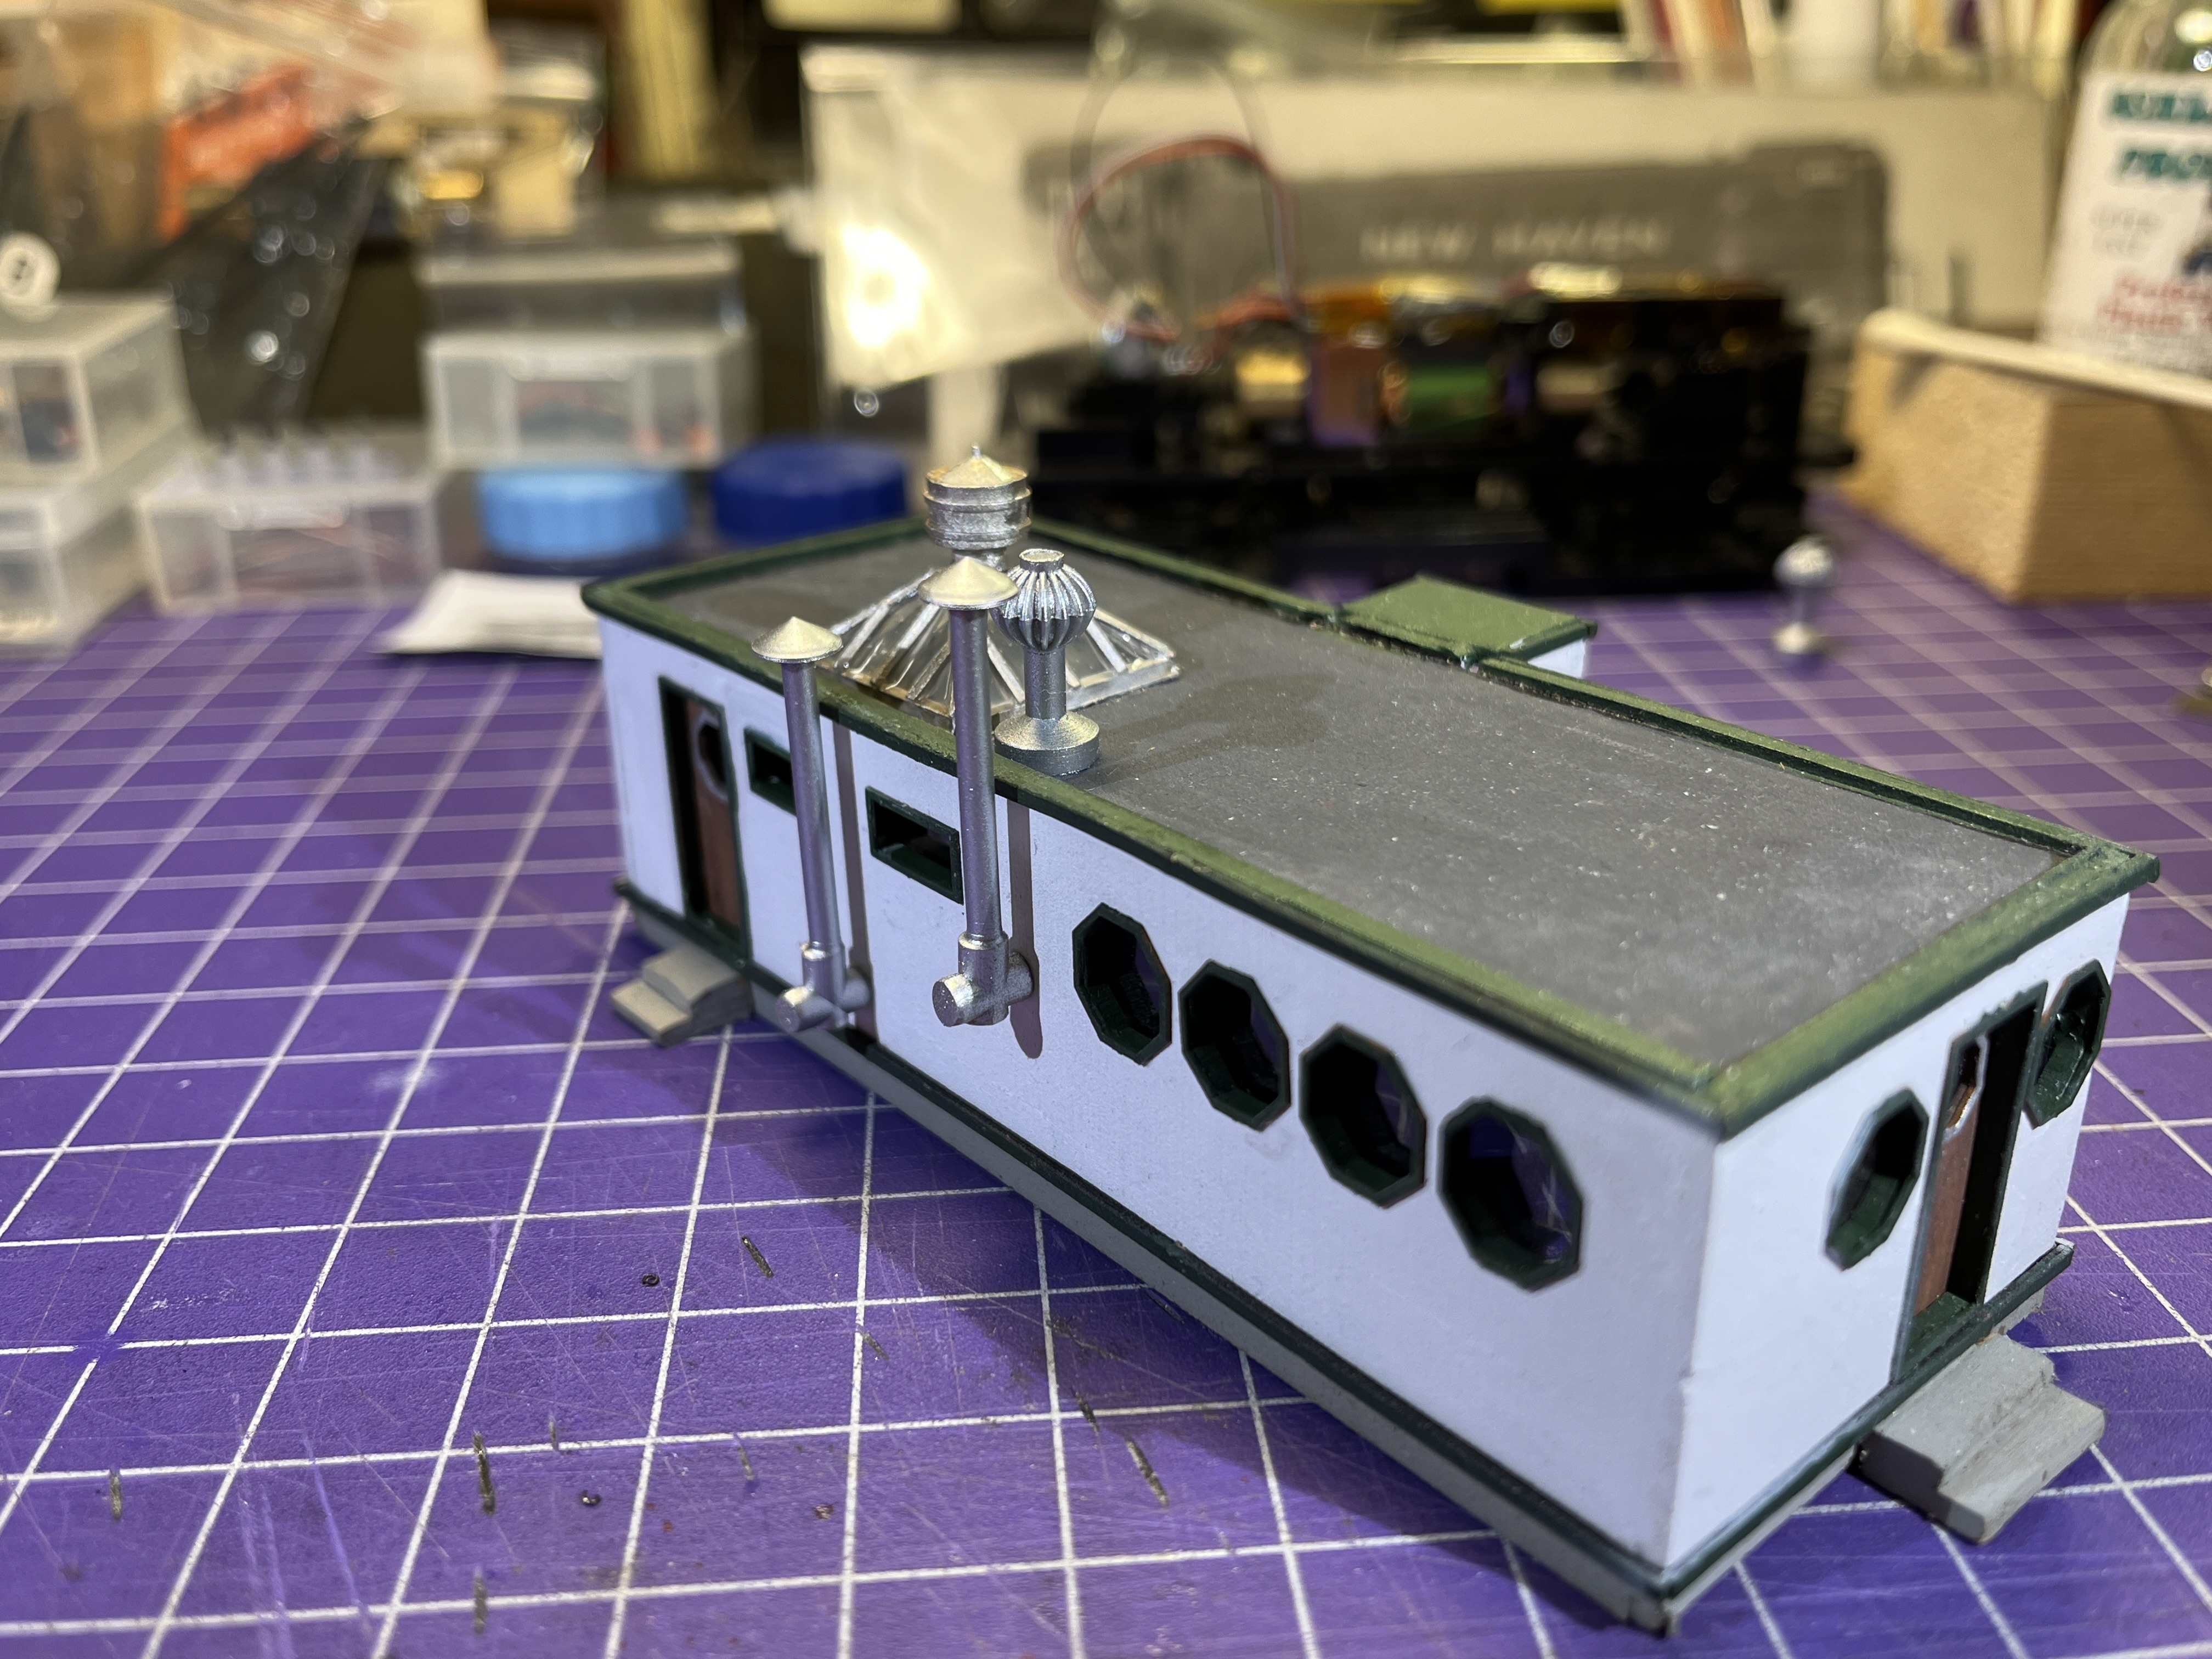
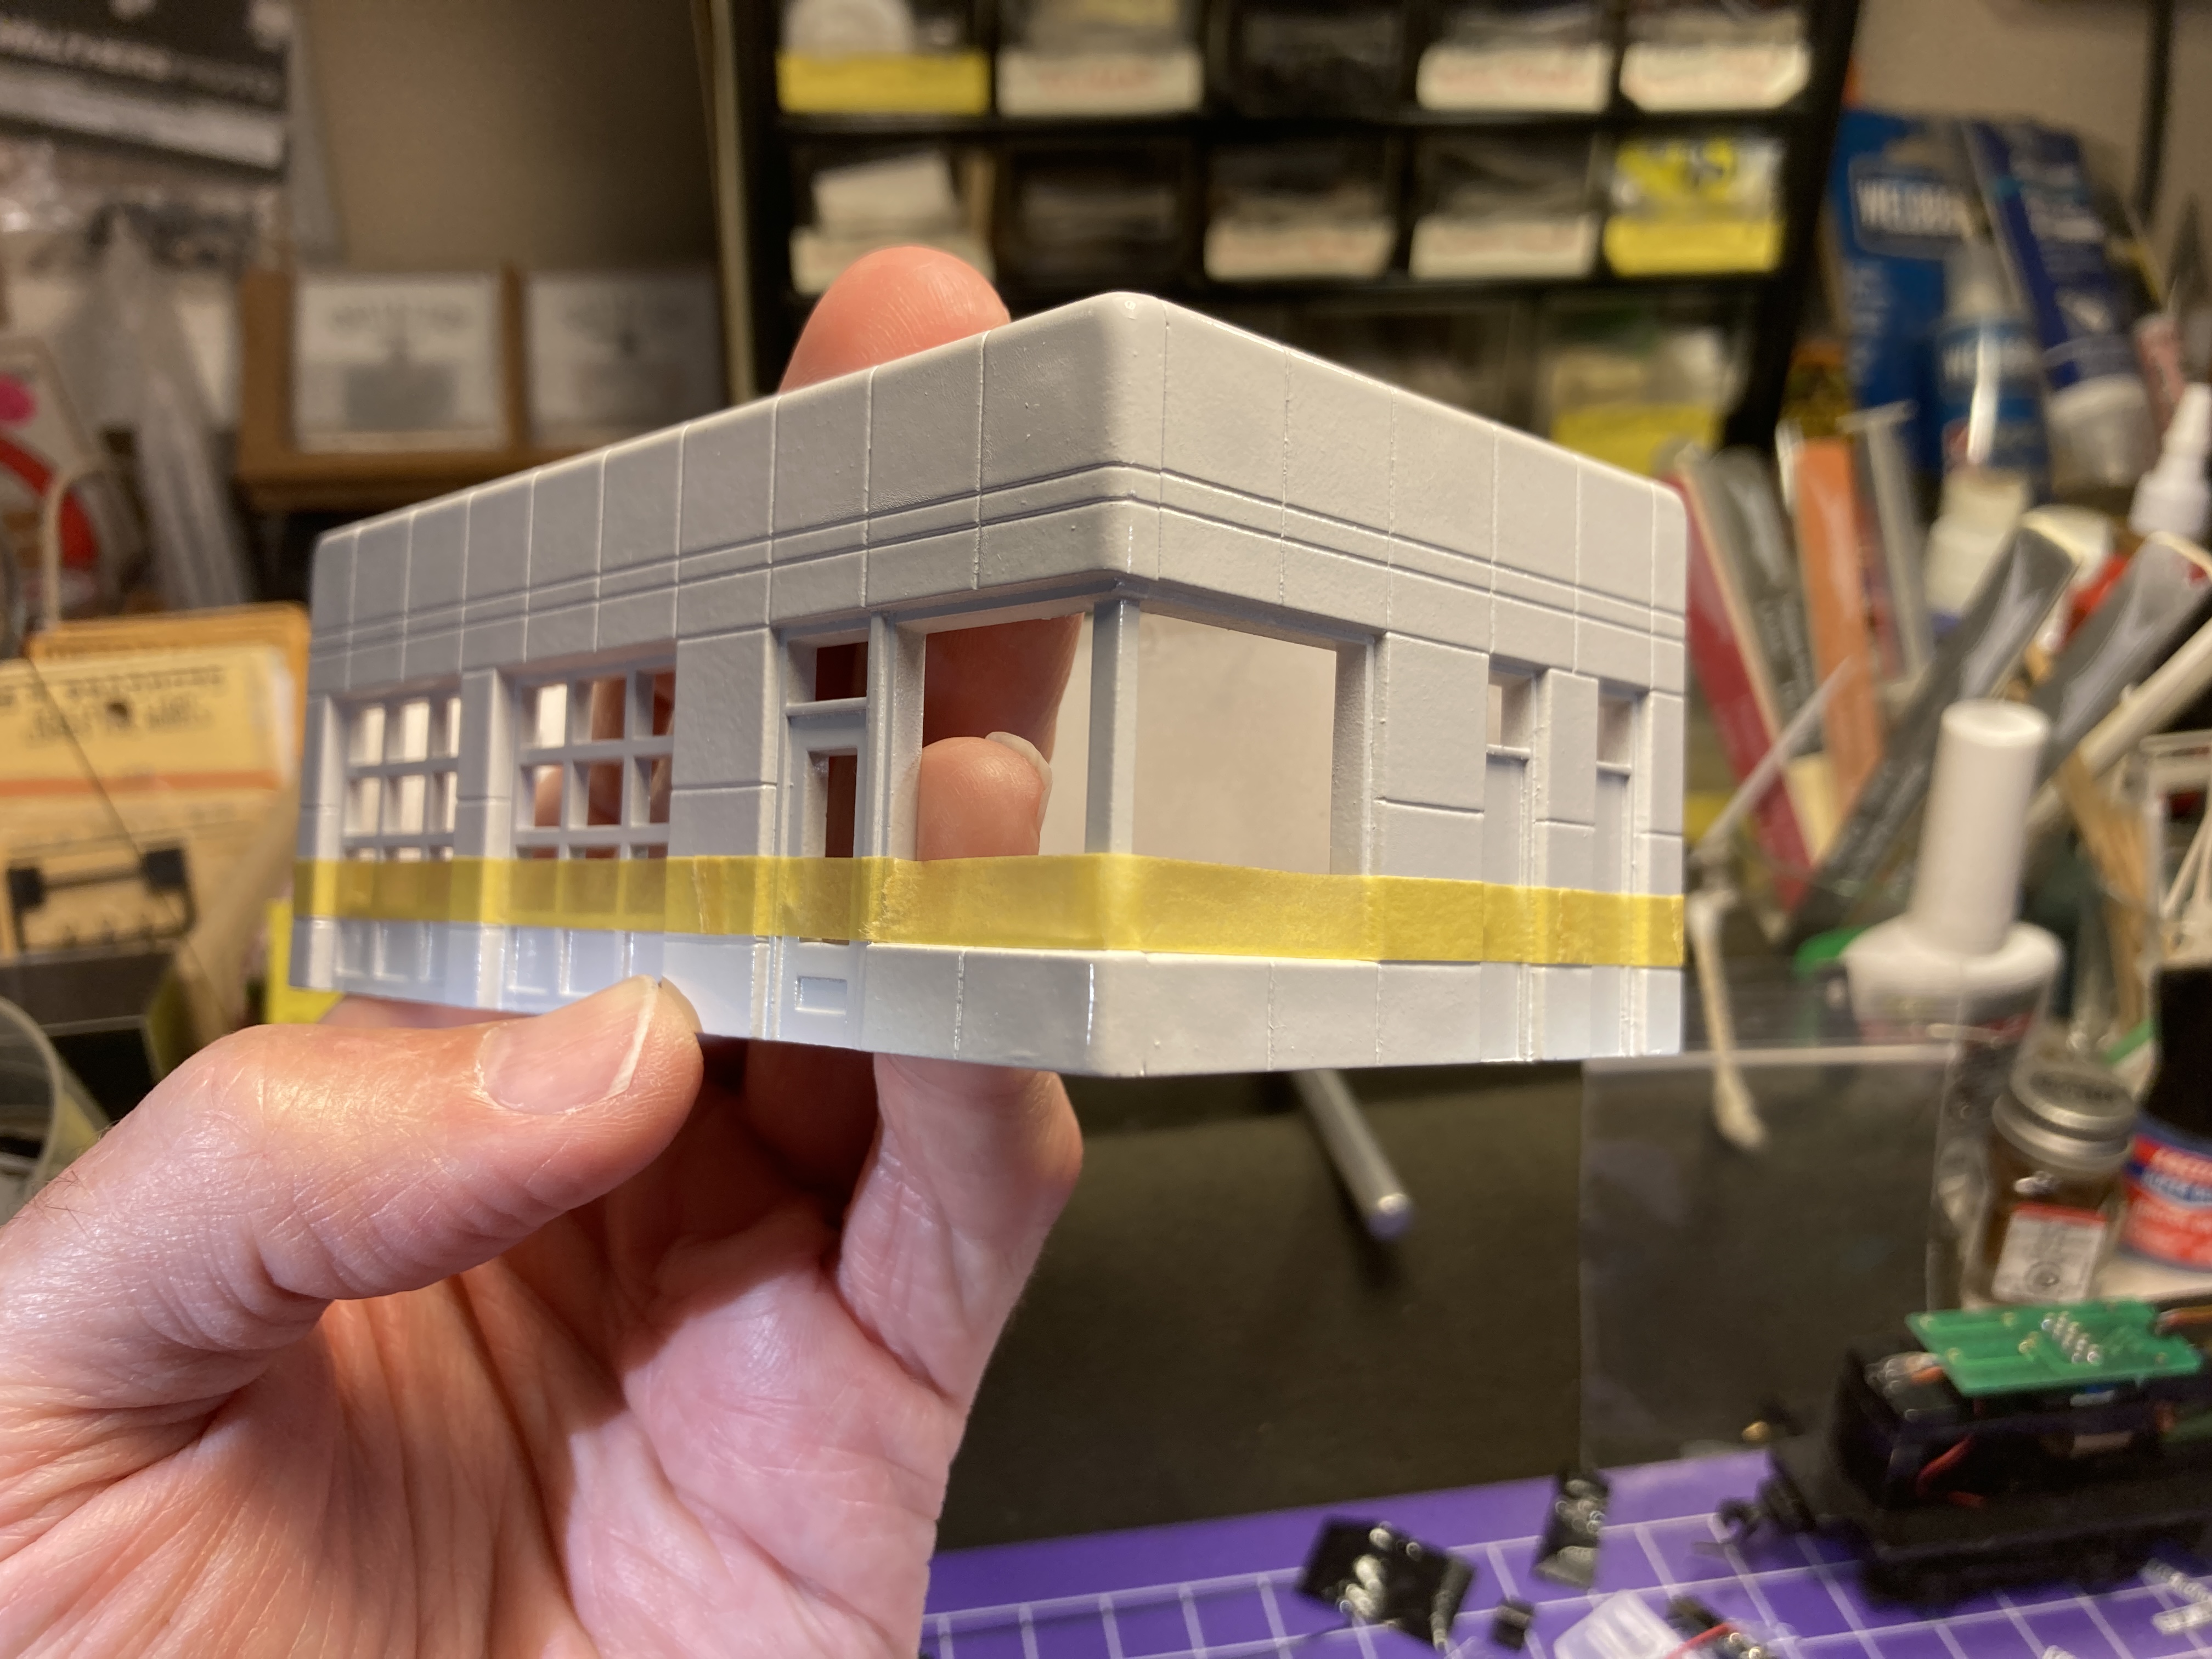
Incidentally, the little cabin/cottage you're seeing in the photos was borrowed from Somerset and is being used as a mockup for sizing purposes. Unfortunately, I can't really use it here since it belongs in Somerset - and I need more than one cottage to give them impression of a "camp" anyway.


But, thanks to my friend Bruce Edgerton, I already have on-hand some cottage kits that he gave me a few years back, which I think will fit the bill nicely. But to be sure they'd work, I figured I'd need to take a field trip to do more prototype research . . . That'll be the subject of the next post. Stay tuned!


Monday, August 15, 2022

Modeling Monday - A Gas Station for Cromwell

As a small tribute to my friend Jim Sacco, who recently passed, I decided Cromwell needed a gas station. The Sanborn map of the area indicates one existed south/east of the tracks and on the east side of Middlesex Turnpike (aka Main Street), but there's no photo. So I figured Jim's archetypical "Crafton Ave. Gas Station" would fit the bill nicely. Follow along as I start what's turning out to be a pretty easy build...


The instructions are straightforward, so I'll just emphasize a few important steps which I found especially useful. While "all you have to do" is glue four walls together to get the basic structure, a little time and patience will ensure a good build. In the photo above, I'm making sure the bottom of each wall is perfectly square. Due to the moulding/casting process, they have a slight taper which should be removed or else you risk gaps between the structure and its foundation.


Speaking of the foundation - I wish it was all in one piece, but - alas! - it's 4 separate parts which must be glued together. Again, patience with your sanding block - not to mention some assistance from 1-2-3 blocks - will make things perfectly square, which will in turn help everything else square up properly.


More use of the blocks to keep the walls square as I make one corner, and then the other...


. . . culminating in all four walls being glued together, nice and square.


The roof is made from a sheet of styrene included in the kit. To get the proper size & cutting lines, I turned the structure on its head and traced along the inside.


Here's the mostly-completed structure, with the roof dry fit in place and resting on the foundation.


With the four walls assembled, I decided this was as good a time as any to paint. To replicate the "porcelain" tile walls, I used a rattle can of Rustoleum gloss white. While I was at it, I went ahead and painted the rest of the white parts on the sprue (gas tanks, oil can racks, sign parts, etc).


Once the white was dry (it took a LOOOONG time for the Rustoleum to cure fully - like almost a week! Be careful when handling that you don't make fingerprints. Ask me how I know...), I masked the "porcelain" and shot the rear "cinderblock" wall with some rattlecan gray. I also sprayed the foundation and gas tank island with the gray, and painted the roof a flat black.

I had visitors coming over, so I quickly made up the sign (after confirming with my muse, John Wallace, that the prototype station was more likely to be an ESSO station than anything else) and placed the station temporarily on the layout. The explanation I came up with is that the station had been abandoned, but recently sold to someone who's in the process of restoring it. There are no windows or gas tanks yet, but the sign is up and there's a fresh coat of paint on the walls. At least that was my story and I'm sticking to it ;^)


Once the visitors were gone, it was time to make some more progress. Based on the prototype photos I've been able to find (beware - old gas station photos are a HUGE, though very enjoyable, rabbit hole), ESSO stations had a wide red stripe along the bottom. So I started by masking as closely to the "foundation" panel as possible. Even then, there were a LOT of little ridges and edges to deal with - especially over the garage doors - but tucking in with the toothpick helps a lot.


I used Tamiya masking tape for the critical edge, and then finished up with regular low-stick masking tape. Now we're ready to paint the stripe!

After reviewing my paint collection with my color consultant (The Missus), we decided the closest color to the red in the ESSO sign was Apple Barrel Red Apple (#20784) craft paint.

Now, I'm not going to get into a debate here about whether shooting craft paint through an airbrush is a good idea or not. Your mileage DEFINITELY will vary. But I have a huge collection of colors, they haven't gone bad, and with the proper preparation, I've had very good success at airbrushing them.


This article gave me the idea, and I've been following it ever since.  The main points to remember are to add airbrush medium and flow aid to your paint. For extra insurance, I also use a strainer in my color jar.

It admittedly took a bunch of coats to build up the color for complete coverage, but the paint dries fast (especially when aided with a hair dryer *ahem*) so I was able to do 5-6 light coats over the course of 20 minutes or so.


I couldn't be happier with the coverage I got, but as you can see in the photo above, my masking over the big doors wasn't as perfect as I thought it was.


Thankfully, it cleaned up REALLY easily. Maybe it was the combination of craft paint over glossy lacquer paint, but I just scraped at the paint with a toothpick and you can see the result above.  I'll just be VERY careful not to scratch the paint elsewhere! After I add decals, I'll be sealing all of it with a clear coat.


Speaking of decals, that's really all that's left to do on this structure (well, other than a rudimentary interior, adding window glass, assembling/decaling the pumps, adding the island light, etc.), so it's back to the prototype photos to review lettering, positioning, and such. Thankfully, after looking ALL OVER for decals, I finally found what I was looking for during my recent trip to PA - and at the last hobby shop I visited.


I also picked up an ESSO tanker truck at another hobby shop. It, the station, and my SW-1 are all on the bench now awaiting further attention - as soon as my current house project wraps up(!)

Thanks for continuing to follow along here at the Valley Local, especially as my progress occurs in fits and starts. Your feedback and encouragement really helps keep things moving forward!

Tuesday, February 2, 2021

Tuesday Tip - Adding a Foundation

Heh - it's Tuesday, so it must be time to talk about rocks again, or in this case rock walls. After so much success with coloring rock castings, I decided to try my hand at coloring a rock wall foundation. Why? Two reasons: 1) I'm curious to see whether my technique will work the same, and 2) I have have to mind the gap . . .

This little barn - my first "major" (LOL) craftsman structure build (after doing a few garages) - has been sitting here for months. On top of the grass.


The resulting, unsightly, gap needs to be addressed, so the barn needs a foundation.

To prep the site, I marked the barn's footprint . . .

And then scraped away the grass - or at least as much as I could.

I also created a template for the foundation by tracing the base of the barn onto some scrap paper, which I then cut out.

To make the foundation I needed, I used some stone wall molds I had on-hand.

I also used a couple of my favorite mixing pitchers - favorite since Anchor Hocking was the main sponsor of one of my favorite old-time radio shows
("Anchor Hocking - The Most Famous Name in Glass")

I mixed some plaster, according to the instructions. I put the water in the larger pitcher since you have to add the plaster to the water.

Add the plaster slowly and then let it sit a bit. I forgot to let it sit and proceeded right to stirring/mixing. But I lucked out - it worked fine.

Pour the plaster into the mold slowly, filling all the corners but not overflowing. Once the mold is filled, tap on the table to encourage any bubbles to rise to the top and pop. Pro Tip: Don't do what I did and fill the molds to the very top - and slightly overflowing. That creates flash you'll just have to break off later - and the walls just have to be thick enough not to break.

After breaking off the "flash" around the edges . . .

. . . you just have to sand the edges smooth and straight.

Obviously, this is a casting of a full, large wall. But we don't need much for a small foundation under the barn. So I just cut off two courses of stone. This is a slow process - and one that will probably dull your blade :^(

And the plaster is brittle, so be careful not to force things - or else you may break the casting :^(

Once I had enough run of material, it was time to cut the sections to fit. This is where the template comes in handy. I first cut one end at a 45 degree angle . . .

. . . then use the template to mark the outer end of the other angle.

I'd cut the first angle using a guide line I made using a protractor. Then I remembered (duh!) that I had this handy miter box.

Unfortunately, I didn't heed my own advice, forced things a bit, and broke the piece.

Fortunately, though, plain ol' white clue is the perfect adhesive for plaster - especially if the ends mate perfectly.

I used my handy-dandy 1-2-3 blocks to keep things square.

While white glue is perfect for joints that mate perfectly, I found that gap-filling ACC is great for joints that aren't so perfect. And no clamping required!

You may have noticed in the pics that I kept track of which ends joined together, as well as what side of each piece was the "top." I'd intended to assemble this upside down in order to keep the top edges all flat & flush with one another. But I somehow managed to forget. 

So the next thing I have to do is sand or file the top to mill it down all nice and level. Otherwise, there'll be a gap between the barn and the foundation - which would kinda defeat the whole purpose of adding a foundation to begin with!

That's where things stand at the moment. Certainly not much left to do - just level then color. But I've been distracted by the backdrop in Dividend lately - and backdrops generally. . .

But more on that in the next post!