If there's a downside to operations, it's that it can take up all your hobby time. Between all the
paperwork,
setting up, the actual session itself, and the inevitable
punch list afterwards, managing an operating layout can quickly become all you do in the hobby. In fact, I've discovered that the Plywood Pacific is all-too-typical among round robin operating groups.
But there really is nothing that can compare to having your railroad operate through finished scenes - so that it
looks like an actual railroad as well as it operates like one. So I've been itching to get back into some modeling with a view to making more progress on the
Wethersfield area of the layout.
Dave has graciously offered to help me over a major hurdle at the north end of Wethersfield - namely, the distinctive concrete abutments for the
Rt. 15 overpass.
Way back in April, I finally got around to duplicating some
very cool Shapeways girders my friend MikeR had made for me from prototype photos of the actual bridge. In fact, creating additional girders was my first foray into
resin casting. Unfortunately, after all the excitement of successfully casting additional girders from the Shapeways masters, they've just been sitting around. But now that I may be able to solve my abutment problem, it's high time to get back to this project.
 |
| Overpass looking northbound to the Hartford/Wethersfield line. This was originally built as part of the Hartford Bypass over the Charter Oak Bridge during WWII. It allowed workers to get to Pratt & Whitney in East Hartford without having to drive through downtown Hartford. Note the distinctive steel girders. |
 |
| Looking southbound from the other side, showing abutment & girder detail. |
 |
| Southerly view looking at the north side of the west abutment. While my layout views only the south side, this is the most unobstructed view of these distinctive abutments nowadays. |
 |
| Mockup of the overpass on my layout. View looking "north" but obviously compressed. Valley line is on the left, but instead of going over the Middlesex Turnpike on the right as the prototype does, I have the Berlin branch coming through there. Ah - the joys of selective compressing and modeler's license! The bridge itself is a Rix "Vintage Highway Overpass" which is my best guess not having a prototype photo of the original bridge. But at least I plan to get the girders right! The carved pink foam block on the left is my attempt at the abutment. |
 |
| Here's how I left things after duplicating the girder masters. |
 |
| To give Dave a sense of how tall the abutments would need to be, I test fit the master parts. Total height from bottom of bridge shoe to top of girder: 3 11/32". |
 |
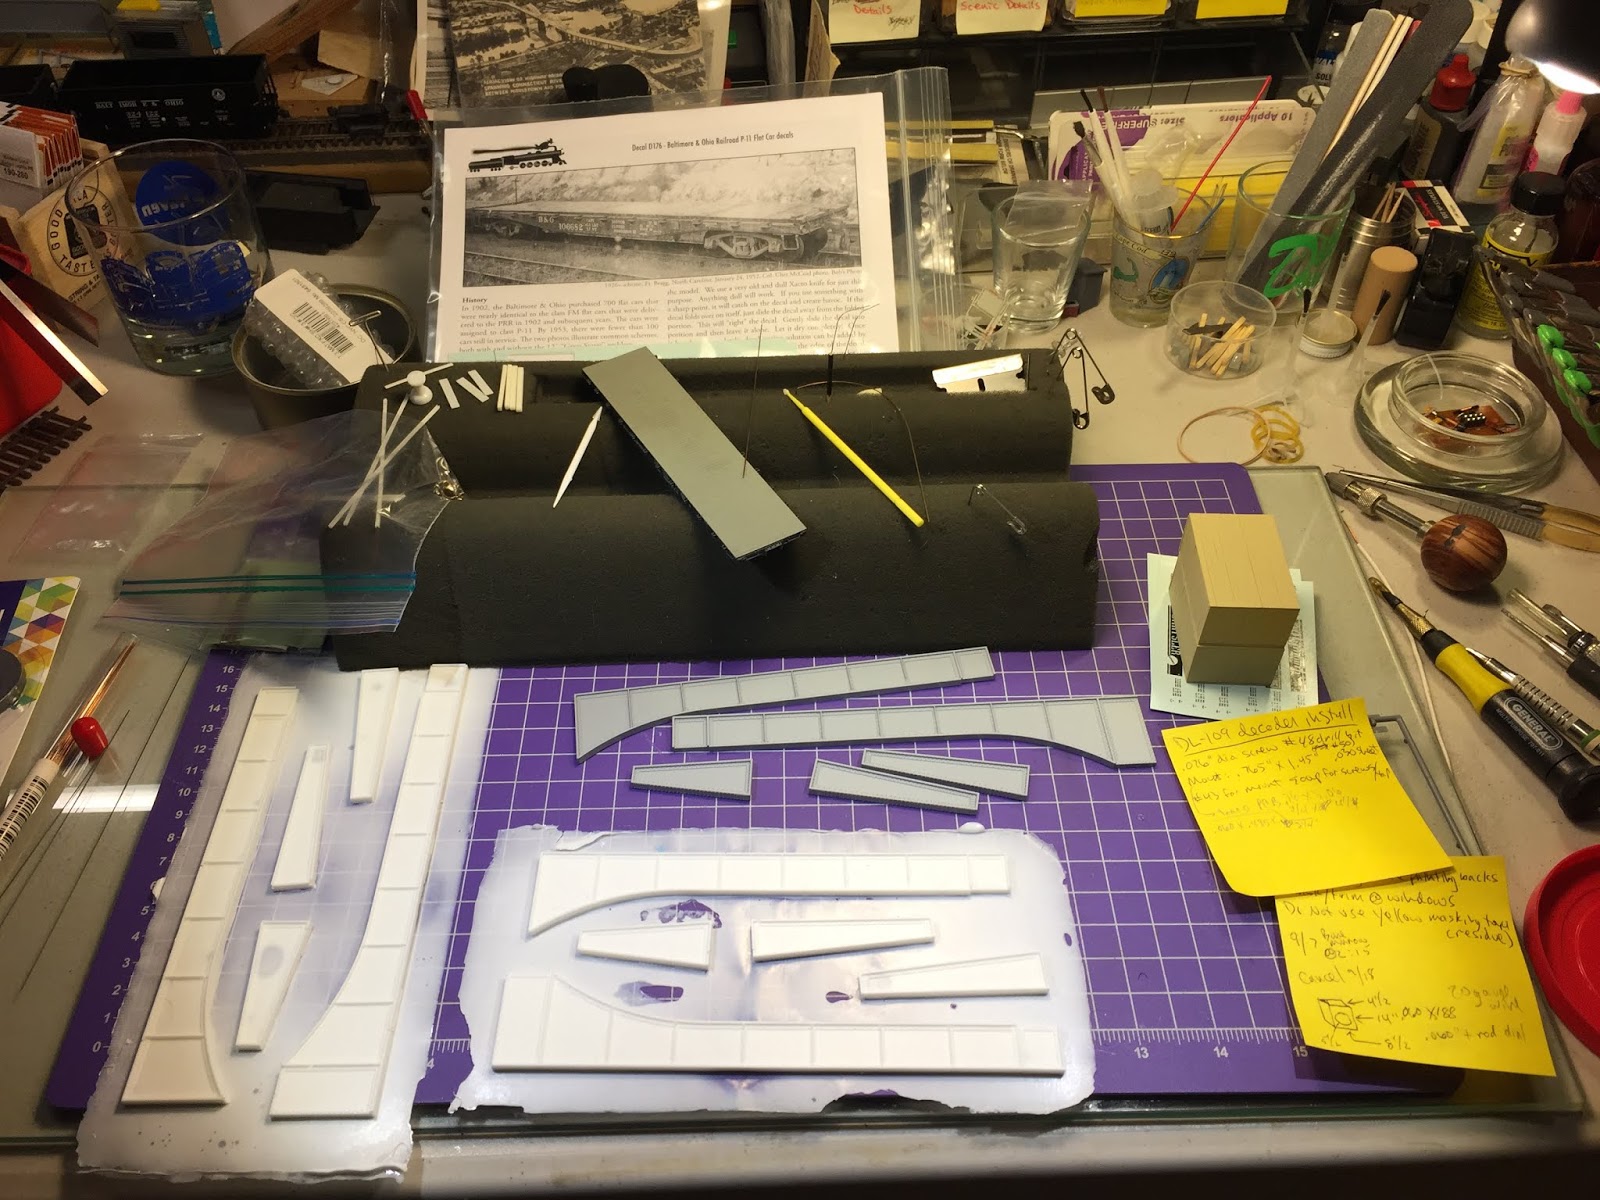
| Today's project was a baby step of progress - but progress nevertheless. Trimming and cleaning the castings. |
 |
| A couple of Xacto blades (#11 to score & snap, #17 chisel to trim more closely) and a coarse sanding stick made for easy work, but it did take some time and patience.. |
 |
| But patience paid off - they look really good. |
 |
| I'd primed the masters before (last October - yikes!), so needed to remove the paint from where I'll have to glue them. In addition to the resulting sanding dust, there was trim & sanding residue on the castings as well. A quick wash with some Dawn, water, and a brush got everything nice and clean. Now they just sit and dry. I'm trying to decide whether to paint everything first, or glue them together first before painting. Any recommendations? |
It's nice to be making progress of
any sort lately, but going back through some of my posts and photos I see how long this (and other) project(s) has been lingering along. I'm certainly not getting any younger, and life is short. Gotta keep moving forward. Hopefully I can get the north end of Wethersfield - if not that entire section of the layout - done by Thanksgiving! #gauntletthrown


No comments:
Post a Comment