Showing posts with label Wethersfield Lumber Co. Show all posts

Monday, April 13, 2020

Modeling Monday: Wethersfield Lumber Co. Office

One of the reasons model railroading is so popular is that it's such a diverse, immersive hobby. At the very beginning of a layout, you're a planner & architect - figuring out what project and trackplan will fit in your space. Then you become a carpenter as you build the benchwork. Trackwork requires you to be a bit of a civil engineer, then you dive right into electrical work and electronics to get it all working. I won't even go into the paradigm shift from all this left-brained stuff to the right brain where all the scenery work requires you to become an artist.

With so many different & fun tasks required for the layout itself, it's often hard to find - or make - the time to write about it or journal your progress in any way. Consequently, not too many folks take that time. If they're lucky, they may have a phone full of photos they took along the way, but not much else.

As you may have guessed if you've been following this blog for any length of time, a big part of the hobby for me is writing about it - at least documenting my progress, and if I'm lucky, even stumbling across a helpful tip or a different perspective. But lately, with Uncle Sam requiring us to stay at home (to work on our layouts? :^) I've been focused almost exclusively on completing the Wethersfield scene - everything from finishing the terraforming, up through scenery and structures. "Finish Wethersfield" has been on my resolutions list for years - literally. And with the loss of one of my main collaborators, Dave Messer, right at the beginning of this quarantine, well let's just say my motivation to be in the basement has crowded out the blog.

But it's time to take a break from the basement, and catch up a bit. Starting with finishing up the office for the Wethersfield Lumber Co.

It seems like forever ago, but it's been less than two months since I started this project by "easternizing" it. The next step was to prime and paint. I just used a rattle can of gray primer for a base coat and then drybrushed on white acrylic craft paint for a weathered look.


I sprayed the window frames and doors a dark green and I shot the roof with black primer. Once all the pieces are painted, the fun begins - putting it all together!


I first added the window "glass" to the windows and doors using Aleene's Clear Gel Tacky Glue and then I glued the windows and doors to the walls.


The final steps were just to glue the walls together. This is especially easy to do with this kit, since the base helps keep everything nice and square.


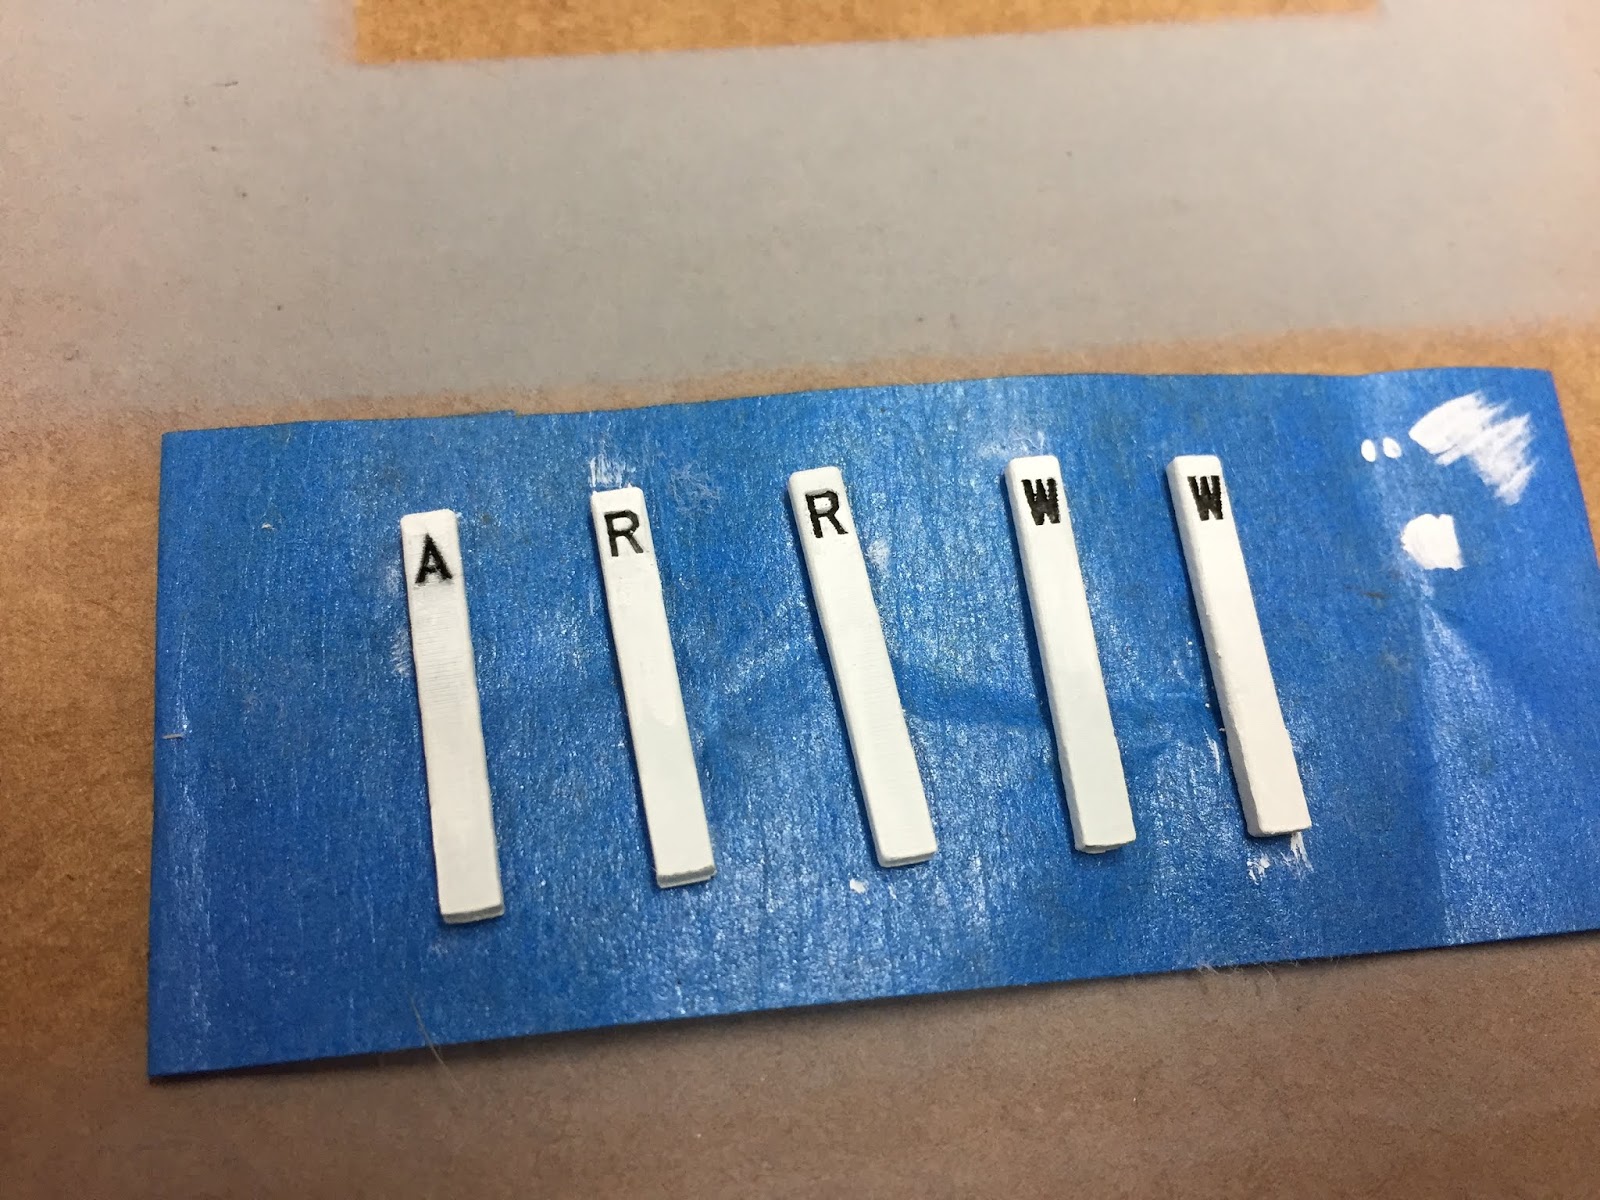
The "last" step was to use my computer and Word software to create a made-up sign.

Lighting is fickle - the walls in all the photos are the same color white.

Unfortunately, I have no idea what the actual Wethersfield Lumber Co. office looked like - nor do I have any info or photos of the sign. I think this is a reasonable guess for a late-1940s look - but who really knows?

And actually, making the sign isn't really the "last" step anyway. I really should weather the structure a bit more - especially the roof. But more importantly, I should see if I can put any signs in those big picture windows. Fortunately, this building is way at the back of the scene next to the backdrop, so it's lack of an interior isn't noticeable.

So there you have it - another structure done for the Wethersfield scene! Stay tuned for more progress reports as I catch up on the blog, and in the meantime here's wishing you and yours safety and health for the duration of the current craziness.

Monday, March 9, 2020

Modeling Monday: Railings, Posts, & Painting

Work in Wethersfield continues, with a focus on structures. First, I added some details (railings and porch light) for the Ballantine's beer distributor office.

The railings are from Central Valley and Plastruct. The porch lights are Tichy #8170). Just took a quick shot of flat black rattle can paint.

I drilled holes to accommodate the railings and glued the lamp to the bracket.

I glued the light over the door and carefully added the partial railings onto the top landing. All that's left to do on this structure is a bit of weathering on the roof and the foundation/stairs.

Next, I started to paint the Wethersfield Lumber Co office. The base color is dark gray rattle can primer, then Apple Barrel Granite Gray on the walls, purposely painted lightly to simulate worn & peeling paint. The trim color comes next and will "dress up" the relatively messy walls.

While I was at it, I drybrushed the same "granite gray" paint over the outhouse. I was pleasantly surprised to see how much it looks like weathered wood.

While I was in the paint room, I grabbed the lineside details I'd spray painted last week (yes, that's actually white - the color in the camera is off a bit).

ChrisZ made these from actual New Haven RR prototypes, including beveled base and top, and - most impressively - recessed letters!

The recessed letter isn't only prototypical, it makes it pretty easy to paint. The base color is, of course, white but I used a 000 brush to add black acrylic craft paint to the recess. Of course, even if you're extra careful, you're going to get black onto the face of the post. No worries - just drybrush some more white over the letter.

It wasn't that hard to do, but it is fairly fussy work and does take some time. But it's an enjoyable way to spend a bit of time for some really cool details, especially with a cup of coffee and podcasts playing.
I spent a LONG time Saturday on Wethersfield. The good news is that I had a nice long block of time to spend. The bad news is that I don't have lots of progress to show for the amount of time used.

However, I did plow through some mental roadblocks and tried my hand at making a few different grade crossings - and roads. Stay tuned & maybe you'll pick up a few tips!

Friday, March 6, 2020

Friday Fun: A Few Words About Wordless Wednesday #306

Way back last June, I wrote about a debate I was having concerning whether to move the siding at the Wethersfield Lumber Co. What I didn't mention at the time was that the debate wasn't just internal, but had been prompted somebody familiar with the area who felt pretty strongly that the siding should more closely follow the prototype and be parallel with the mainline.

Well, I'd concluded last year that the trouble of moving the siding wasn't worth the extra prototype fidelity. But last month, I had a change of heart - not the least prompted by discovering this in the NHRHTA Photo Library:


Yup - you see what you think you're seeing. Right there in our collection all along (or at least since the cardboard tubes containing a bunch of items were donated) is the honest-to-gosh prototype diagram for the Wethersfield Lumber Company siding. We discovered it as we were cataloging the items during one of our volunteer nights.

Talk about a shocker!

So yeah, I finally succumbed to Dave's persuasion - pushed along pretty hard by this discovery as well. The siding is on the move - but don't expect me to include the switchback. Really.

Thursday, February 20, 2020

"Eastern-izing" an "Old West" Building

I'm certainly no expert when it comes to architecture west of the Mississippi, but when you imagine an "Old West" town, what kind of buildings come to mind? Saloons? Assayer's offices? General stores? What do they all usually have in common?

False fronts.

Well, waaaaay back when I first started modeling the Wethersfield Lumber Co., I decided that Walthers' Walton & Sons Lumber kit would make a fine stand-in until I came across photos of the prototype.


Unfortunately, only the main shed was suitable based on the the one obscure prototype photo I was able to find:


The office building included with the kit, was decidedly - well - "western" looking:


No problem - my original orientation of the shed didn't allow any room for the office building (which was located on the west side of the shed - which would be between the shed and backdrop on my layout). But now that I've moved the siding, I have room for the office.

Well now.

After going through my stash of structure kits looking for something suitable, and not wanting to bother to scratchbuild since I haven't ANY idea what the prototype looked like, I gave the Walton Lumber Co. office a second look.

Hmmm...... if I "un-western-ized" it, it might just fit the bill - especially since it's at the back of the scene next to the backdrop. So I decided to tackle it, and build some new skills along the way.

Here's the problematic wall as it comes.

First step was to razor saw off the top part, using the overhang as a guide for cutting.

And here's the result. I considered just moving the cutoff piece down to splice, but realized pretty quickly that wouldn't work.

So I got a piece of .020 x .188" strip styrene (Evergreen #128) and, after marking it for cutting to fit, chopped it with my NWSL Chopper.

I ended up cutting it just a little bit long - but it's always best to cut long and sand to fit than vice versa. So that's what I did here, using my NWSL True Sander.

Here it is, ready for cementing in place with Scalecoat Probond liquid cement, applied with a microbrush.

Once in place and the glue set (which only took a minute or so), I used different grades of sanding stick to smooth out the joints and blend everything in.

Next, I tackled the overhang. At first, I considered splicing a piece in there, but it was hard to match the dimensions with what I had on-hand. And I figured a splice on the overhang would be especially difficult to do well and/or hide. So out came the snippers and off came the overhangs.

I just used the snips to remove most of the overhang. I took off the rest with a chisel from Micro-Mark and sanded smooth.

To replicate the overhang (or at least come very close), I used a strip of .030 x .100" styrene (Evergreen #135). I cut it roughly to length then used the end of a square to make sure the strip would be perfectly perpendicular to the wall. I tack glued it with the Probond, let that set, then applied more solvent to the rest of the joint.

Then all I had to do was use a razor blade to chop off the ends flush with the wall.
 Here's where I started:


And here's where I ended up:


The stock kit wasn't really suitable for my locale, but by doing this simple modification I can put it to work on my layout. Plus, I developed some new splicing/patching skills along the way. Not bad for an evening's work! 

Monday, June 24, 2019

Wethersfield Lumber Co & Prototype Fidelity - Worth the Cost?

Long-time readers will recall that I'm willing to redo things on the layout to make things more prototypically accurate - including removing & reconstructing trackwork and even redoing a backdrop to better match the prototype topography. But I may have reached the limit of my willingness to toe the line of prototype fidelity with the Wethersfield Lumber Co.

As with all things having to do with "prototype modeling," we of course consult the prototype. The older your chosen era, the harder that is - and you're limited to photos and maps (and the memories & recollections of those who were there... but more on that later).

In the case of the Wethersfield Lumber Co., I've got one not-so-decent photo. . .

Click here for the story of how I got it
. . . and one relatively accurate map:


For the longest time, I just had the siding branching off the mainline, all loose and whatnot - waiting for the day I got some additional information. Well, once I saw the photo and saw that a Walthers kit would make a reasonable stand-in, I built the kit and started roughing in the scene.

Unfortunately, given my space constraints and the size of the lumber shed (already WAY shorter than the 21" long a true-scale model would be), this is the scene that resulted and how it looks today:


Eagle eyes (such as those possessed by my friend and structure builder DaveM) will notice right away that something is amiss. Namely, that the lumber company siding is not parallel to the mainline(!)

There are a few reasons for this, all having to do with the space constraints alluded to above. Primarily, I wanted to maintain some space/distance between Wethersfield Lumber and the Fernwood Street scene (a focal point, since John Wallace's house is there - more on that in an upcoming post). On the prototype, there's over half-a-mile between them, so I wanted them to be visually separate.

Also, there is the matter of the siding and surrounding area all being thoroughly gooped in...


Nevertheless, not being bashful about doing major changes for the sake of prototype accuracy, I decided to at least mock-up what a change would look like . . .


Changing things so that the siding & shed are parallel to the mainline (and, incidentally, perpendicular to Jordan Lane - seen between the shed and Ballantine's in the pic above) would require chiseling out all the ground goop, risking damage to the subroadbed (in this post you'll see that the area is built on a combination of plywood and foamboard) and, of course, prying up & moving the track. I'm up to the task, but I'm not convinced the work would really be worth it. Sure, the siding and shed would match the Sanborn map, but it starts to crowd into the Fernwood neighborhood a bit.

All prototype modeling is a compromise of accuracy within the space available. But the "best" examples of prototype modeling strike the balance in such an effective way that you hardly notice any compromises made. In the case of (finally) locating the Wethersfield Lumber Co., the "best" location may be what makes the scene look right overall, especially when there's nothing but one blurry photo and an insurance map to tip my hand.

Well, that and the razor-sharp memories of a certain couple fellas that grew up in the neighborhood during the era I'm modeling!
%^)

What would you do? How far are you willing to go in the pursuit of true prototype fidelity? How do you balance space constraints with prototype accuracy?

Weigh in in the comments below!