

I guess I should just bite the bullet and admit it: I can't keep up with this blog as much as I'd like. Either I'm too busy with the usual stuff of life/work (which nobody wants to read about - and I sure don't want to waste time writing about), or there ends up being so much cool stuff going on at once that - before I know it - days/weeks have passed and it's then old news. That's a nice problem to have, but still a "problem" when it comes to blogging. I'll just try to post more often so things don't backlog & build up too much.
And there have been a LOT of things lately. Since my last full progress report (way back on May 18 - ugh!) I:


The cab is a bit more complicated and at first I was just going to try and mask the windows and paint right over the factory paint (maybe trying to remove the road number first). But on advice from friend Schuyler, I used a (very!) small screwdriver to gently pry up the contact board for the rear light (see pic above). . .

. . . used tweezers to peel off the electrical tape . . .

. . . and pulled the rear light out of the casing. I also used a small screwdriver to pry out the windows (remove the side windows first) and pry off the headlight casing. Unfortunately, the rear light lens is so well glued in that I couldn't remove it. So I may end up just having to mask that off for painting.
With everything taken apart down to the main styrene body parts, it was time to strip the paint! (Beware - graphic images - PRR fan viewer discretion advised).
 |
| Reminds me of a frog in formaldehyde %^) |
.jpg)
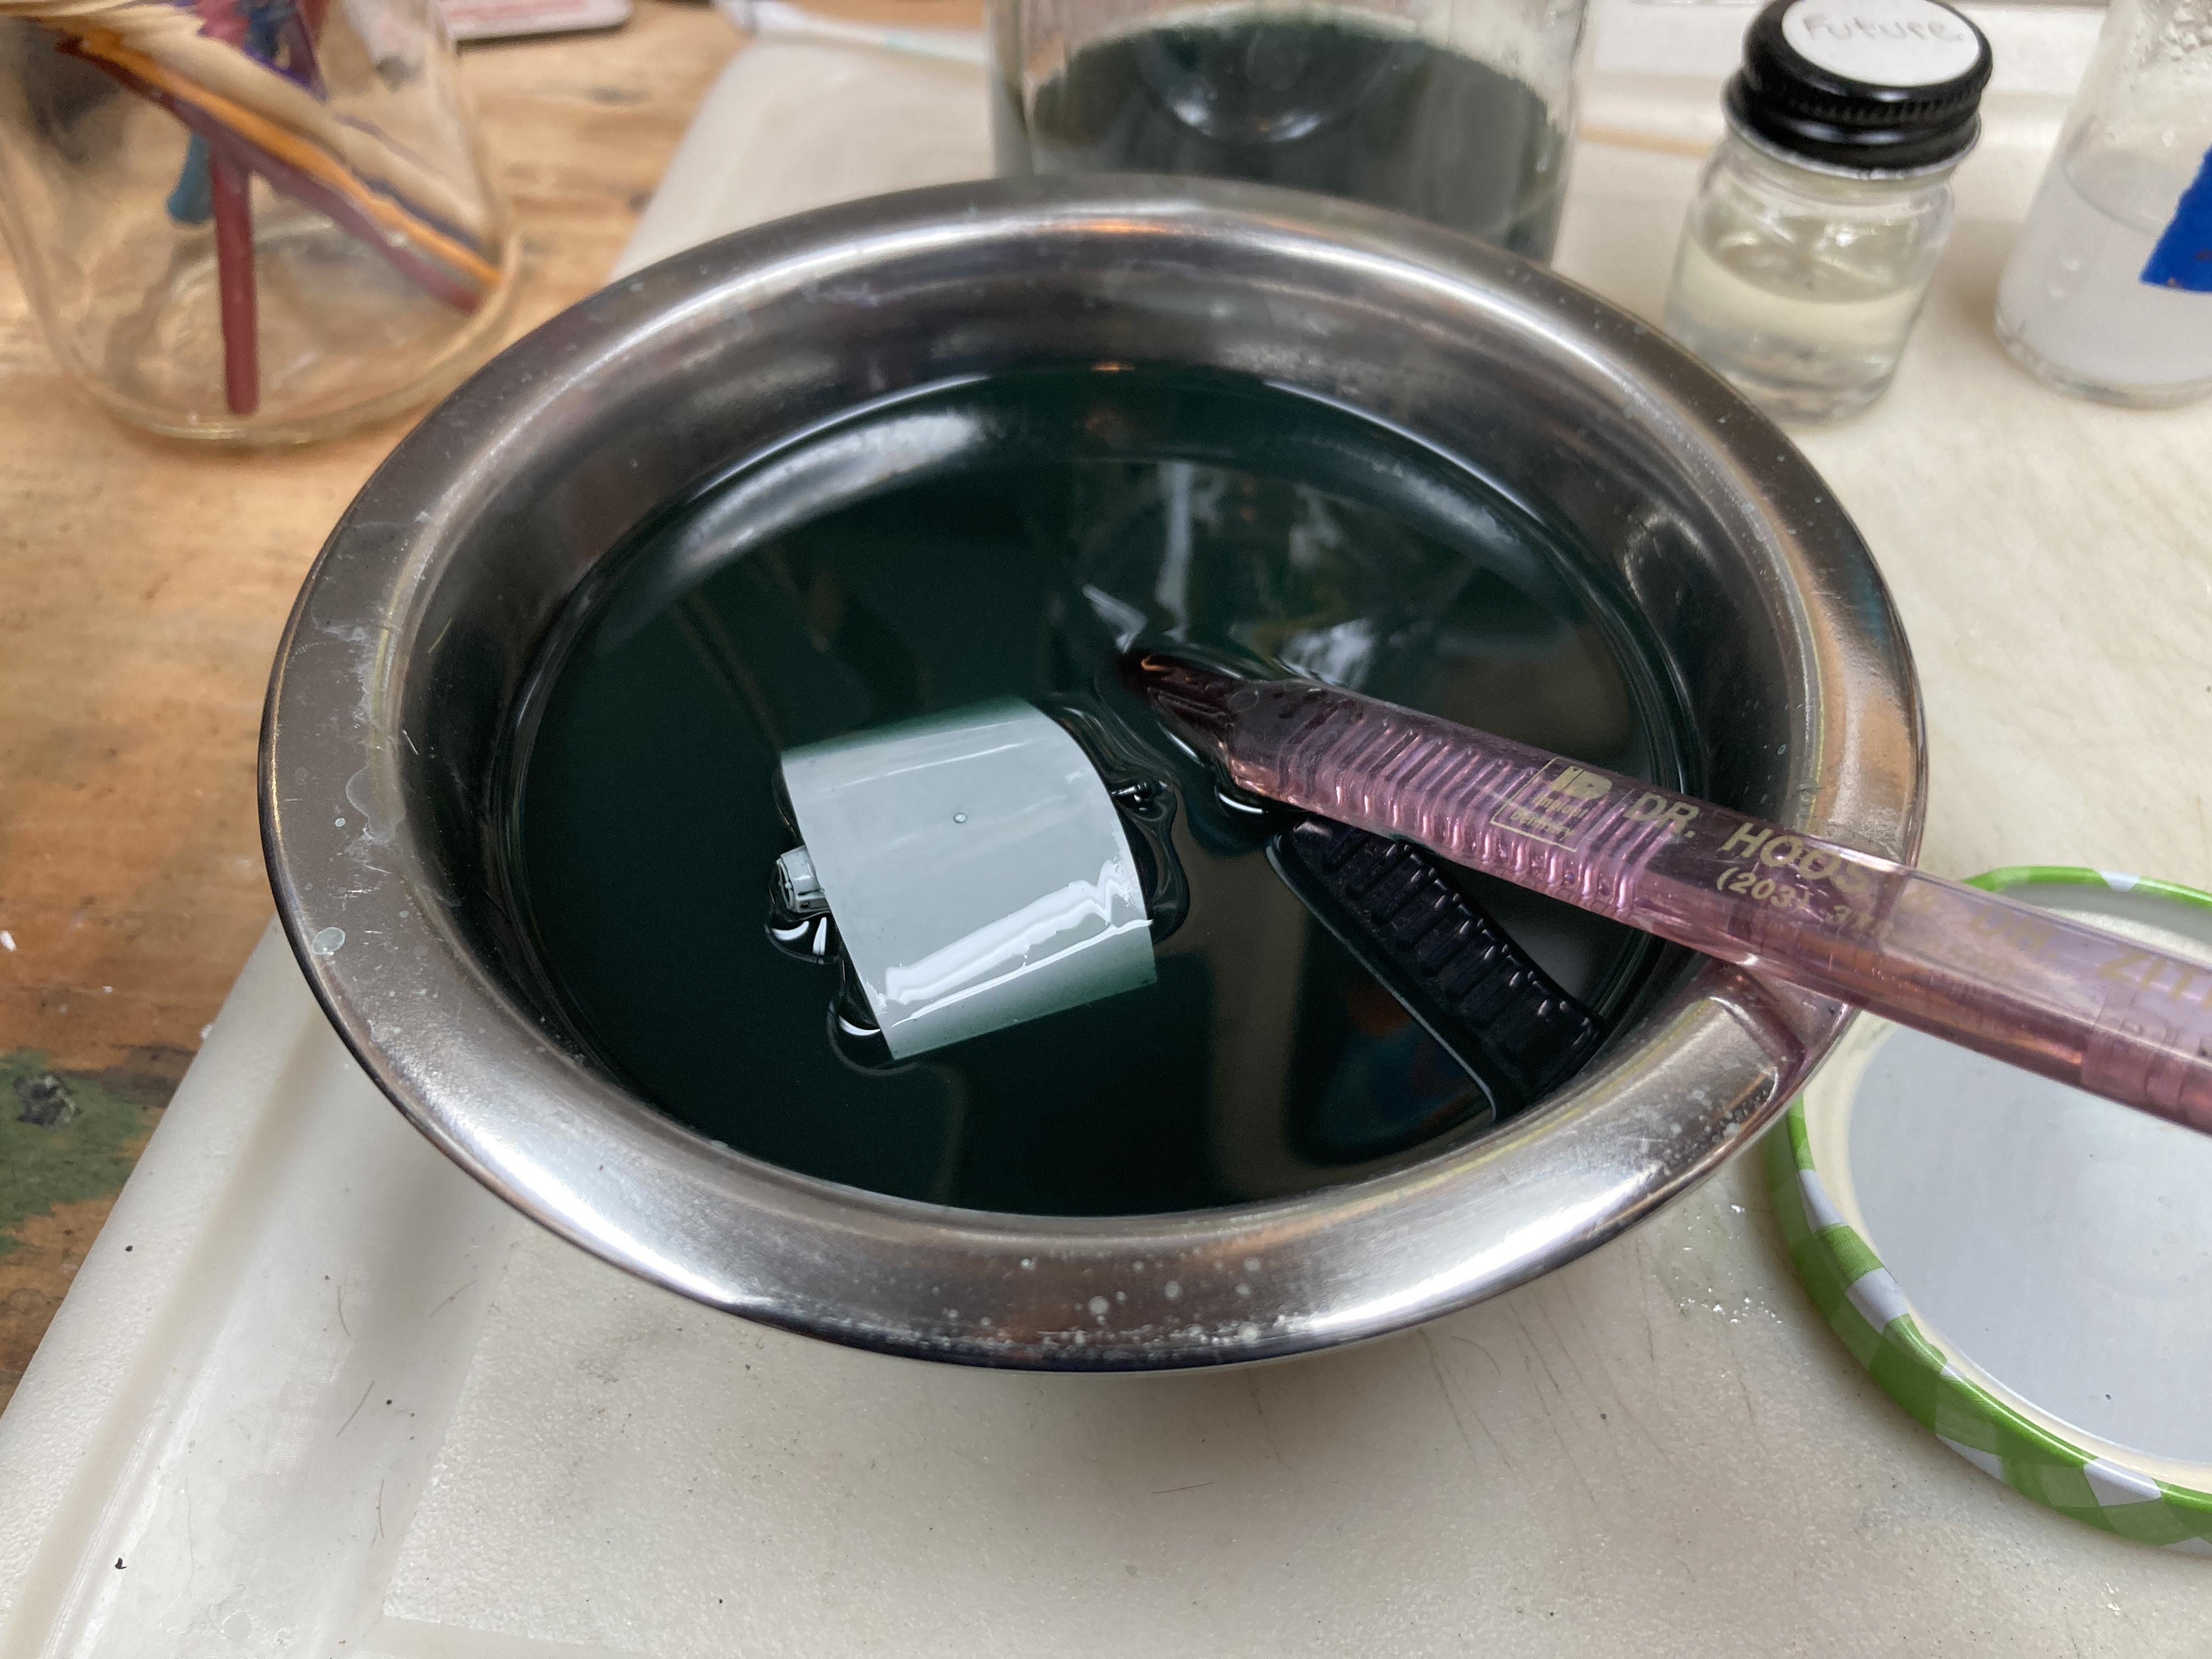
I then dumped the whole jar & parts into a bowl and, using a soft/old toothbrush, gently cleaned off the remaining paint residue. I was pleasantly surprised at how easy it all came off - no hard scrubbing needed at all.

While I've since heard from others that 91% alcohol is safe for plastic (some folks claiming to have left parts soaking for days/weeks!), and won't even unglue details, I moved the parts over to a "stop bath" of soapy water for final cleaning.

After a final rinse under running water, and air drying, this former PRR unit is ready for additional details, paint, and decals to convert it to B&M 1109!
I haven't just been working on the SW-1 though.... While I was in PA, I scored a set of ESSO gas station decals at one of the hobby shops we visited. So I've been trying to get that finished too. But I'll save that story for next time...


