Showing posts with label Benchwork. Show all posts

Friday, November 19, 2021

Ten Year Anniversary

As I was putting together (well, really, updating) a presentation on Modeling the Valley Local that I'll be doing tomorrow for the NMRA's NCR Division 2 (way out in Michigan! Thank goodness for Zoom...), I came across the following slide:

And I realized with everything going on last month, I'd totally blown past the 10 year anniversary of starting this layout(!)

So, albeit a little belated, here are a few fun photos from the early(est) days . . .

October 29, 2011
With Randy's help, I'd developed a rough trackplan, but most of the final planning was done with full size mockups on the floor like this. This will be Middletown, with a "typical" Valley Local for scale.

Looking back toward the peninsula, with Wethersfield roughed in on the far side.

November 16, 2011
To be fair, October-December 2011 saw the final planning & mocking up. This is Essex, being roughed-in in the other room. I wouldn't start laying the first track until January, 2012 - and I wouldn't get to Essex until two years later.

Another view of the Wethersfield/Rocky Hill peninsula, with Rocky Hill being mocked-up.

November 25
First benchwork going up - so maybe I'm actually 6 days early for a 10 yr anniversary? :^)

November 26
View toward Middletown, with Rosie supervising.

November 28
Looking toward Rocky Hill & the peninsula.

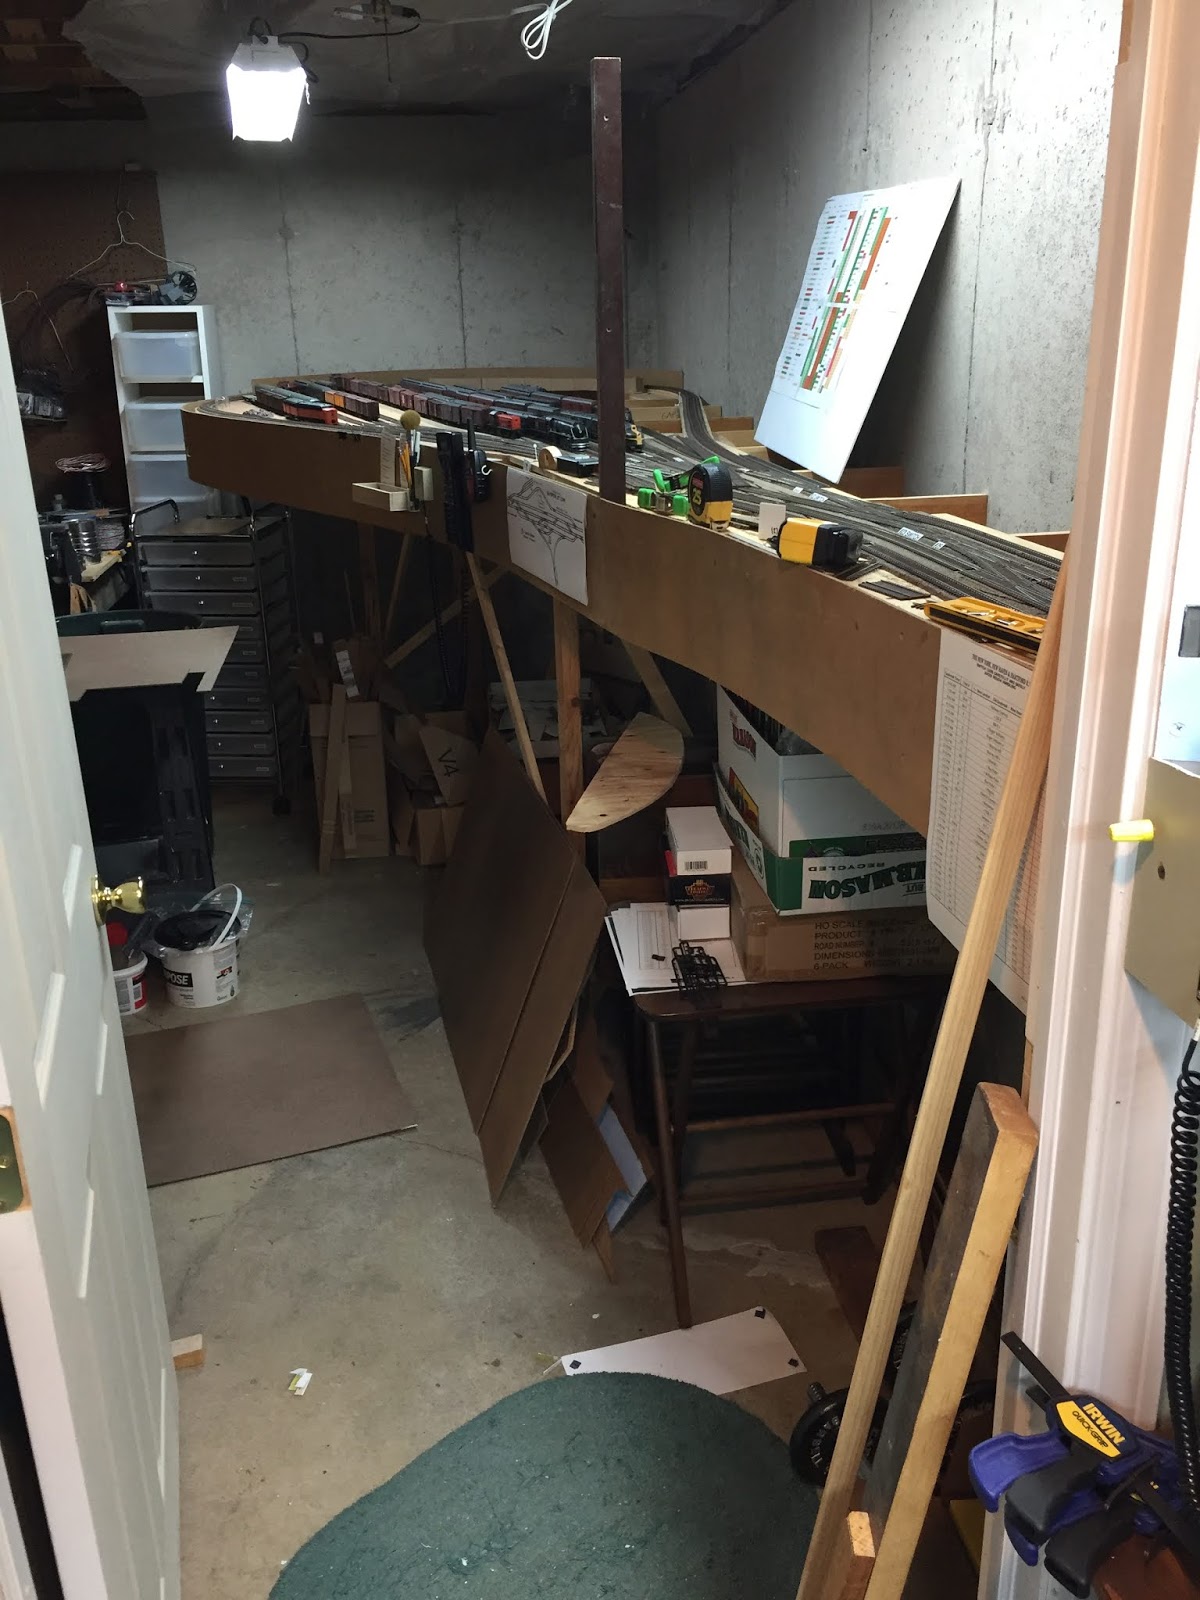
December 17, 2011
Overall view of the main (Middletown/Cromwell/Rocky Hill/Wethersfield) room.

I moved the craft paper & turnout template mockups from the floor to rest on the benchwork. Then, using more mockups of buildings & such, I finalized the track layout. This is Wethersfield, looking back toward the "north" end of Middletown in the far corner.


Using all this info, I drew outlines around the track and proposed building footprints to determine the subroadbed/plywood cuts. This is Dividend looking toward the Goff Brook/Wethersfield end/side of the peninsula.

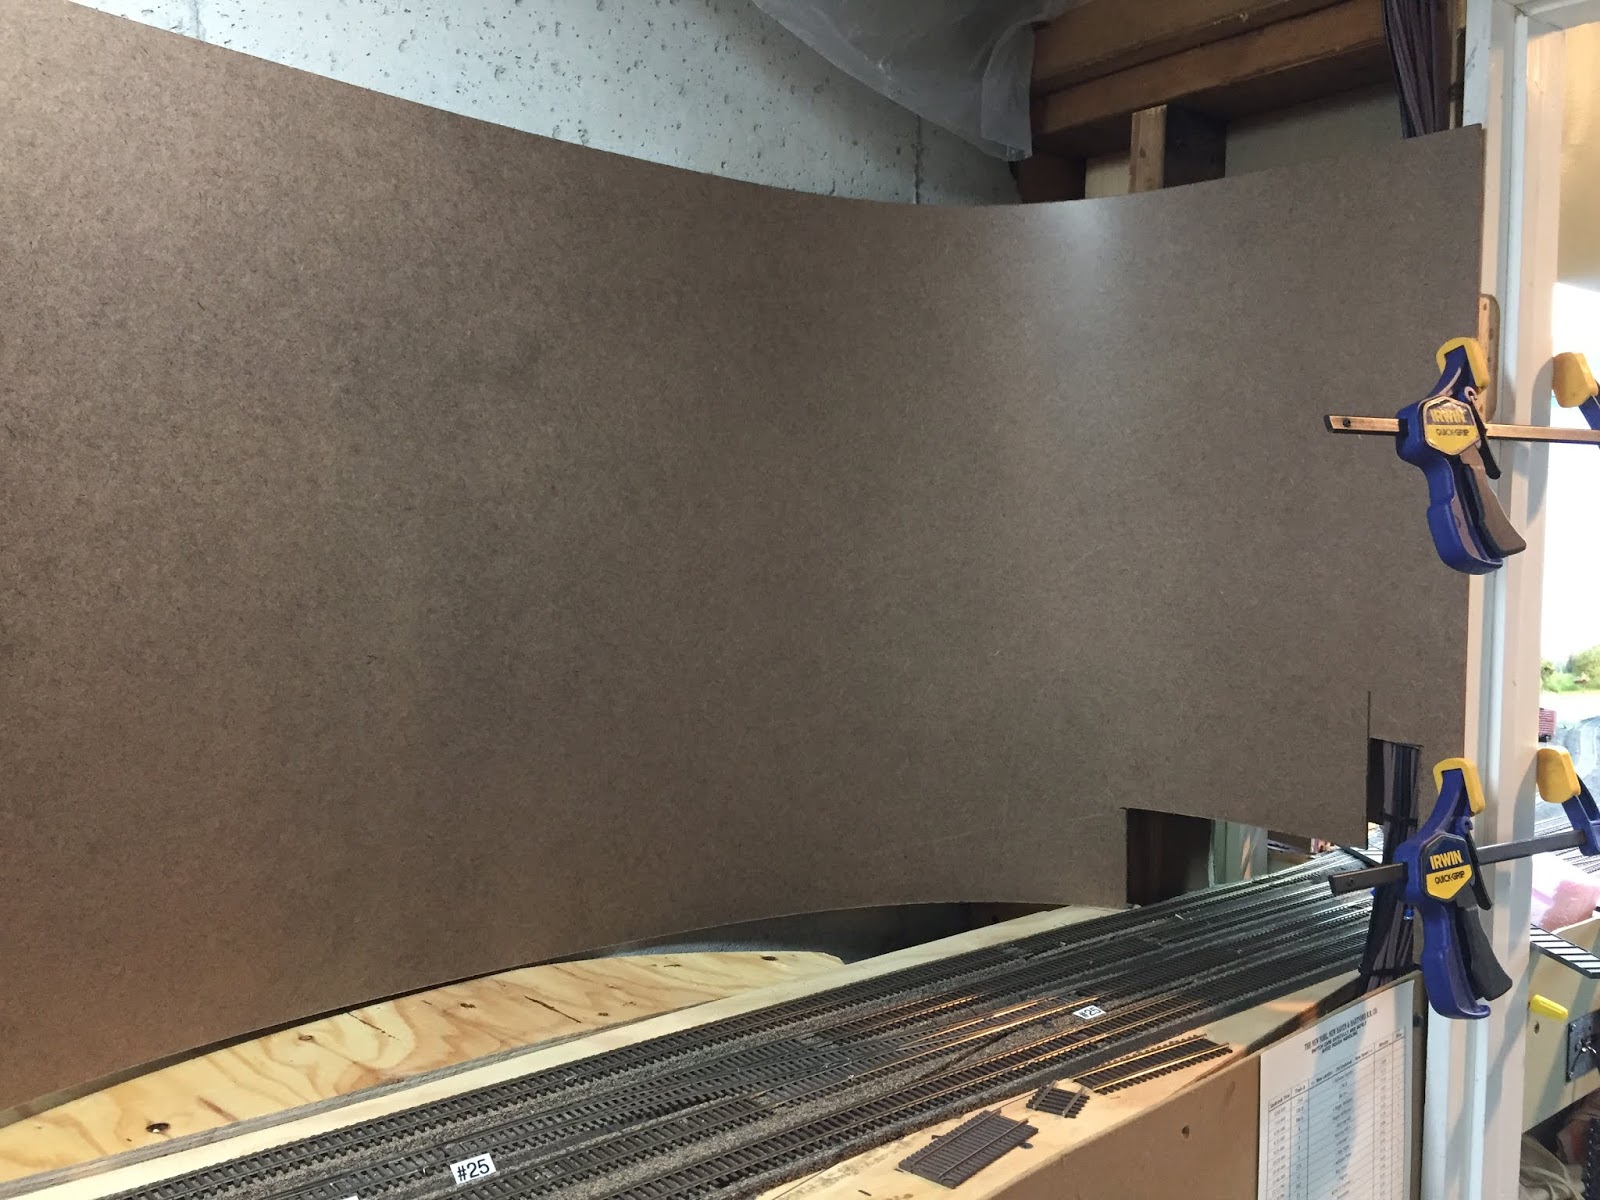
Then it was "just" a matter of cutting up the paper and arranging the cutouts on plywood in cookie-cutter fashion . . .

. . . then lay it on the benchwork. This is looking toward the "neck" of the peninsula - Rocky Hill on the left and Wethersfield on the right.

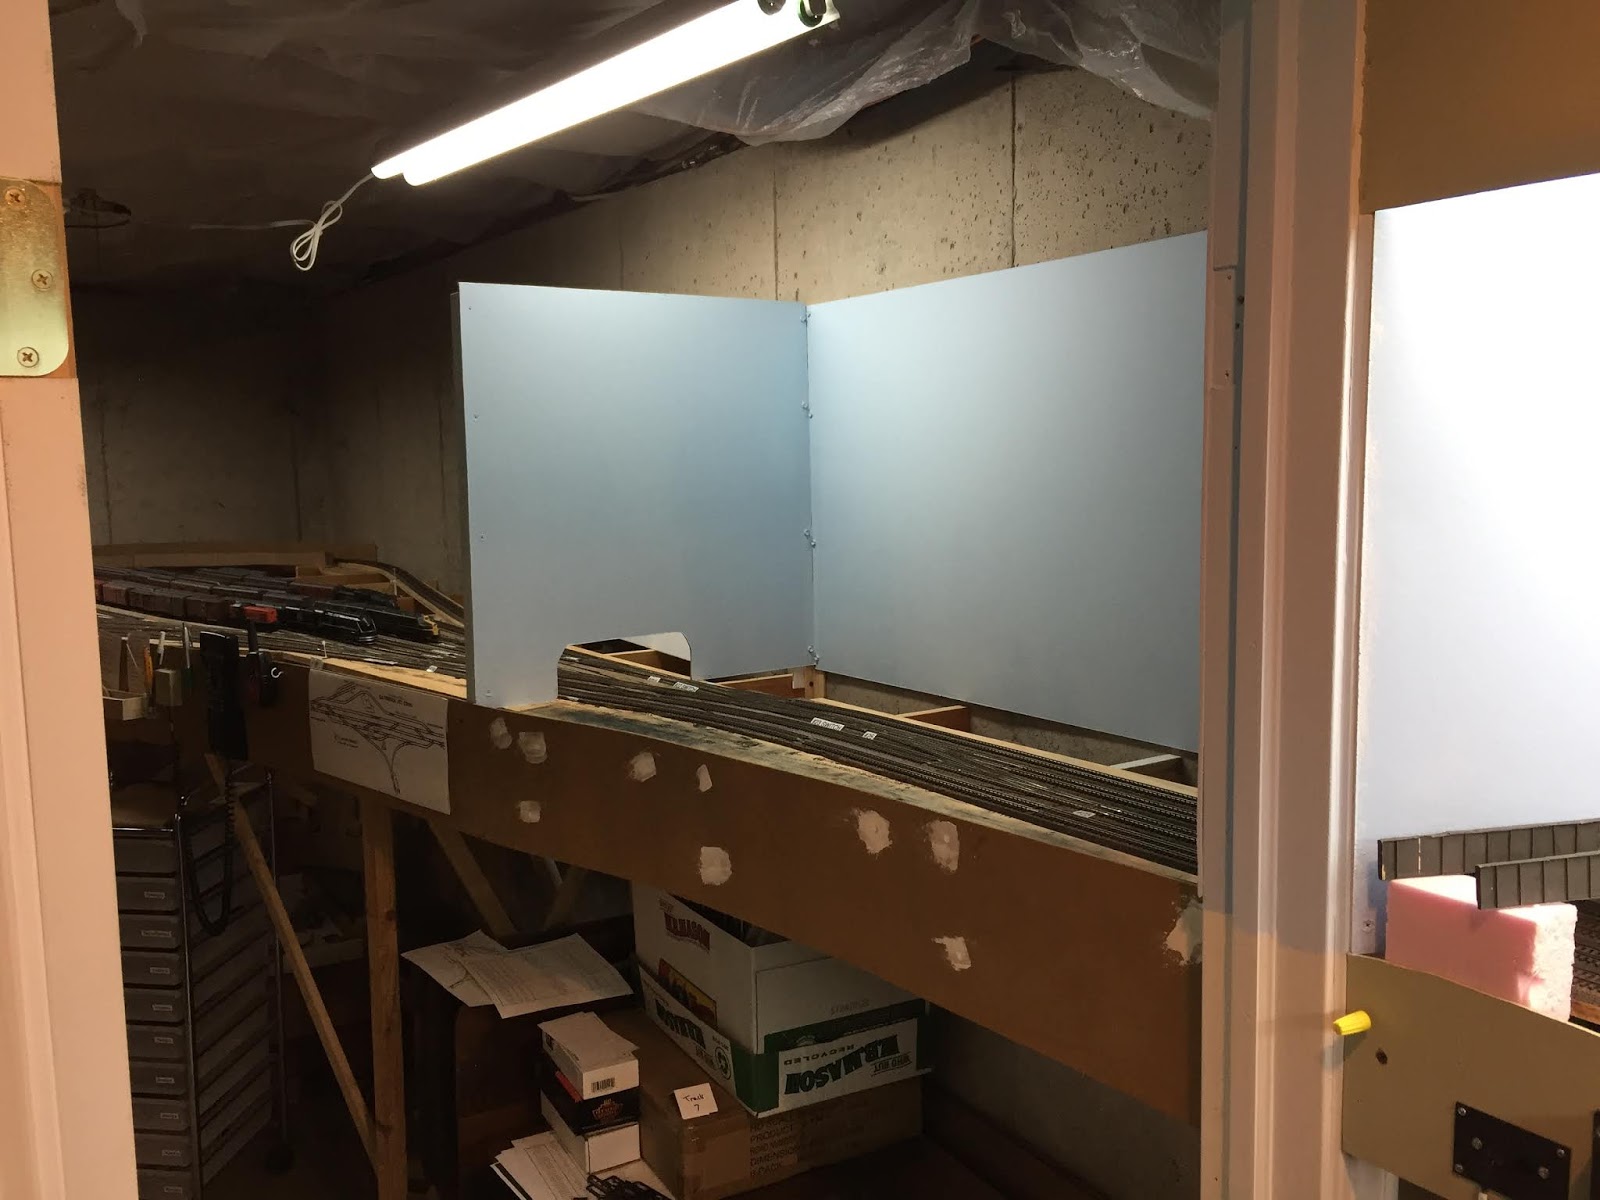
New Year's Eve - December 31, 2011
This was an ill-fated experiment in raising the layout to eye level. As you can see, given the benchwork/girder height, it would have required really long risers!
I'm glad I rethought this idea.


January 3, 2012
Speaking of risers, with the coming of the new year - and all the subroadbed cut for the layout in the "main" room - it was time to set up a "riser construction workstation." For that, I needed a chop saw, wood glue, clamps, and LOTS of 1x2 & 1x1 material.

Risers galore!

Going into the archives for these early construction photos, I realize that while it was 10 years ago last month that I started documenting my layout progress, the "groundbreaking" (finishing planning/beginning benchwork) really happened this whole autumn season, 10 years ago.

Wow - time really flies. And the layout is nowhere near being done. Guess I'd better get back to it!

Hope you've enjoyed this little trip to the beginnings of the Valley Line as much as I have - and are as motivated as I am to make some more progress!

Monday, November 4, 2019

Construction Update - "Extending" the Saybrook Scene

Crews operating PDX-1 in Old Saybrook typically have to use a long lead off the east (left) end of Track 6 (aka the "Balloon" track behind the station). The good news about that long lead track is that they're able to stay off the busy Shore Line while switching. The bad news is that they have to go "off scene" into the other room (shop/New London staging area) to do it. So, at the (very high) risk of some "mission layout creep," I decided to extend the Saybrook scene "just a little" and finish the rest of the east end of Track 6.

This is what you used to see as you looked through the door into the shop/New London staging area. The Saybrook scene is at your right shoulder here. I've already added a vertical support (2x2) for the end of the backdrop.


Other than the fact that I'd like to keep the door, this is the other reason I don't just remove this short portion of wall. These are all the power distribution wires going from the Saybrook control panel to all the switch machines on the layout.
I started by fitting in a curved backdrop - again, of 1/8" Masonite


It looked ok, but really cut into the scene and would make adding the overpass (to the right) and the signal bridge (to the left) much more difficult.
So I decided instead on more of a "box" to maximize the horizontal real estate for the scene. Frankly, it's also constructed this way so that it'll be easy to remove if I change my mind later.


View looking from the shop back toward the Saybrook scene, so show how it fits together.

I went ahead and decided to finish the fascia here too, while I was at it. Eagle eyes will notice that the screw I used are not countersunk or hidden in any way. That's no problem at all in the corners - since, if I decide to keep this here I'll just cove the corners with vinyl (and that'll cover the screws). For the ends, I can just replace the screws sometime later.

View at the bottom of the stairs, showing the other side of the wall. Plan is to have two overpasses - one on each side of the wall - represent two sides of the same overpass.
Swing your head to the left, and this is what you see now.


I went ahead and filled in behind the track with foam and painted everything for a more finished look - including continuing the fascia color right across the doorframe in an attempt to tie the two sections together into one cohesive scene.

Compare this view to the earlier shots. I'm pretty happy with how it came out - but I'm still deciding how best to deal with scenicking it....
* * *

So that's all the major work on the layout that I've done lately - and it (hopefully) represents the last of the "heavy" construction needed for the layout (e.g. benchwork/masonite backdrop) - at least until I decide what to do about a valence.

I've also been doing a bit more scenery, have built & finished some scenic details, and have even started water & started building a few craftsman structure kits(!!). But details on those projects will have to wait til next time!

Sunday, November 3, 2019

Construction Update - Filling in around the Airline

Wow - Happy November already(!) It's been a fun-filled couple of months what with all the railroady events coming all at once right during my favorite season. If you haven't already, be sure to scroll back through the posts for my reports on the NHRHTA Reunion, MARPM, and OPtoberfest.

The only downside of so much goodness is that the layout has taken a bit of a back seat these past weeks - I haven't posted any construction update since I last did scenery in East Berlin at the end of August(!) But things haven't been totally idle. Since my last ops session, I've taken a break from scenery-making and instead have been been busy making a few changes and upgrades to the layout itself, with a view to finally finishing basic construction (well, except for the valence and maybe some other sundries that don't occur to me at the moment).

* * *

I'd always planned to do a "generic Airline" scene to the left of Somerset, but after accidentally knocking a loco off the elevated Airline track - and seeing it careen through the still-open benchwork to the floor - I decided it was finally time to start closing things up and get a backdrop in there.

A scene something like this . . .
Or this . . .
Here's what I started with. This is the area to the left of Somerset with the "Airline" on the upper level and the west end return loop on the lower level. Lead into west end staging is off to the right on the lower level. Where that little bit of tree backdrop fell off? Yeah, that's where the loco took a dive.

I used some scrap pieces of plywood for a base for the foam (figuring I could use the larger piece that was there before somewhere else)


First layer of foam is 1" thick with 1.5" thick spacers on that.
I'll top this off with another layer of 1" foam. Note that I've also added a 2nd "fascia" to face the foam and blend the scene into the upper level, leaving the Shore Line in a trench on the lower level to de-emphasize it. It shouldn't really be there, distracting from the Airline, but the location is a necessary evil. Not smart to bury it all since we still need easy access during operations.

Since the foam was just placed temporarily to get an idea of contours, I removed it in order to install the backdrop of 1/8" Masonite.

Clamps are your friend when you're doing this by yourself. I secured the two end pieces, then pressed/wedged the middle section in, secured right to the studs.

Screws are all countersunk, seams sanded smooth, with fiberglass mesh tape over that.

Then it's just a matter of topping, sanding, then topping again to make it all nice and smooth.

Final steps are two coats of "sky" paint. Another good view of the "2nd fascia"


Finally, needed to engineer some support for the foam behind the Airline track, which also has to be high enough to provide clearance for trains on the loop below. Here are a couple of long risers on the joists, along with foam block spacers in the middle at the back.

Provided a little lip of support at the back left corner as well.

A nice new one-piece of 1" foam cut to shape.


I'm leaving the foam off the front and the "slats" (plywood supports) loose for now so I can pop up from below and have easy access to scenic behind the Airline main.

So that's what's going on on the Airline. Tune in next time for an improvement on the Shore Line!

Tuesday, July 11, 2017

Tuesday Tip: Layout Curtains from Landscape Fabric

Layout curtains are one of those things that nag you, but you never seem to get around to. They're great for hiding all the benchwork - not to mention the various sundry items that collect beneath our layouts - but they can be expensive and a pain to install.

But I read somewhere recently (unfortunately, I don't remember where) where somebody idly wondered whether landscape fabric would work. And that little rhetorical question was just enough to light the bulb above my head. Fortunately, as I was at the local Wal-Mart helping the Missus find some stuff for her garden, right there in front of me was this roll of landscape fabric. So I figured for a $7 investment, it was worth trying out.


The roll languished in my basement for a few weeks while I mulled how to attach it to the fascia. But during my recent scenery base build, I began eyeing the spring clothespins I was using to secure the cardboard webbing while the hot glue cures. "Why not use those?" I thought. Why not, indeed...


I wanted a little break from cardboard strips and plastercloth anyway, so off I went with glue gun in hand and a bag of clothespins. 20 minutes later, here's what I had - clips glued to the back of the fascia.


And another 10 minutes after that - with a little help from the Missus (more than 2 hands required) - here's what it looked like under the Saybrook Wye.


Not bad for 7 bucks and half-an-hour - and there's enough material for 50 linear feet of layout - but the verdict is decidedly mixed. I don't like seeing the clothespins, the fabric itself isn't wide/deep enough (looks like high-water pants), and it's also very "curly."

So what would I do differently?

  • The fabric really has no weight of its own so just tends to curl in on itself.  So I cured the "curly-ness" a bit by taping the ends of the fabric to the wall.
  • You can see in the 2nd photo that the lever ends/tops of the clothespins hit the bottom of the benchwork/girders. That, coupled with a fascia of this particular depth, and the result is clothespins that you can see. This can be easily fixed by just cutting off part of the "lever" ends so the pins go up higher. Unfortunately, they're hot glued so I don't know how tough it'll be to remove & replace them. If too difficult, I can just paint them black. But I won't make this mistake again.
  • Finally, given the overall height of my layout, I'll see if I can find landscape fabric that is 4' wide rather than 3'. That would get me down to the floor with a little to spare (maybe for a hem with a weight in it, so it would hang better?). I suppose I could just cut 4' lengths of fabric and hang 3x4' sections around the layout, but that seems like a lot of work - and a lot of curly edges to have to secure.
But for now, it results in a look that's just a bit better than before. Certainly not my final product here, but definitely worth the time and money to try it out.

If you or someone you know has used landscape fabric for layout curtains, let me know! I'd love to hear whether folks use it differently (and not just in the garden %^)