Here are the latest progress photos. I think this is working out pretty great. But it raises another consideration...


I've mentioned before how much fun it can be to listen to podcasts while you're working - and if you're working on your layout, what better way to pass the time than listening to some model railroad podcasts.
There's some great ones out there (including Around the Layout, The Crossing Gate, Second Section, Crew Call with Mike Rose, and the grand-daddy of them all, Model Rail Radio - which even has a website reminiscent of the late '90s).
But my favorite one by far (and not only because I'm often a participant ;^) is the A Modeler's Life podcast hosted by Lionel Strang. It's about a lot more than model railroading - there are a lot of fun folks there talking about a wide range of topics, all with model railroading in common. The best way to describe it is that it's like you're down at the hobby shop hanging out with the folks, discussing all and sundry topics - from the latest locomotive release to who's in the chase for the pennant.
The episode that posted this past Monday though may be of interest to folks here at the Valley Local. Yours truly goes on (and, admittedly, sometimes on and on) about the latest goings on with the layout - including painting fascia, choosing skirting, lighting, and stripping the SW-1 shell.
Whether you give this - or one of the other podcasts - a listen, I think you'll enjoy the company while you're at your workbench, down in the basement, or even mowing the grass(!)
And if you have any recommendation of other shows to listen to, be sure to let us know in the comments below!


The pic above shows the back of the fascia in typical L-girder benchwork construction - specifically, how I attach the fascia to the joists with a 1"x1" cleat. As you may notice, I did not plan well for skirting. If I had, I would have had the cleat end at least 1" short of the bottom of the fascia. That would have provided room for a strip of Velcro to which the skirting could be attached.

Instead of sawing off the bottom end of each cleat (which I considered, BION), I hot-glued clothespins to the back of the cleats. It's important to attach the pins at a uniform height - that'll come in handy later...

In some places, the screw attaching the fascia to the cleat got in the way. Perhaps in a fit of laziness, I decided not to both Dremel-ing off the end of the screw and just glued the pin beside it. You may decide to cut off the screw point - but if you planned ahead better than I did, you probably don't have to use clothespins :^)
Once the pins are installed on each cleat (which, as it happens, are located at the end of every joist and the joists are on about 16" centers), it's time to attach the landscape fabric.
The first such fabric I used (see photos of the Saybrook layout section, as well as New London Staging), was too thin and plastic-y looking. It's ok and will do for now, but I'll probably replace it eventually. The biggest problem was that it was only 3' wide, so it looks too short (my benchwork is at least 48" high).
I later purchased this landscape fabric, primarily because it's available in 4' width. But once I opened it, I discovered two other great qualities: 1) it's much heavier/thicker than what I was using previously and thus hangs much better, and 2) it looks more like cloth than plastic.
Unfortunately, it turned out that 48" was about 6" too wide(!) There was either way too much dragging on the floor, or I had to try and fold it back. At a consistent width. Over 50 linear feet.

I tried cutting it into shorter, more manageable lengths, but then it didn't hang as nice and created unsightly seams.

So I figured I'd "just" cut it down 6" using my chop saw. . .

So far, so good. . .

D'oh!! While it looks a lot like fabric, it's still mostly plastic. Yup - what you see there is melted end from the speed of the saw blade. But at least it's now the right width! And you can still unroll it, with some difficulty. You have to basically tear the one end from the roll as you unroll it. Not too difficult, but it would be SO much nicer if these rolls came in 42" width . .
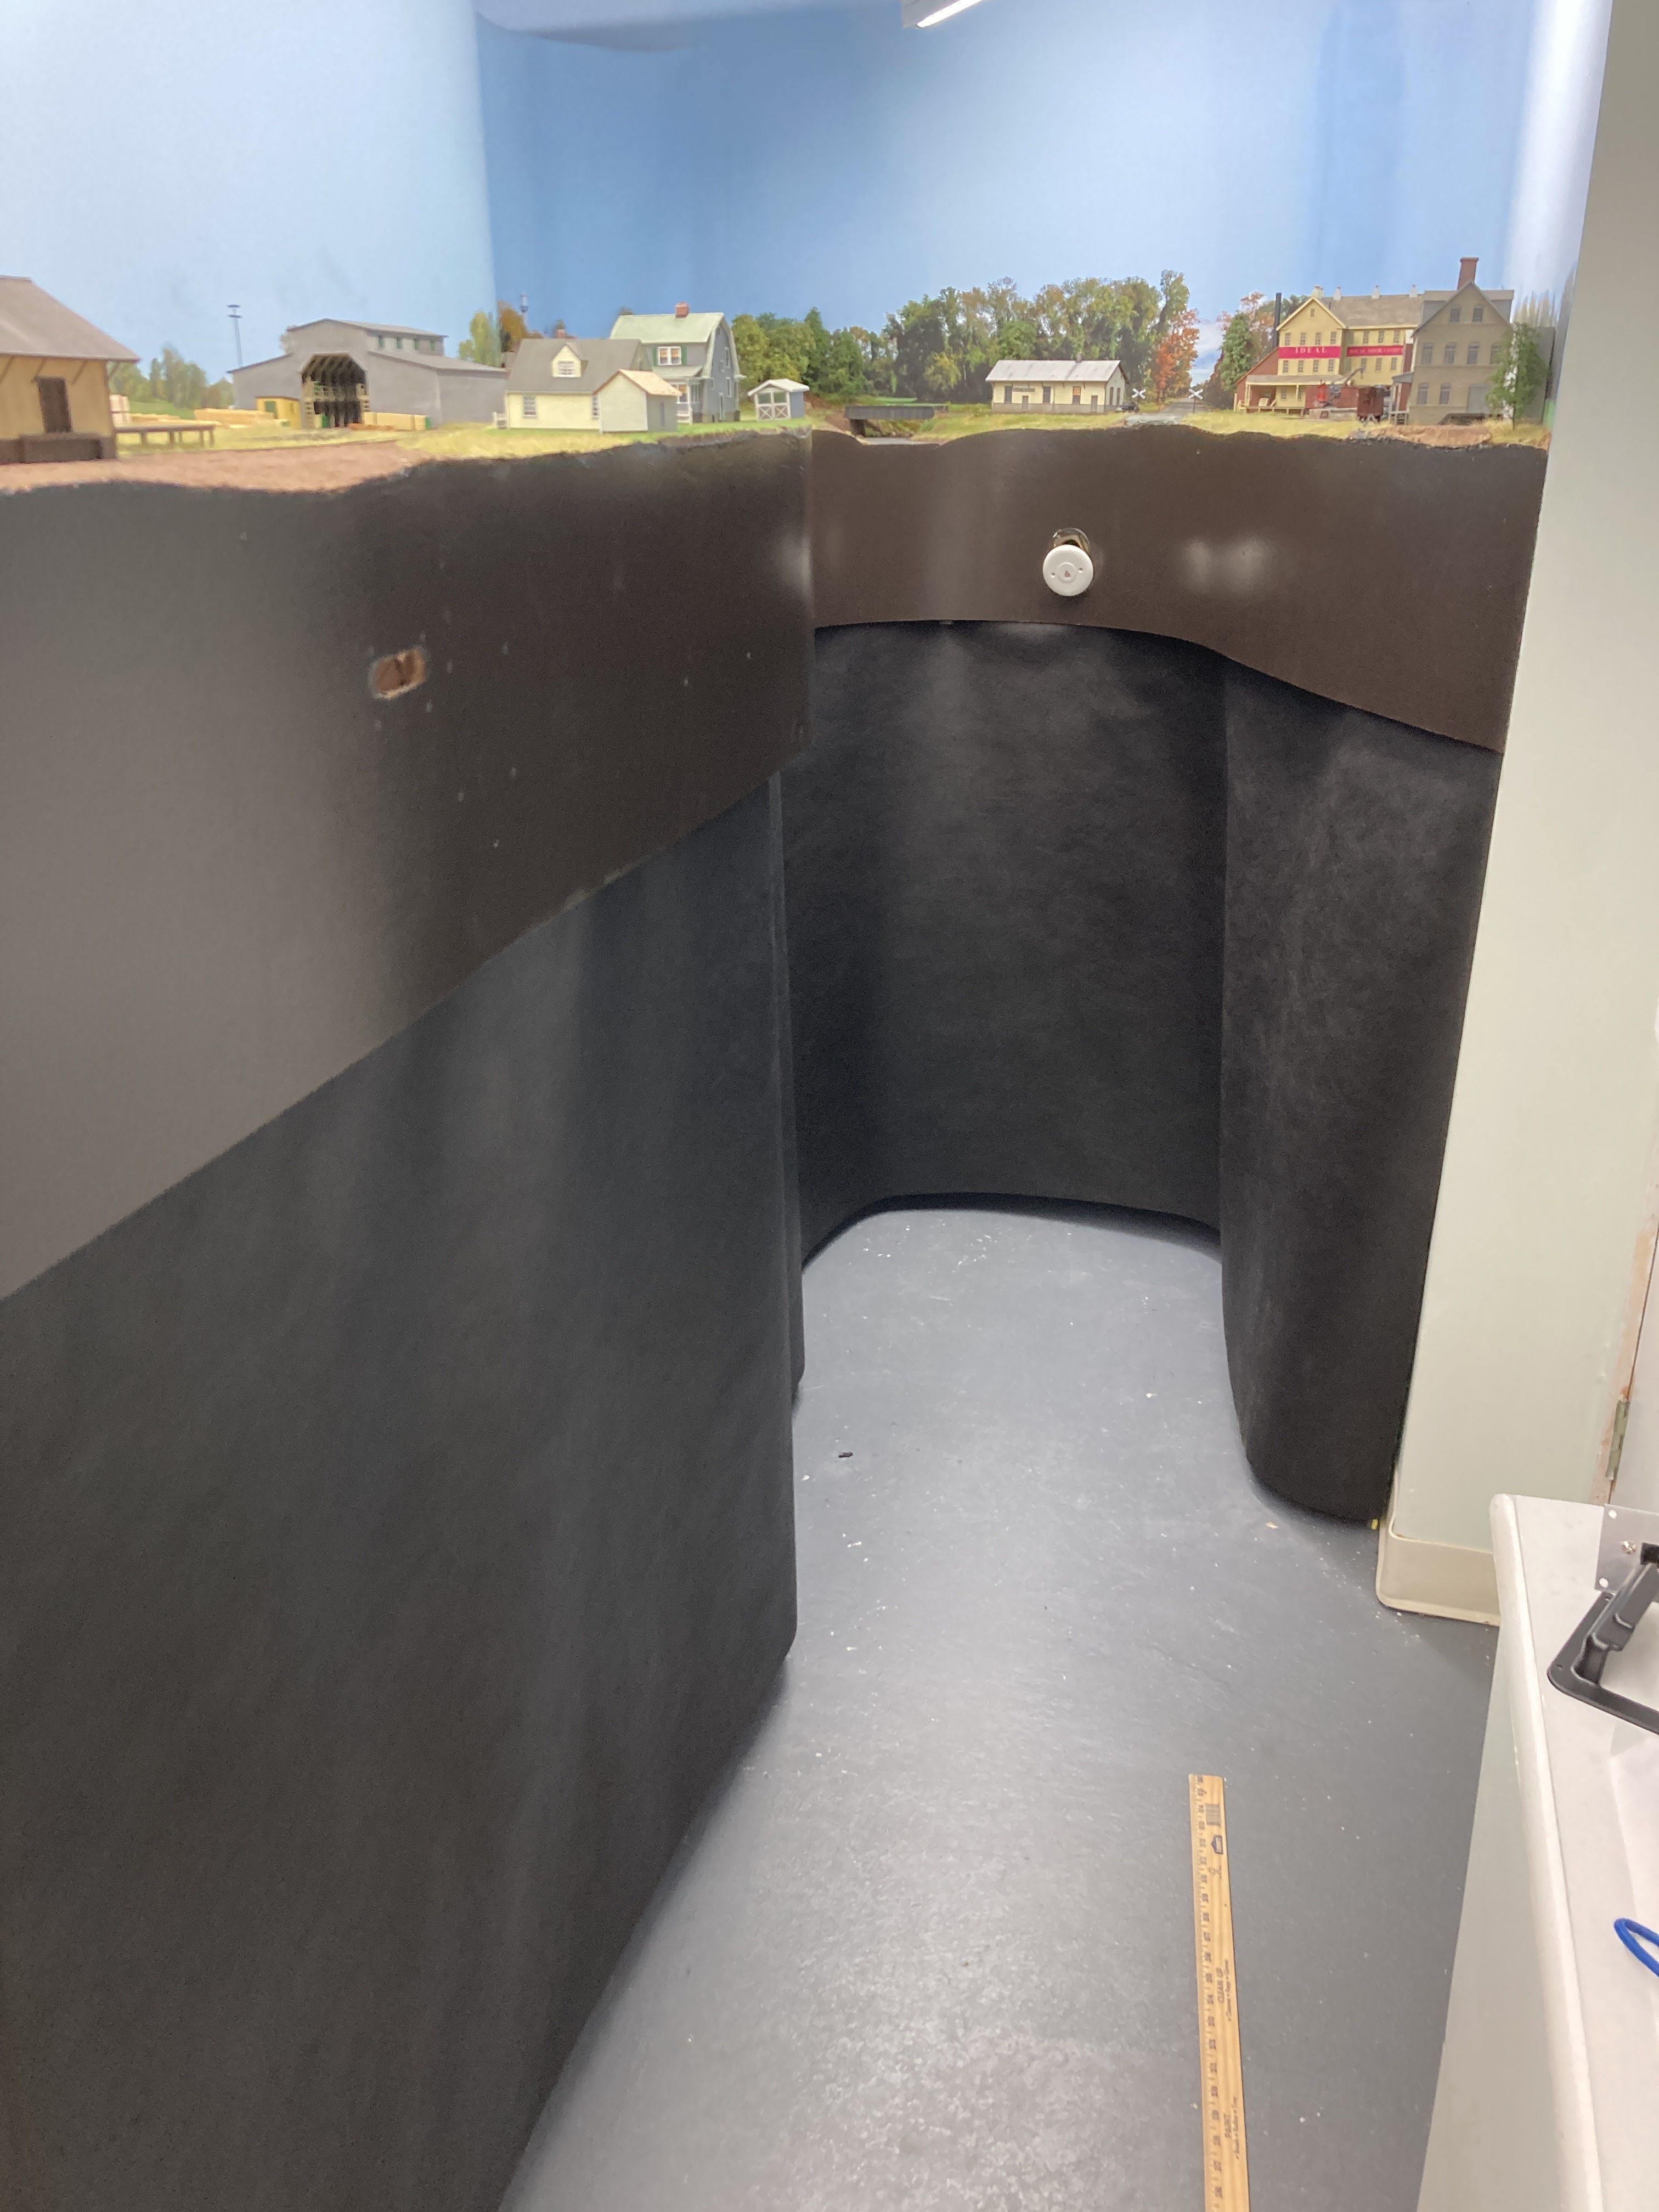
At this point, all I had to do was start at one end, put the top (ragged/melted) edge into the clothespin - right up to the spring on every one, so the fabric stays at a uniform height - and move on to the next 'pin.

There are some places where the 'pin can't be right on the cleat and the fabric has to go around the end of a joist or splice in the fascia. At those point, you will see a little gapping/bunching, as in the photo above, but it doesn't bother me at the moment and if it ever does, I'll notch the fabric at that point so it tucks up more nicely.
By the way, the photo doesn't render color all that great. The green is actually a bit darker, Pullman green, and the wood boxes are actually painted flat black.

I use inexpensive $1 wood boxes for switchlists, waybills, and other paperwork. I also hot-glue plastic tubes to the side to hold pencils and uncoupling picks (bamboo skewers). These particular boxes are deep enough to allow you to rest of can of soda or a cup of coffee on them.
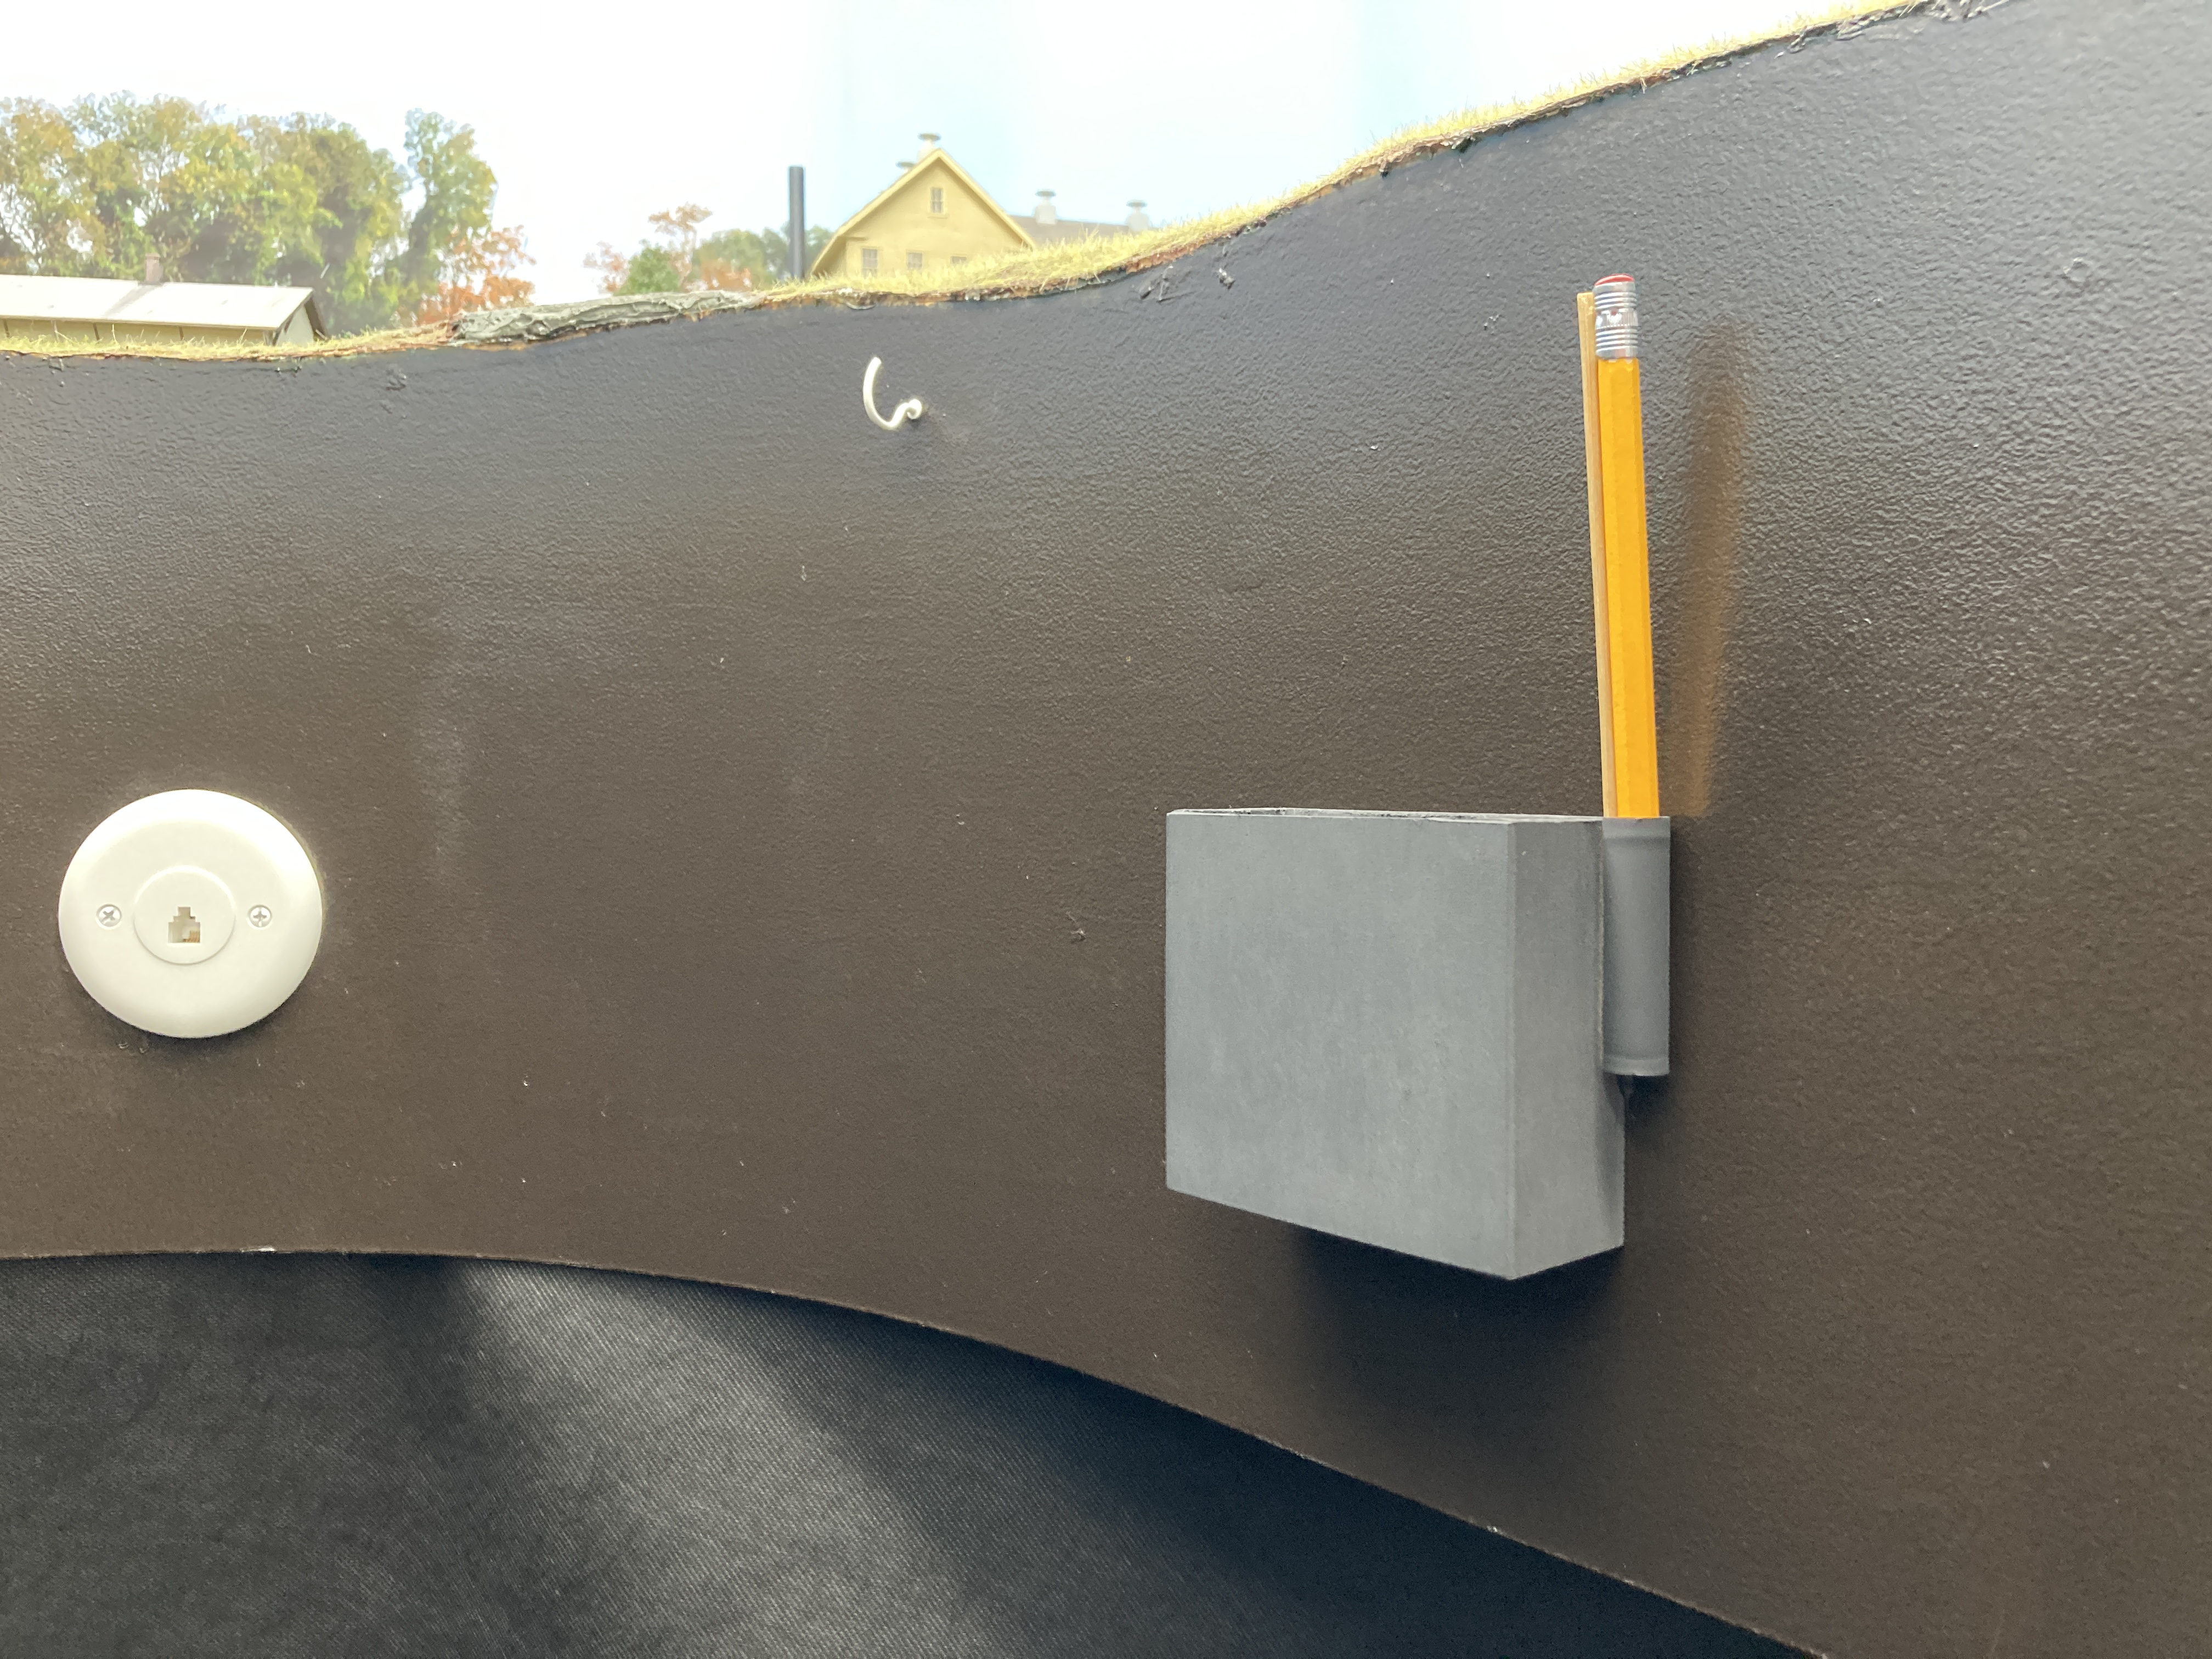
I'd originally envisioned these boxes as inexpensive throttle holders - and they work ok for that for smaller throttles, but certainly not my NCE hammerhead throttle or <gasp!> ProtoThrottle. So I instead use them as bill boxes in places where aisle width is at a premium - like here at the end of the Berlin Branch. By the way, speaking of inexpensive work-arounds, that's a regular phone jack repurposed as a throttle jack (which you can do with an NCE cab bus, provided it's at the end of the bus run).


I'm pretty happy with how the landscape fabric is working out. I have it just a couple inches off the floor, it hangs nicely and really finishes off the bottom of the layout. And the price is right too.
But I'll withhold my final, final verdict until I encounter my first seam. I think I'm going to use either double-sided tape or Velcro to join the ends evenly. And with so few seams, I'm not sure what kind of easy access I'm going to have to the area underneath the layout. Maybe it'll keep me from putting too much under there. Heh - or maybe just the opposite. It'll be a great place to hide stuff too. . .
So whattyathink? Leave your thoughts and feedback in the comments!

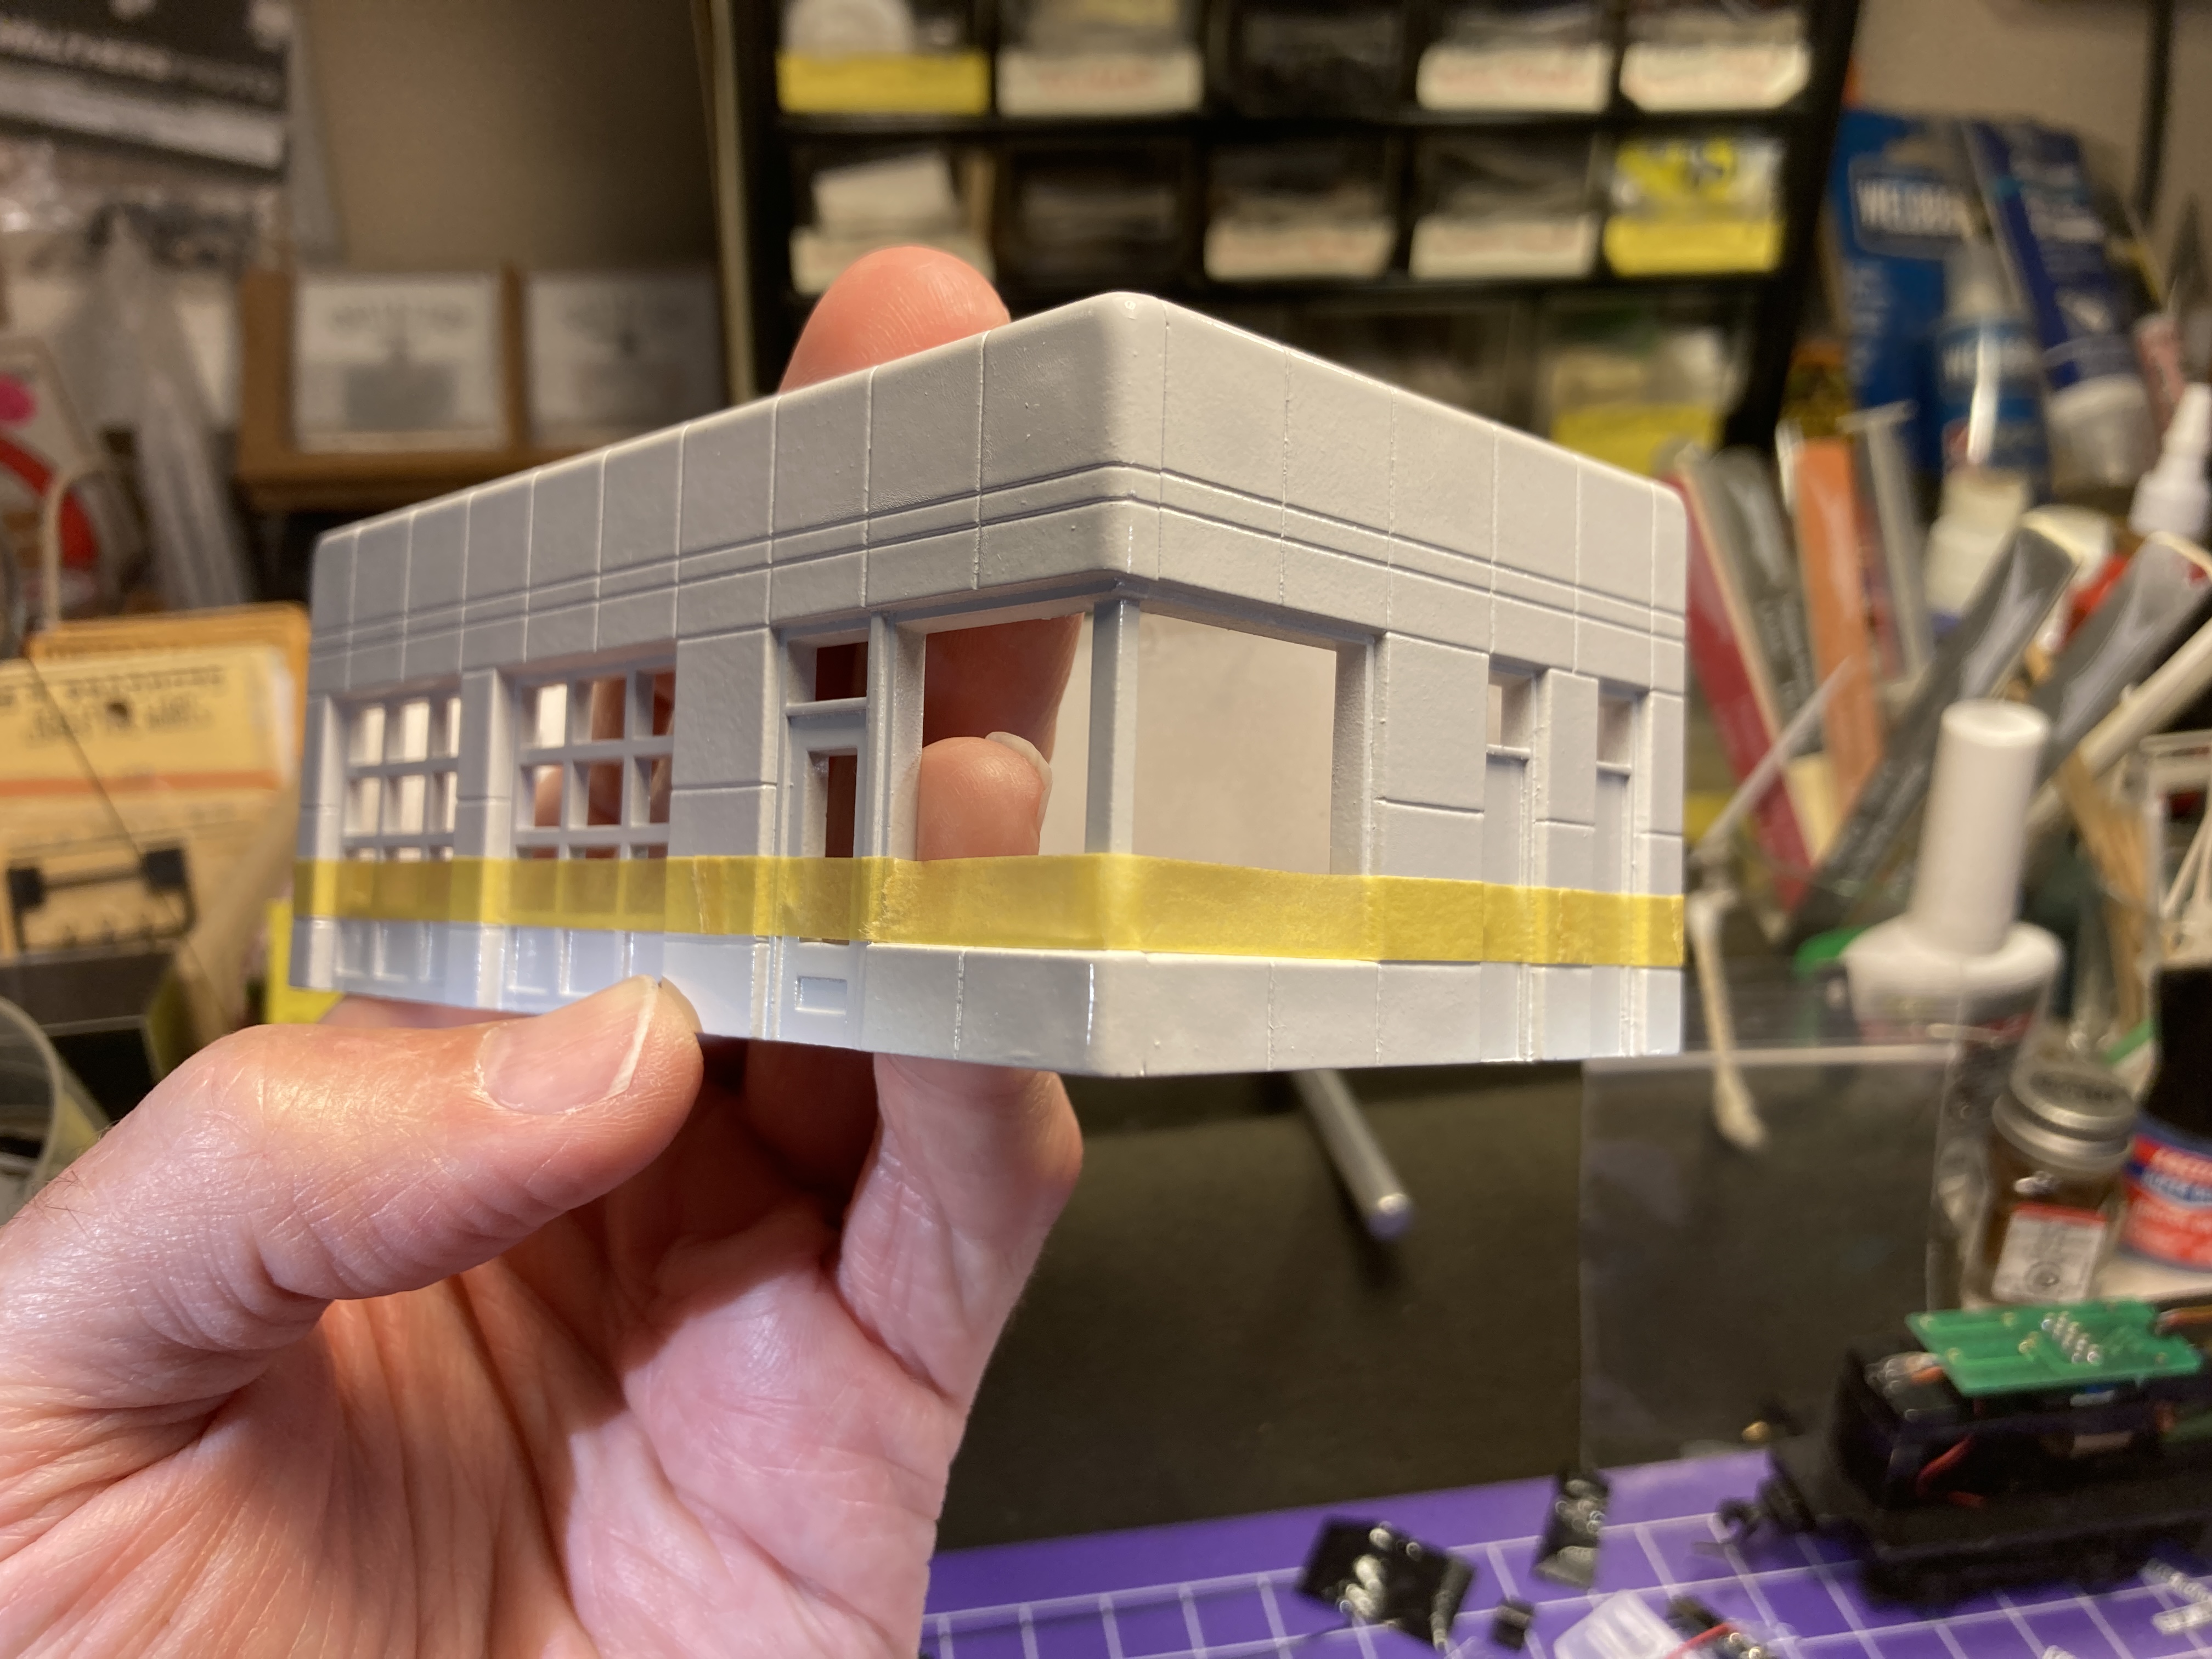
As a small tribute to my friend Jim Sacco, who recently passed, I decided Cromwell needed a gas station. The Sanborn map of the area indicates one existed south/east of the tracks and on the east side of Middlesex Turnpike (aka Main Street), but there's no photo. So I figured Jim's archetypical "Crafton Ave. Gas Station" would fit the bill nicely. Follow along as I start what's turning out to be a pretty easy build...
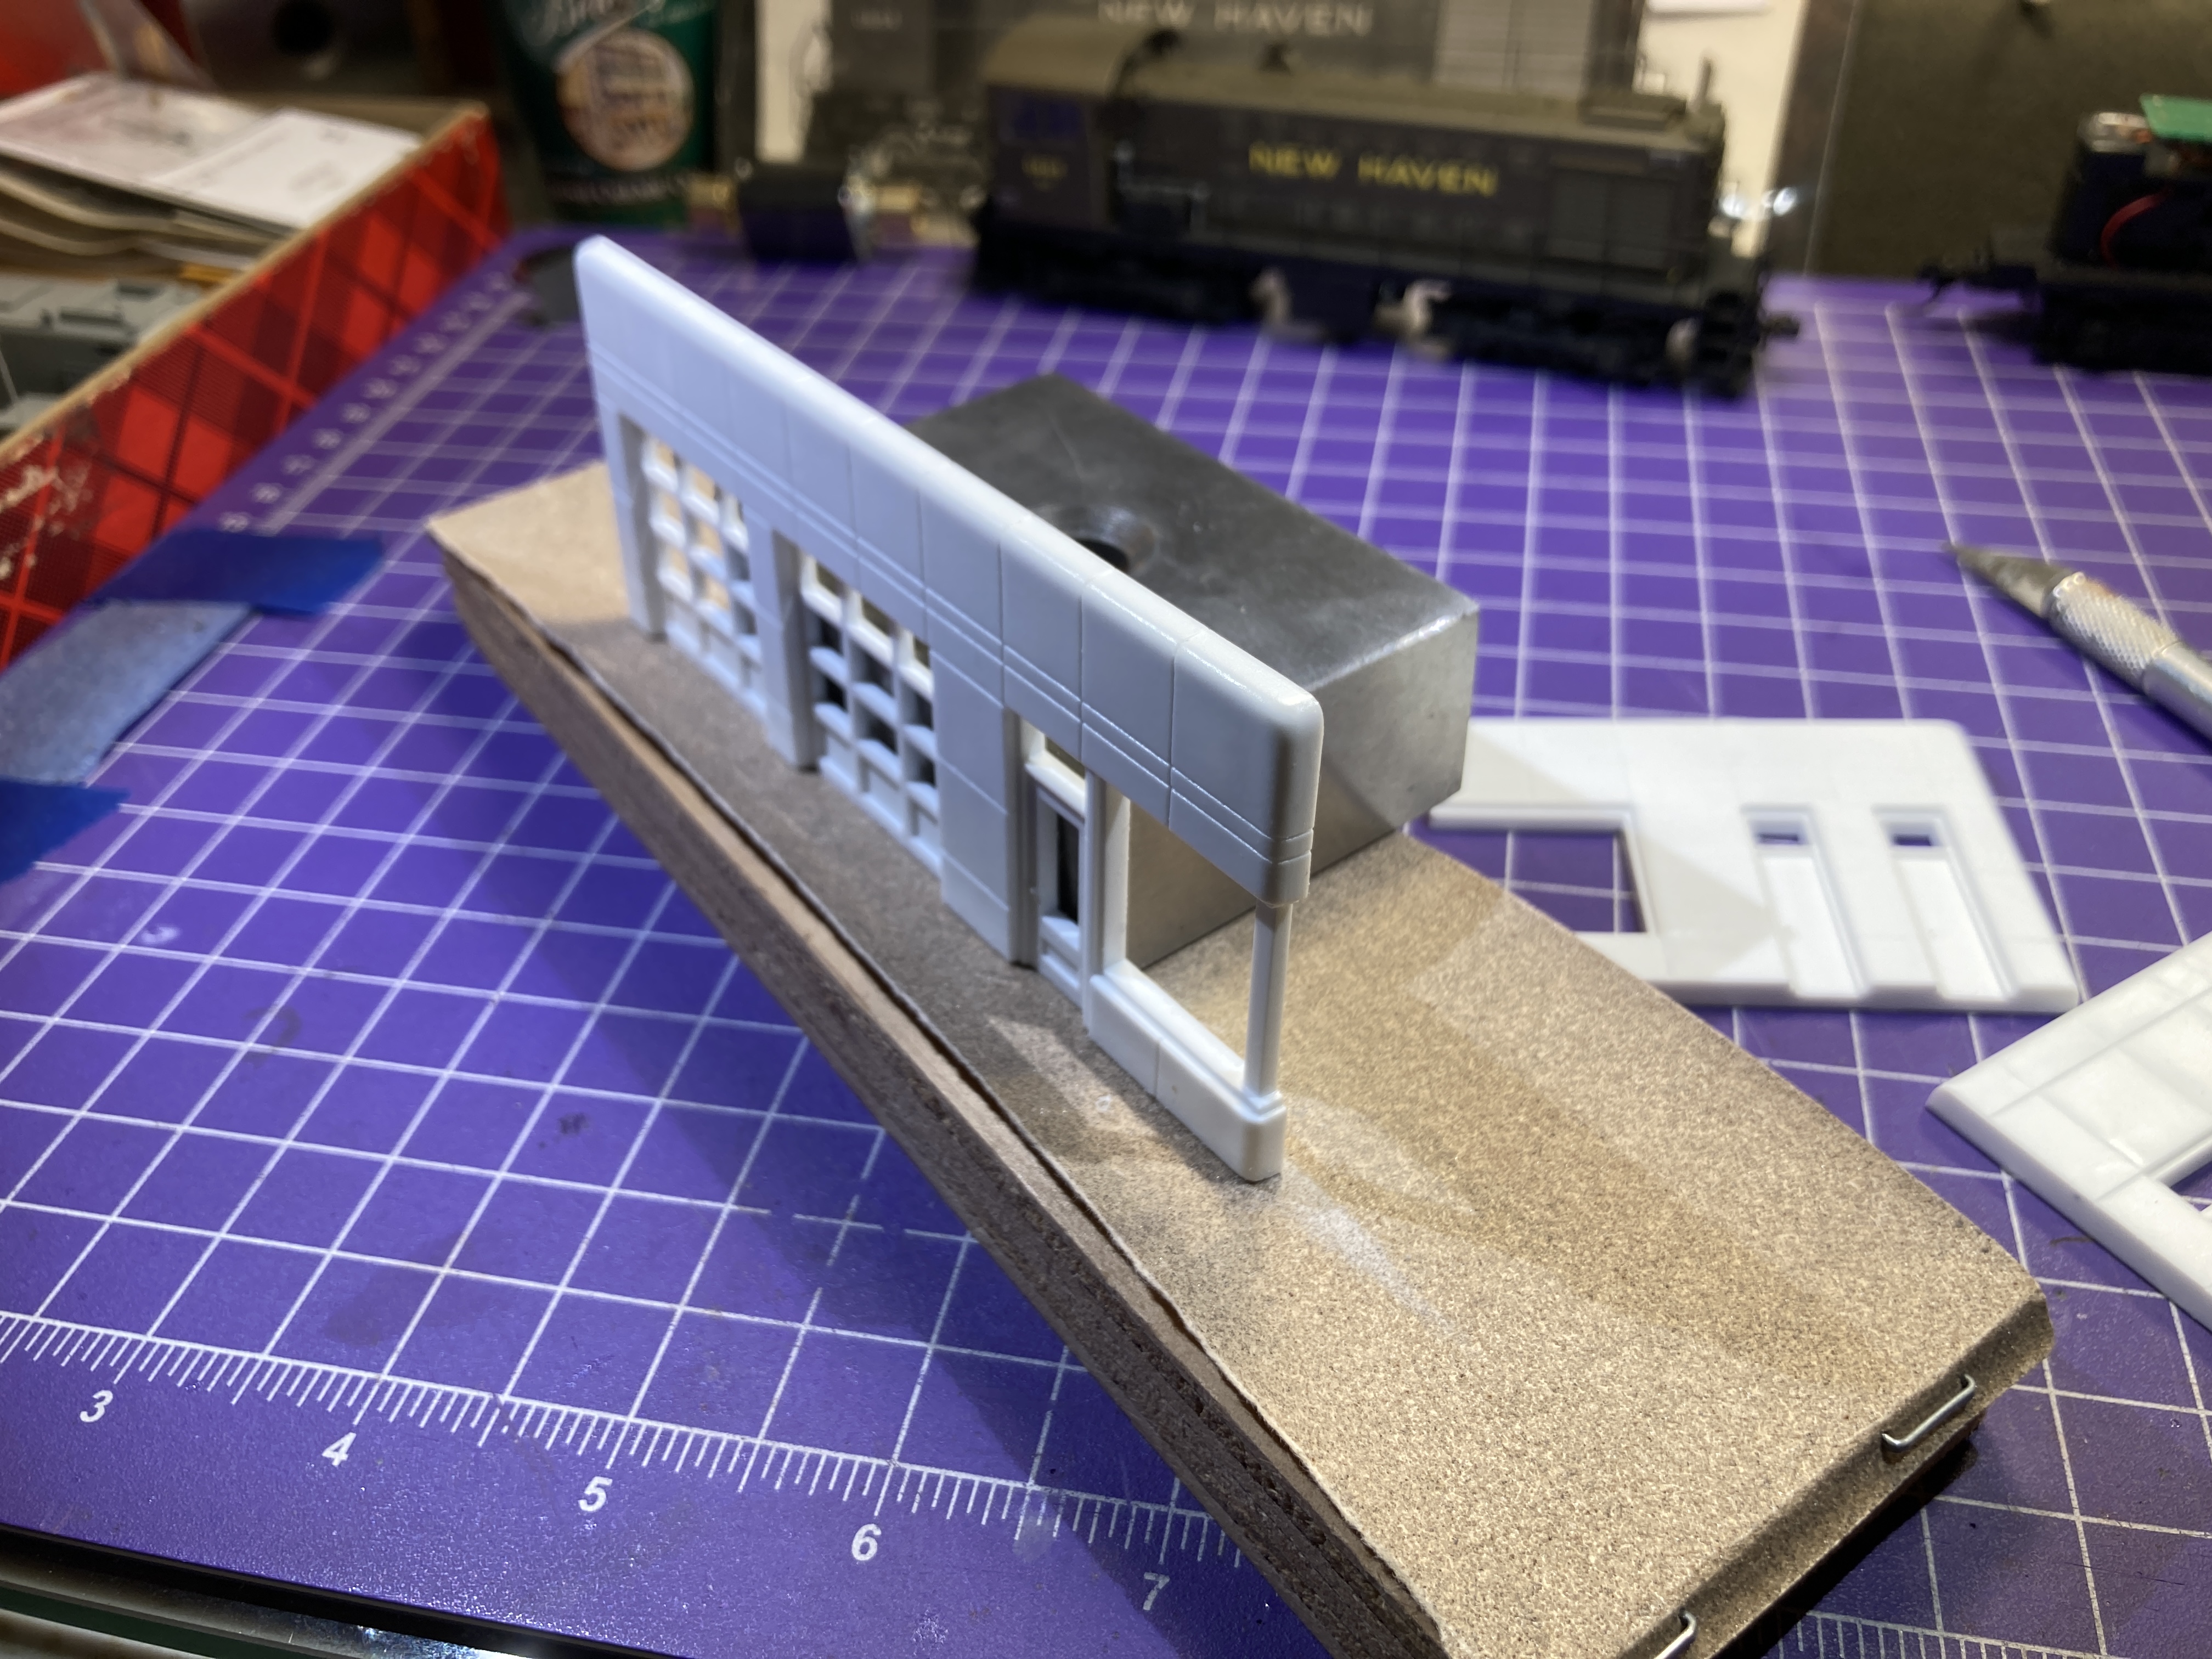

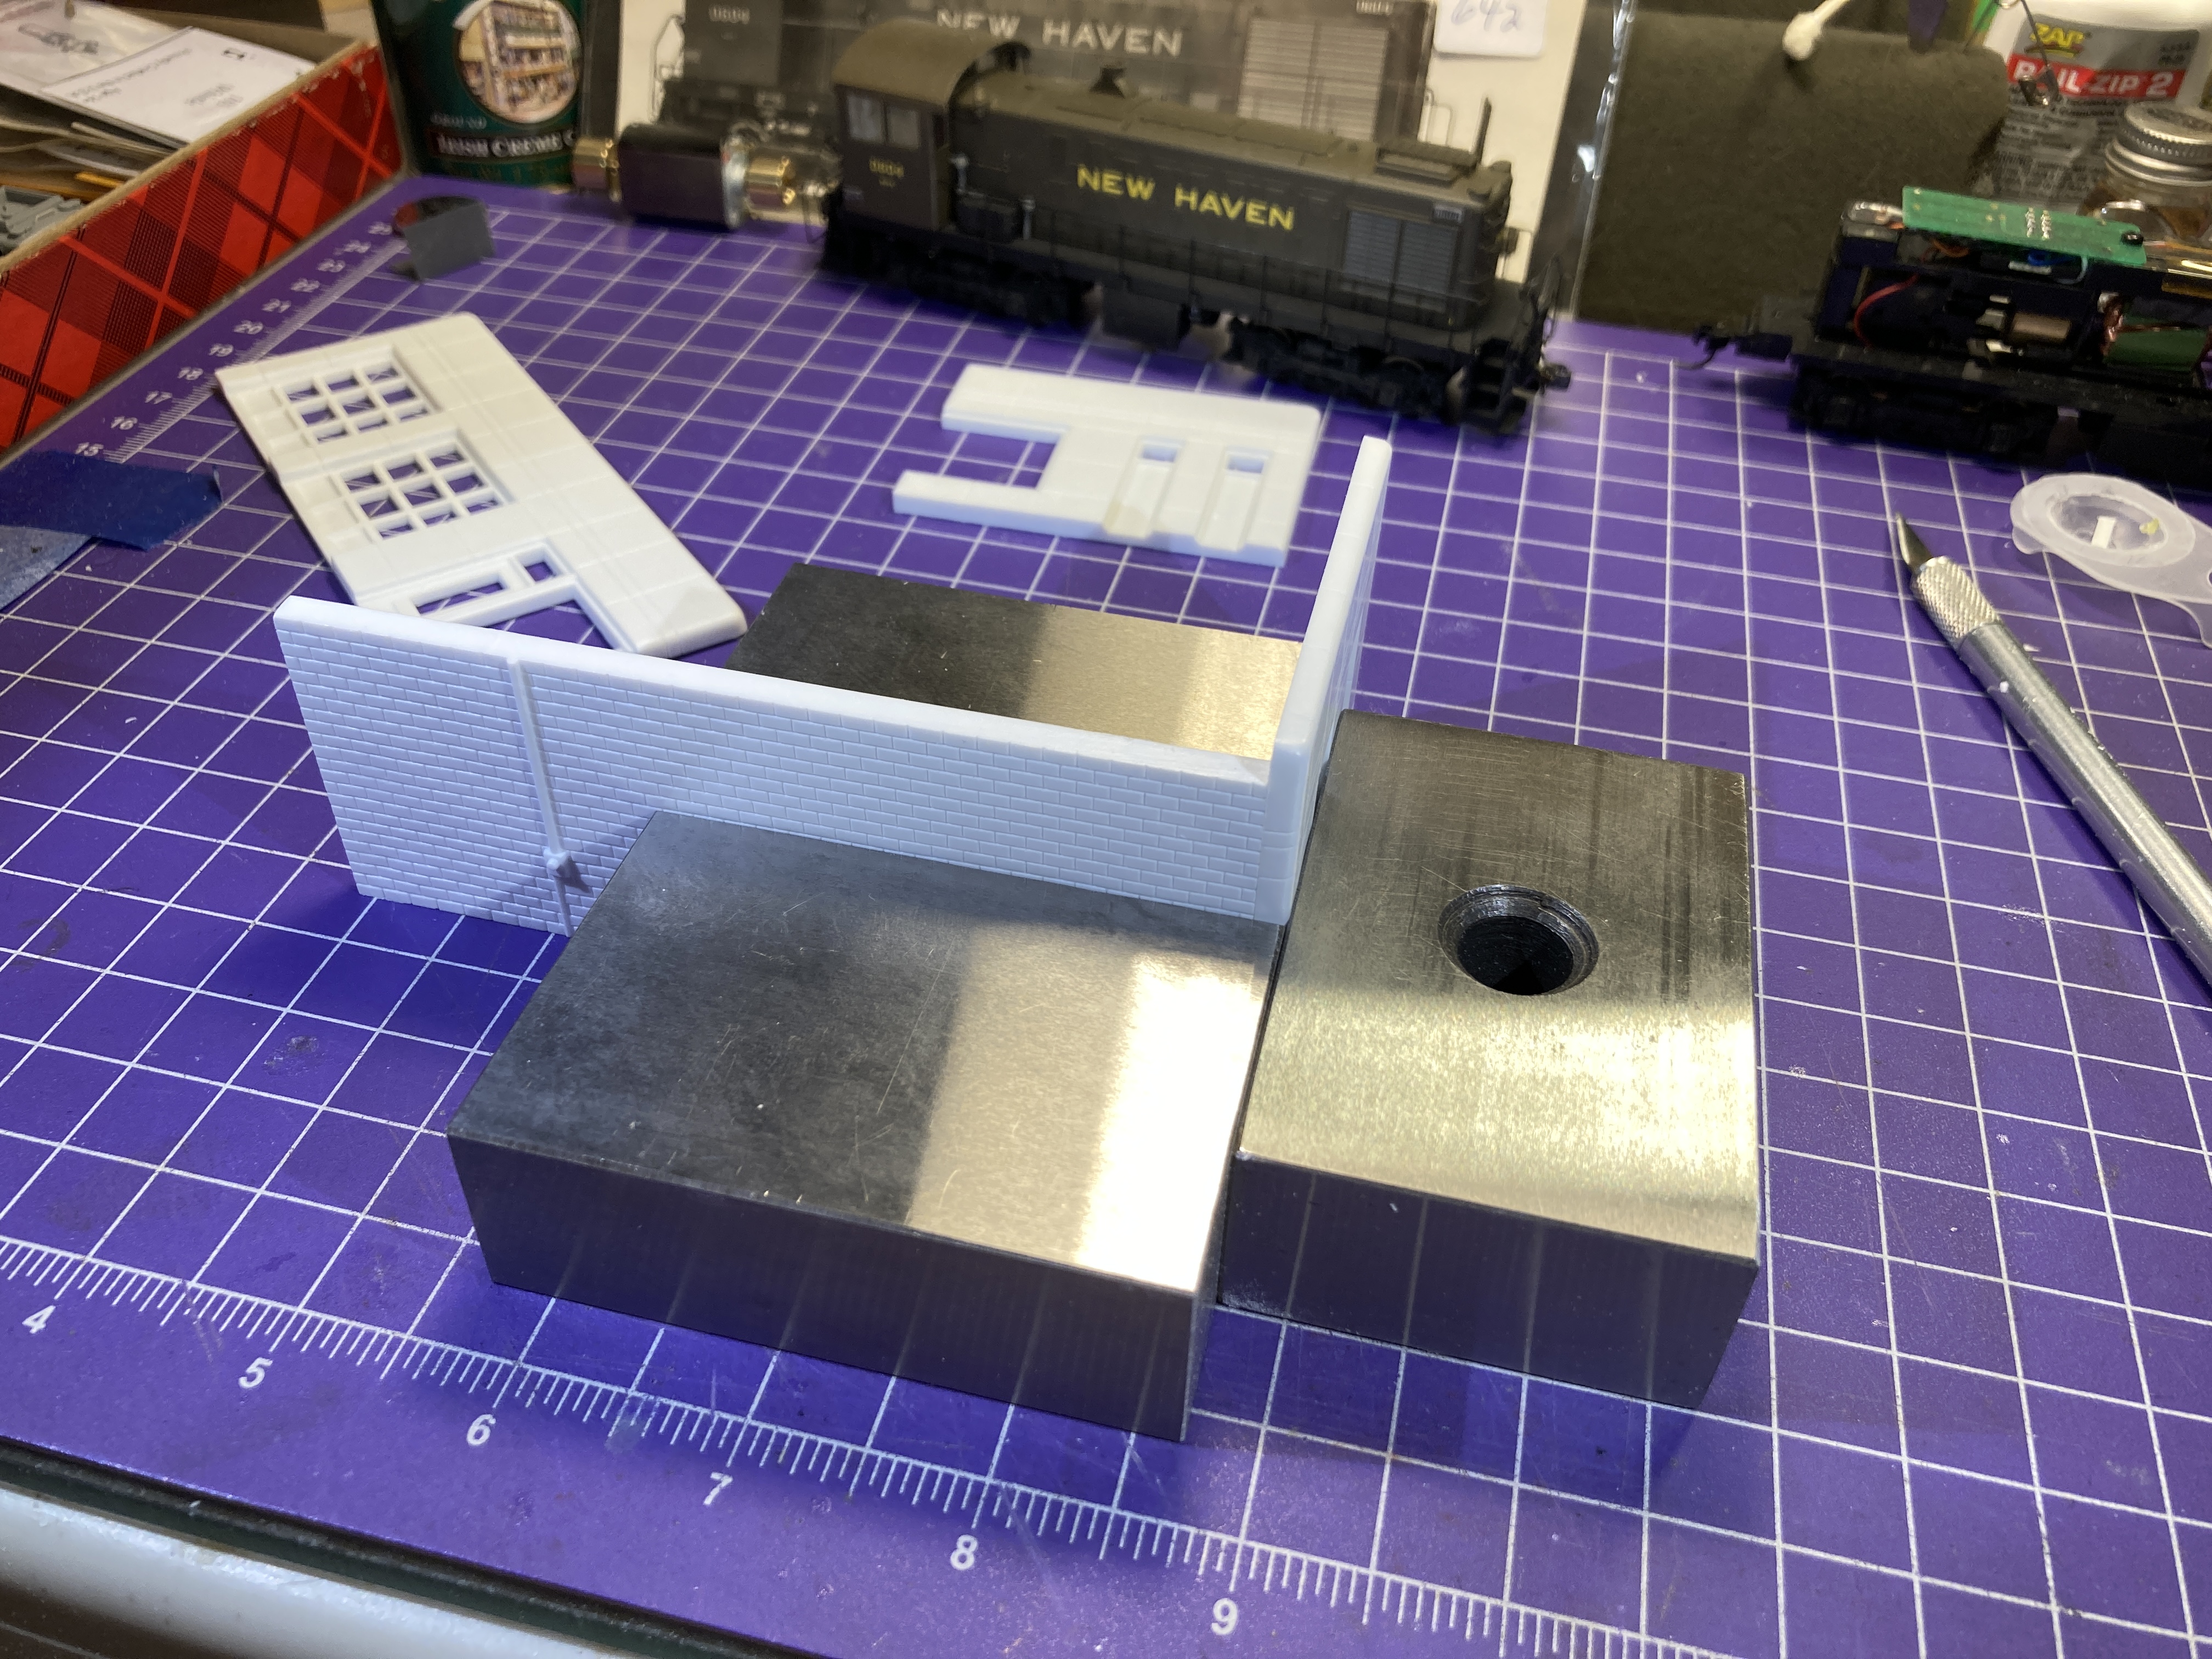


I had visitors coming over, so I quickly made up the sign (after confirming with my muse, John Wallace, that the prototype station was more likely to be an ESSO station than anything else) and placed the station temporarily on the layout. The explanation I came up with is that the station had been abandoned, but recently sold to someone who's in the process of restoring it. There are no windows or gas tanks yet, but the sign is up and there's a fresh coat of paint on the walls. At least that was my story and I'm sticking to it ;^)


(most photos by Howard Pincus, others unknown, so if you know, please let me know so I can provide proper credit)