
First off, here's my fun painting setup:

But what do we see here? (hold off on the OCD jokes)

Based primarily on the MRH Acrylic Painting Guide, I have the following items at hand for brush-painting:
- Three cups of Armour-All Glass Cleaner for cleaning the brushes (1st dip/dirty, 2nd dip/rinse, 3rd dip/clean)
- Palette to hold the paint you're painting (don't paint right out of the bottle)
- Paints (which we'll get into a little bit below)
- "Ready Brush Tray" - bottom covered with the Armour-All, to keep brushes wet and ready for use.
At this stage, the parts are either flat white or flat gray. My prototype photo - thankfully - shows the window frames and the trim as white, like the walls. So all I had to do was some detail painting of the chimney and the foundations.
There are two types of foundation on this kit, unfortunately molded right along with the bottom of the walls: stone under the main house, and concrete under the lean-to addition.
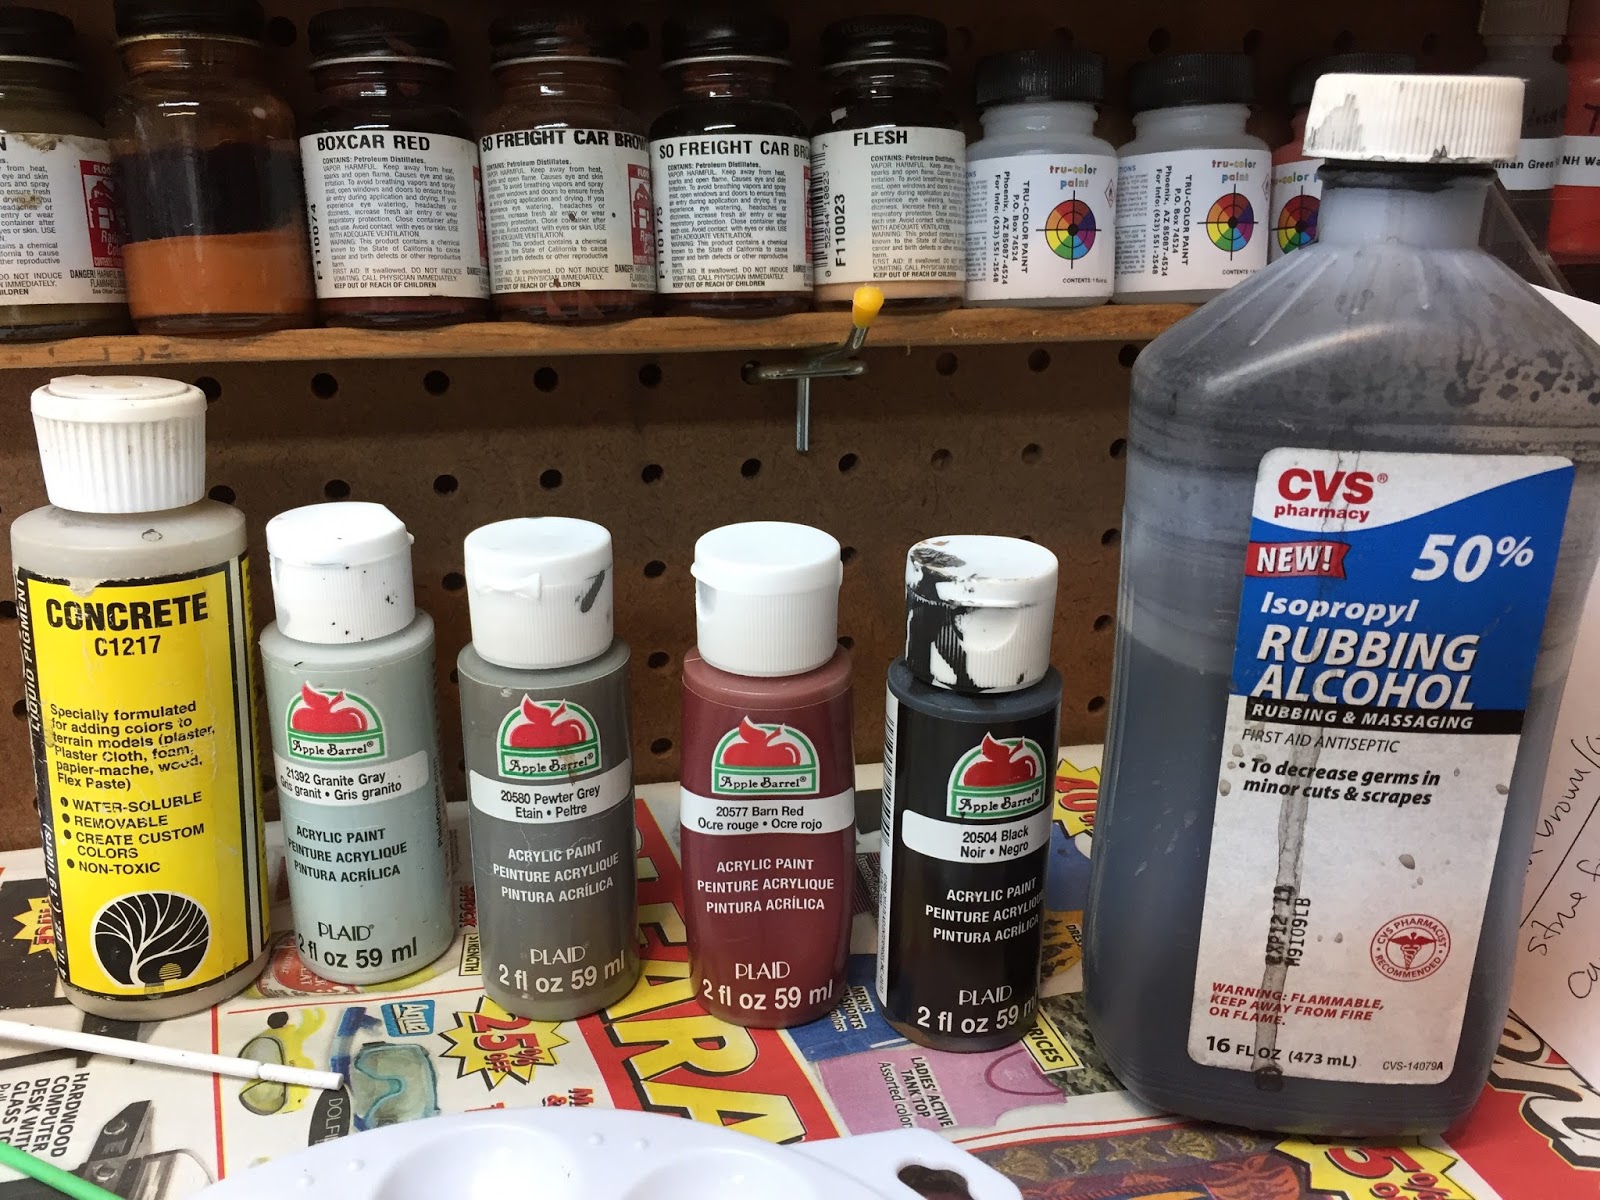
These are the acrylic paints I used - mostly $.50/bottle craft paints from Wal-Mart (granite gray, pewter gray, barn red, and black) and some Woodland Scenics "Concrete." Later, I needed to darken the colors a bit and the wash I made with the black was way too dark so I used the alcohol and india ink mix.
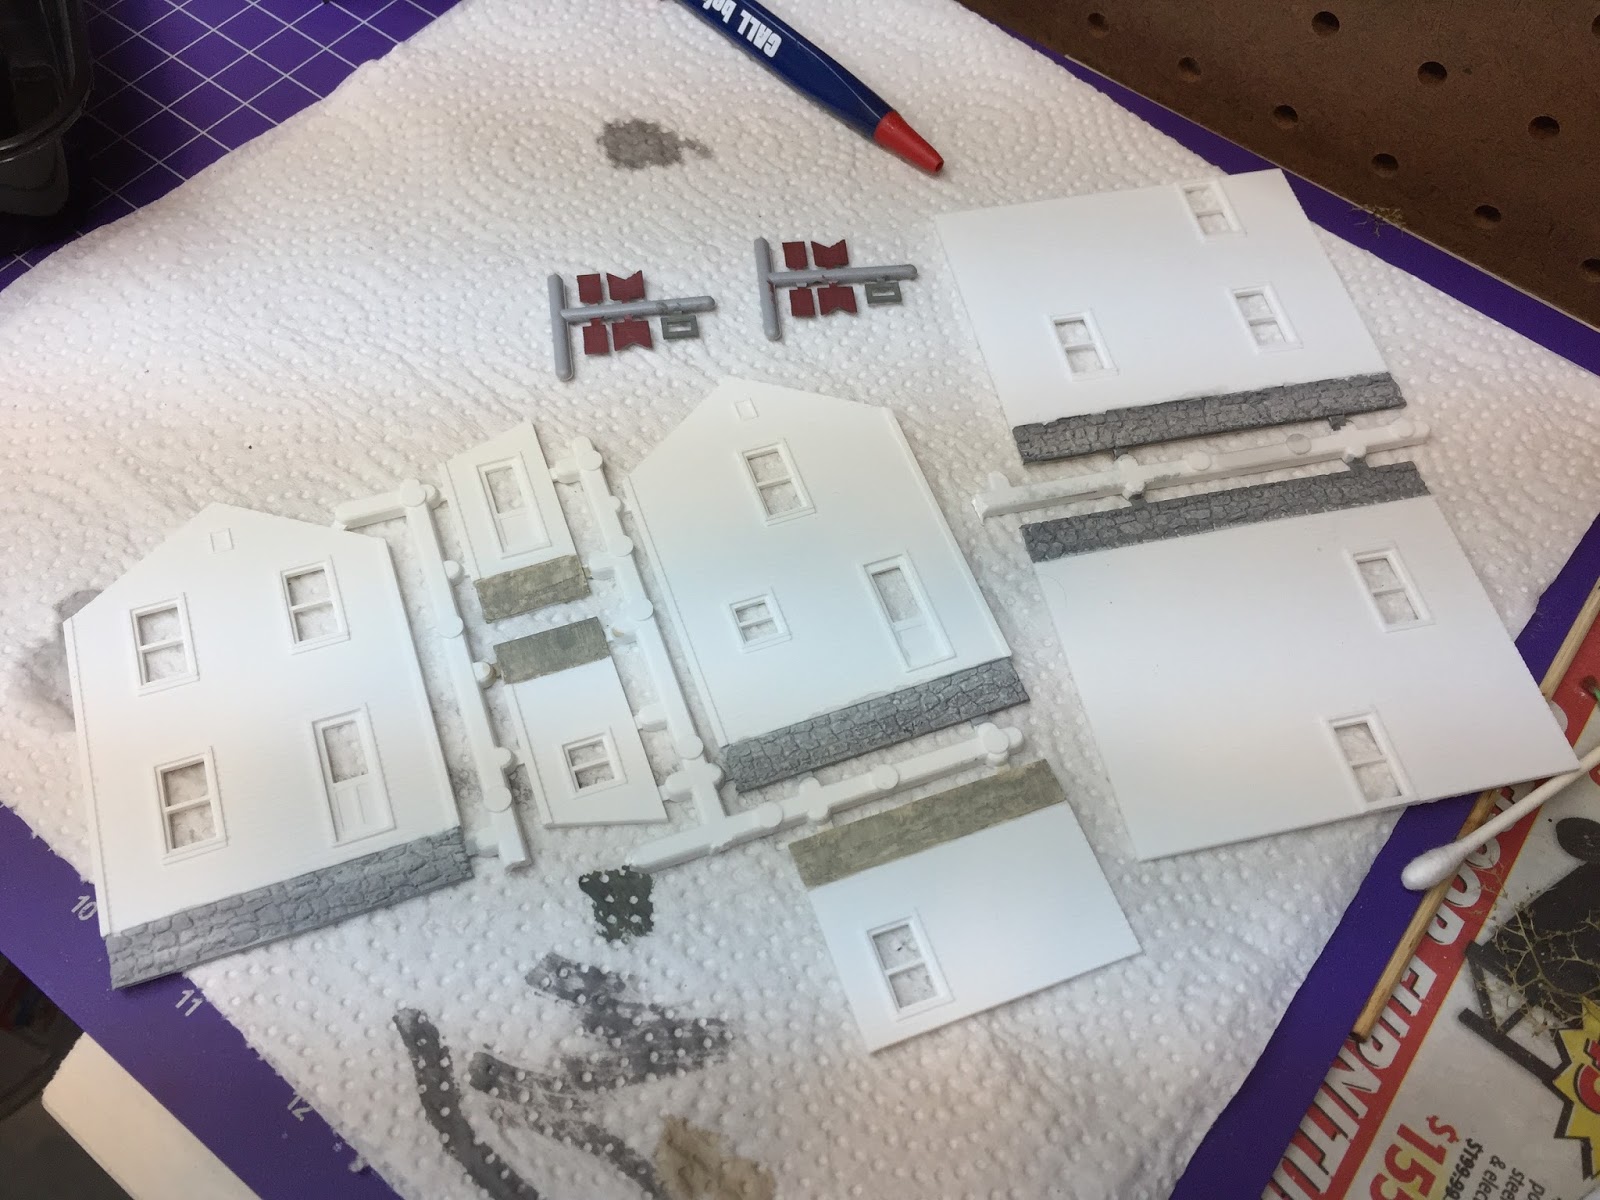
Being somewhat color-blind, painting has always - and continues to be - a fairly stressful experience for me. But I kept going, using the prototype photo (not to mention Pete's completed model) for reference. I started by using the concrete paint on the concrete foundation, but it came out way too light. Ditto for using the granite gray on the stone foundation. I ended up darkening them down with a black paint wash (which ended up being too dark), then lightening them with some thinner, then RE-darkening them with the india ink wash.
The chimney was easy - two coats of the barn red with a pewter gray cap (with a tiny bit of concrete mixed in, cuz I forgot to clean the brush thoroughly - but it looks good anyway).
I'm not super thrilled with how the foundations came out, but they're passable and will be weathered. I later masked the bottom edges of the white walls and brushed foundation color right up to the tape. I should have done that to begin with - I would not recommend freehanding it like I did. It's almost impossible to paint a straight line - or maybe it's just me.
But my biggest mistake was not deciding to paint the backs of the walls until it was almost too late. I figured it wouldn't be any big deal to leave the backs bare, but my friend Dean wisely reminded me that if I ever wanted to light this building, I'd regret not painting the inside black (the plastic walls - especially white plastic - would cause the house to glow if lit. Hardly a realistic effect). While I have no plans to light this - or any - building, it's certainly easier to deal with this before assembly in case I change your mind later.
So that's what I did.

I masked the edges where I knew I'd have to glue later (bonus - this prevented overspray from getting on the outside edges of the finished walls). And - critically - I masked behind the windows. Otherwise, black overspray would have gotten all over the cast-in window frames which are supposed to be white.

And here's where things are at this point - ready for assembly. Well, as soon as I take care of adding window glass and curtains...
So, some lessons I learned about structure painting:
- Paint the inside/back of structure walls black if there's ever the remotest possibility that the structure will be lit sometime in the future. Don't even give it a second thought. That should be the first application of paint, right after removing flash & parting lines. And be sure to mask off the windows. That will a) give you a clean surface to glue glass to, and b) keep overspray from covering the window frames. I didn't bother doing the outhouse walls - there's no window, and it'll never be lit.
- Mask multi-color schemes when possible. It's not always possible (think of molded-in DPM windows), but in the case of this kit it would have been easy to mask off the walls to paint the foundation (or vice versa).
- Test colors on scrap if possible - at least until you work into a color/technique you're really comfortable with. I felt like I was chasing the foundation color back & forth a bit. And the Woodland Scenics concrete paint beaded up - which was totally unexpected. The washes I made didn't act as I expected either. So I did a lot of overdoing it and then wiping it off/toning it down, and having to redo it. Another lesson learned.
After being mostly an armchair modeler for over 30 years, you'd think I would have read & absorbed all the collective knowledge about how to do all this stuff right the first time. Lord knows that I tend to overthink things and not be comfortable even starting a project until I'm sure I'll be able to do it right.
But that leads perhaps to the greatest lesson of all:
- You will never ever learn as much about a particular task or project until you actually do it. Mistakes are inevitable. Learning from them and pressing on is the only true path to success.
Onward to assembly!
No comments:
Post a Comment