
 |
| .015" phosphor bronze wire, "painted" with a black Sharpie. No NBW detail though (I doubt anybody will really miss it). |
 |
| Looking at the ends so closely, the lack of airhoses bothered me, so I decided to install a pair of KD #438 |
Speaking of right-brained things like weathering, I decided to get out my machete and start hacking my way to grooving some new neural pathways. In other words, I started on some scenery. BillM and his Missus are coming this Sunday to "visit" his structures, so I thought it'd be nice if at least a couple of them could be in a finished/scenicked setting. Here's what I started with:


Just a bunch of painted Scultamold/ground goop. JimD came by to help get me started and I quickly realized how much I hadn't given sufficient thought to what specifically I wanted to do where, scenery-wise. It's amazing how long you can go in this hobby with just a vague sense of what you want to accomplish, but when it comes to actually doing it - if you ever get around to doing it (and, sadly, many don't) - you realize that you need to be much more clear about your vision than you thought. Consequently, I spent a lot more time thinking through things more intentionally and nailing down some decisions than I did doing actual scenery.
But at least I got started...
 |
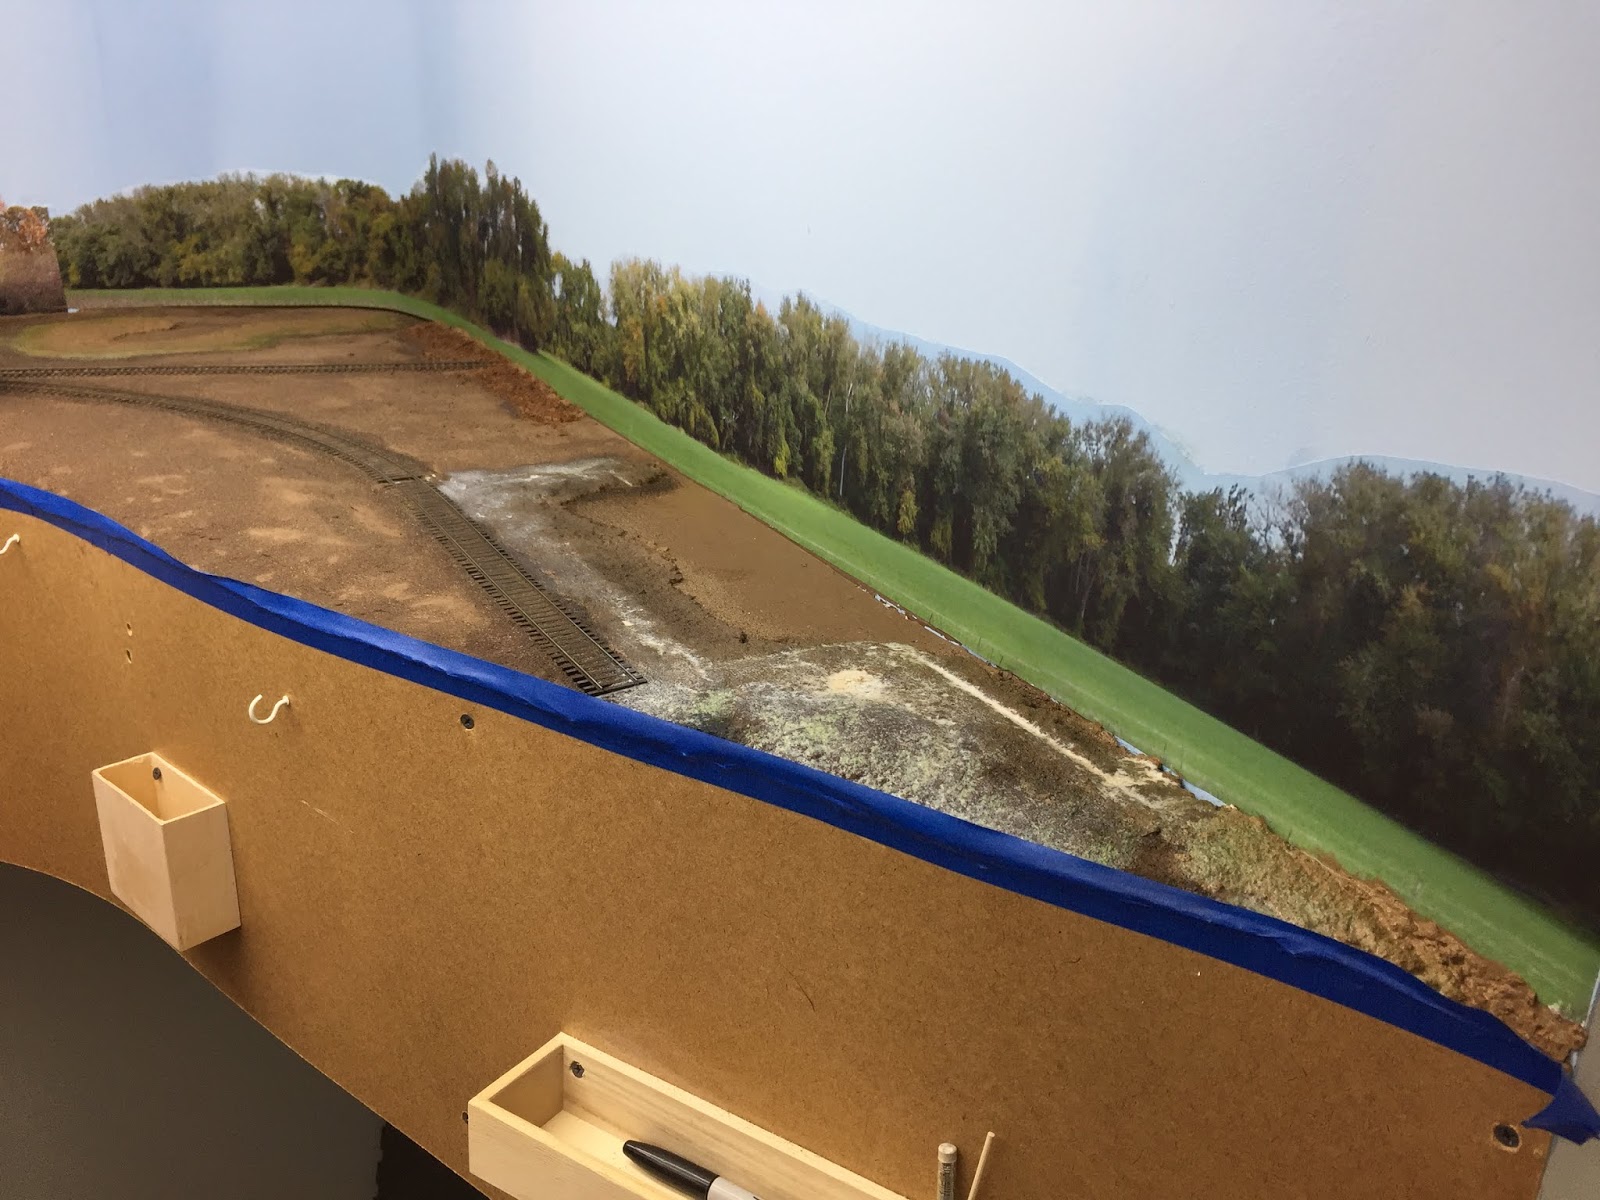
| Adding a dirt layer: Brushed on some 1:1 diluted white glue, sifted on dirt (thanks to Randy for some great dirt!), soaked with 70% isopropyl alcohol from a sprayer, and applied more glue with a pipette. |
 |
| I used a different grade of dirt on the tracks, trying to (mostly) bury the ties. Similar process, though here I placed the dirt first, then wet it with alcohol, then applied the glue with a pipette. |
After everything dried, I realized that it all came out pretty splotchy and uneven - almost looking like some areas were still wet (they weren't) while others looked bone dry and maybe not even glued down (they were).


I didn't want to spend another large block of time doing more dirt, so I decided to turn my attention to the backdrop. I'd vacillated a lot between keeping the sky, or even using this photo at all. But one thing I'm learning is how easily I allow myself to get bogged down in such minutia. Analysis paralysis is real, so best to make a decision as soon as you've done your due diligence - and not over think things.
I decided to cut out the sky (like the rest of my backdrops) and glue it to the wall (yup - full glue. No tape, and no turning back now).

One of the things I'd noticed when placing the structures is that there were a lot of gaps at the foundations - the inevitable result of uneven terrain. One tip I read about long ago (and which worked out really well on my Christmas layout) is to press the structure down into a layer of ground goop. This will accomplish two things: 1) it'll provide a clear marking of where the structure goes (for when you need to get it out of the way to do scenery), and 2) it'll make the structure look like it's really "settled into" the terrain - because, of course, now it is.

The process is simple. First, spread a thin layer of ground goop roughly following the outline of the structure (which you marked first). Then cover it with plastic wrap.

Then press your structure down into the goop (protected by the plastic wrap).

Then, carefully remove the plastic wrap and add ground cover over the ground goop to blend it all in.
I feel like this whole scenery process is going pretty slowly, but I keep reminding myself that learning any new skill is going to take some time. It takes a while to create those new pathways in your brain.
 |
| Here's where I ended up - so far... |
Hopefully something I've shared here resonates with some of you and encourages you to get started too. Or am I the only one that has this problem?
As always, if you have any suggestions or tips for how I could do things differently/better, weigh in with a comment!
Hi Chris, glad to see you making some progress. It is a amazing what adding the backdrop does for the area.
ReplyDeleteThanks Jim! Yeah - I'm certainly not getting any younger. Best to just dive in and start making the mistakes I'll learn from and get better :^)
Delete