
First - the ridiculous: This is what confronted me when I got to the bottom of the basement stairs Saturday morning...

Yup - that's New London/Boston/East End staging under there. Apparently, the dry air dried out what little adhesive I had keeping these spare foam boards upright. And down they came - right on top of my staging yard.

Fortunately, they rested on top of a very robust and sturdy Atlas S-2 (the old one, without easily breakable details...). Going forward, I relied, not on tape and such, but an actual mechanical clamp to hold things up.

The dry environment didn't only wreak havoc with track at Goff Brook and my erstwhile faux sky/foam backdrop, but even with one of my trees at the Saybrook wye! Yup, this poor soul had its top half literally dry out and come crashing down. Well, as much "crashing down" as a fraction-of-an-ounce SuperTree can "crash"...

Worst of all though was a discovery I made in Mill Hollow. I noticed this turnout off the passing track, leading into a siding, looked a little "off" - well, it was off, and by more than a little. Despite being glued and ballasted, it had lifted right up. And the bubble level shows by how much(!)
So, enough of what all I discovered - here's what I actually did about it all. . .
Despite my success with using a humidifer to settle the track down in Goff Brook, I decided to do a little "belt-&-suspenders" and cut some expansion gaps as well.
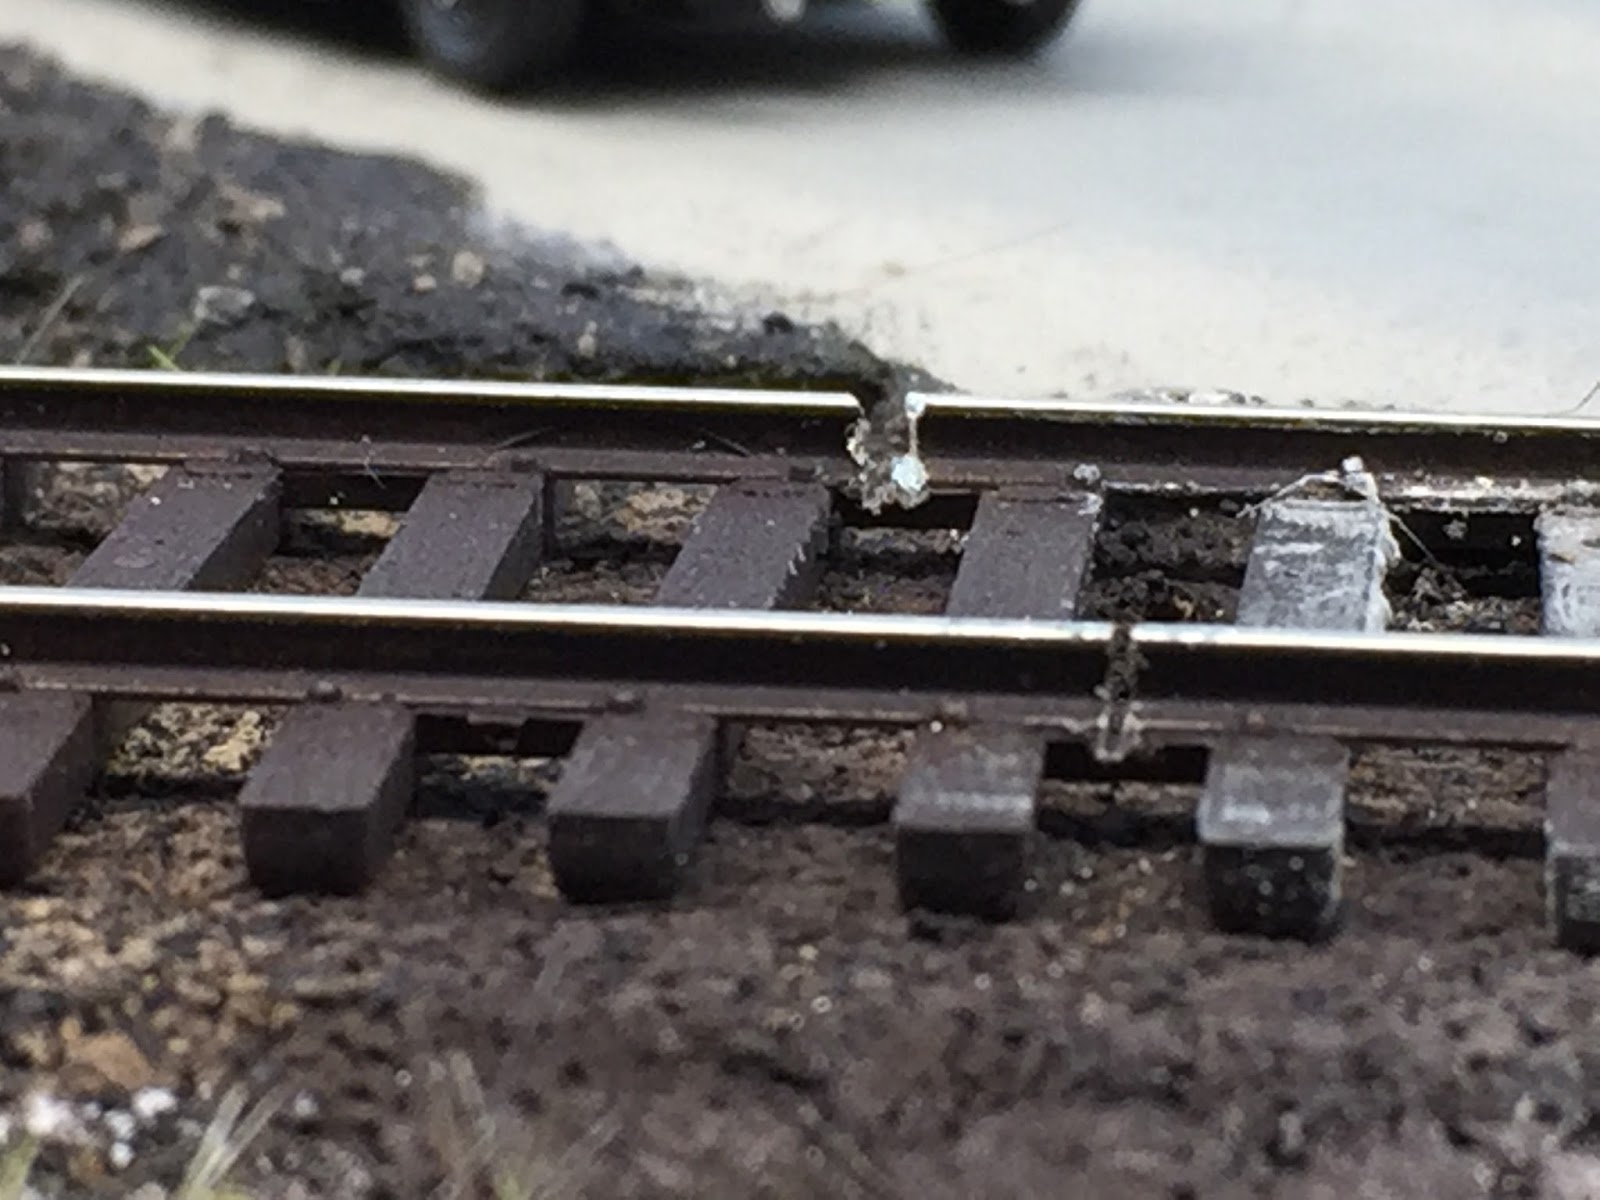
I first used a Dremel with a cut-off disc. Then I used a razor saw. Let me know which method you think I'll use next time - and from now on . . .
Yup, you can barely see the razor saw cut - and it literally disappears when the rails expand. It's certainly not as easy or as quick as using the Dremel, but that quick ease too often translates into quick trouble. The sides of the cut off disc are abrasive as well as the cutting edge, and make it very difficult not to cut a slot too wide...

Unfortunately, I spent a big part of one afternoon plasticizing the basement windows. Working so much in the Goff Brook area (left edge of the photo above) I realized how much cold air was coming through those windows. And that couldn't be good for the layout. So I justified the time spent as "layout time" (though indirectly) and hope that the energy savings will translate into an extra freight car - or at least less track movement...

And now for the Sublime - Actual Model Railroad Work - and SCENERY to boot! Last time I was at the "south" end of Somerset, I did the static grass. This time, I did a little more to disguise the hole in the backdrop, including adding a couple of foreground trees, as well as (and most effectively) adding a bit of backdrop behind the hole.

Here's a better, over-all shot of that area. It's certainly not perfect, but much better than what was there before. Which was, um, nothing. But fairly effective for the 10 minutes it took to do.


Speaking of trees, I also added some trees and bushes (old lichen) to the area between the box factory and the station. Adding 3D trees to complement the trees on the photo backdrop really ties the scene together.

And some bushes to the right of the station softens the transition between the horizontal and vertical scenes.

Lastly, I opened up a bunch of boxes of old (and I mean really old - like "from the 1970s" old) Life-Like trees to see if I could use any of them on the modules as practice. Well, I'll definitely have to modify them to make them look less fake, but I thought the trees in the photo above would work as-is as an orchard for the farm. You can see them there back on the hillside in the corner.
The Missus says they still look too fake - the color is all wrong/too bright. One of the pitfalls of my doing scenery - and one of the main reasons I procrastinate on doing it at all - is that I'm partially color blind. So without meaning to, the Missus may have just signed up as Color Consultant on the Valley Line >:^)
But before I do any more scenery, I need to clean up the mess and prepare for my first ops session of 2018. All in all, not too bad a weekend!
I too cut rail gaps with a Drexel tool at first, and got results like yours. Then I tried an Atlas track saw and did much better. The blade is only 10 thousandths inch wide. You should fill the gap with ABS plastic. The gray color will make the gap nearly invisible.
ReplyDelete