Thursday, April 16, 2020

Throwback Thursday: Finishing the Lumber Co Siding

It's been over 3 weeks since I gave you a full view of the progress in Wethersfield. You can click here for that post, but suffice it to show - here's where things left off:


All the ground goop is in and basic fine ground foam covers the whole base. For this initial coat of scenery, and to get a variety of tones for my early Autumn look, I use a combination of Woodland Scenics (WS) Burnt Grass, Earth Blend, Green Blend, and just a little bit of Earth.

I've also finished the roads (here's 1, 2, 3 posts on those) and grade crossings (except for weathering them):


With the roads and basic ground cover in, I decided to go back and finish up the siding at Wethersfield Lumber.

Ever since I decided to modify the siding, despite previous misgivings, and based not only on Dave Messer's recommendation, but also on a plan I just happened to find, I'd been wondering how best to scenic it.

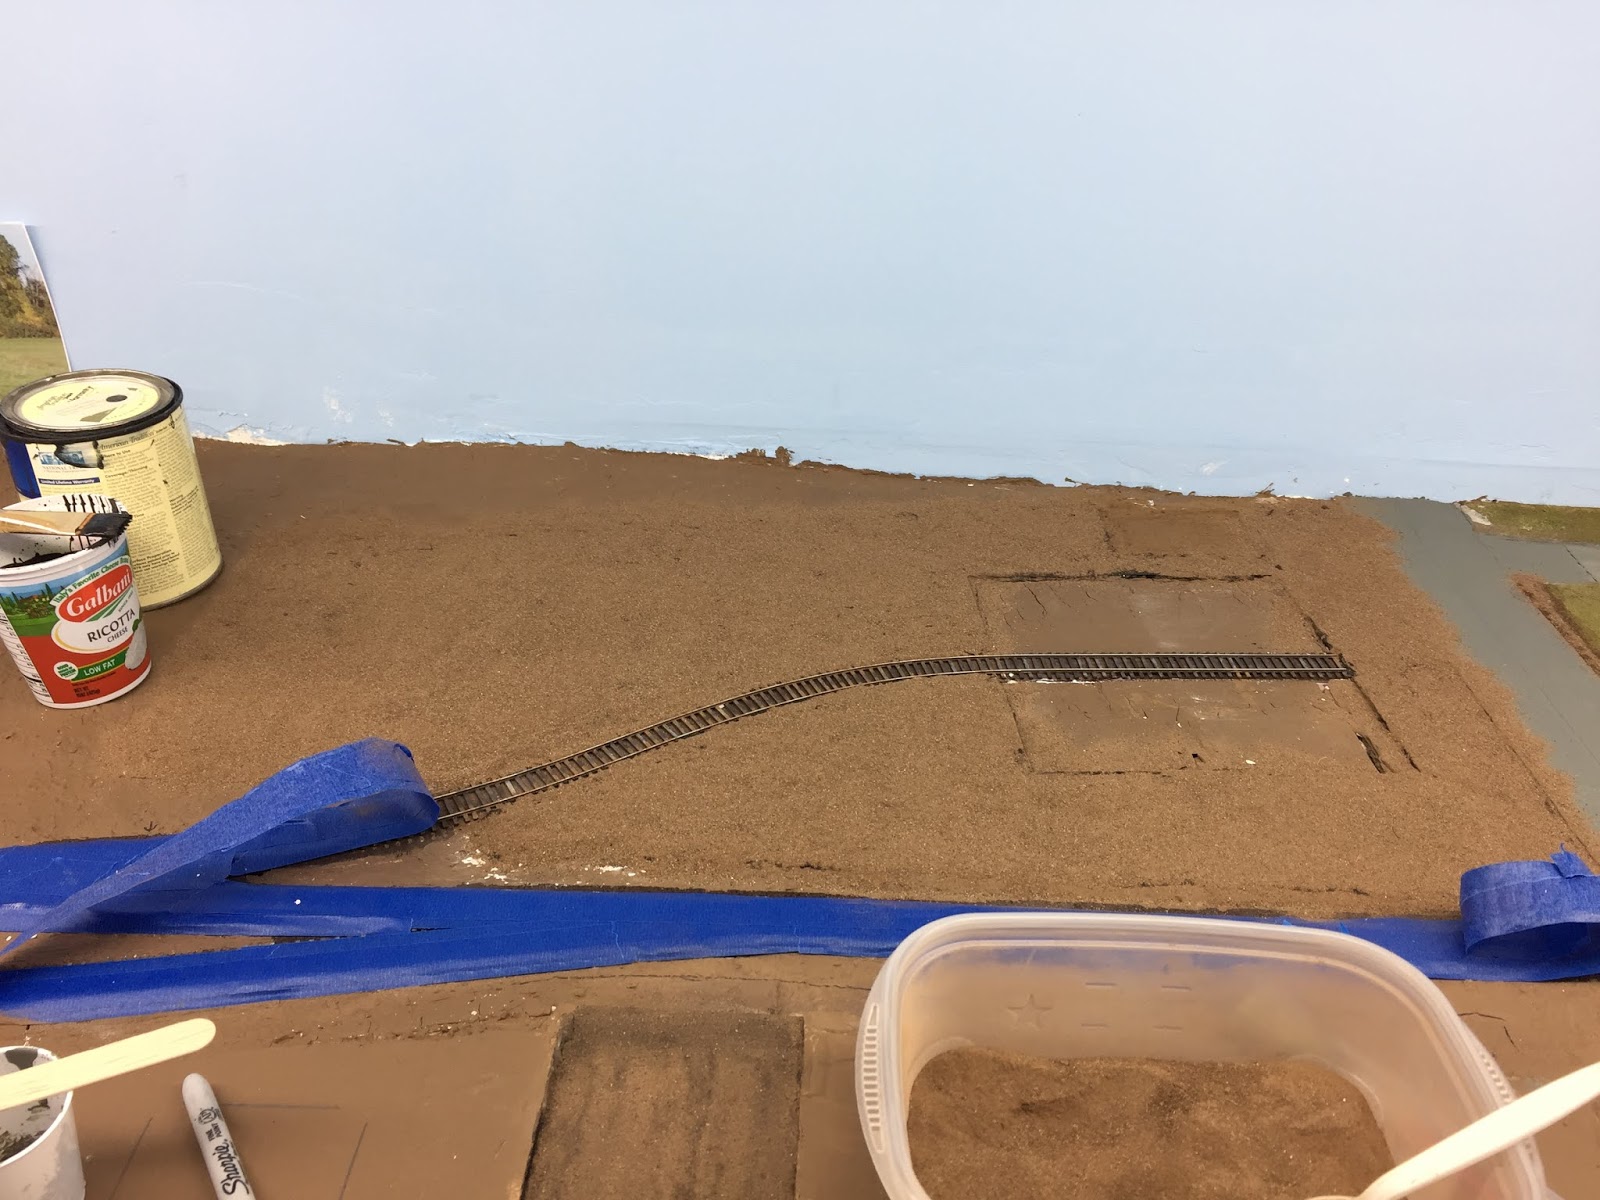
The first step was to start "burying" the siding a bit by raising the surrounding terrain up to rail height. I used regular drywall topping and once it dried I painted it with my earth colored paint.

For the lumber yard itself, I decided to use the same process I'd used to make a dirt road (click here for the details). I painted the lumber yard area with black paint, covered it all with dirt, misted it with 70% alcohol, dropped on diluted white glue, then topped it with more dirt.

While that was drying, I added a small grade crossing - basically just RR ties in the gauge to protect the flangeways.

A downside of my dirt-covering process is that there's a LOT of excess dirt. Even though it's "dirt cheap" (see what I did there?) I didn't want to just vacuum it up and waste it. So first I brushed the excess into a pile and scooped it up with a "dustpan" I made from an old switchlist.

After a light brush and vacuum, the lumber yard area looks a bit like the dirt road I'd made before, with some black showing through. Creates a nice, weathered effect IMO. Next, I used some Minwax stain to color the ties at the grade crossing.

Here's an overview of the area at this point.

And a closeup of the grade crossing before it was filled in and the siding "ballasted" with dirt.

First I covered the track with the dirt...

... then applied alcohol with a pipette to allow the glue to flow....

... then added the glue . . .

. . . . and added MORE dirt on top of that to ensure I'd have a dry rather than wet look.

The lumber shed has a "concrete" floor, but there's nothing where the siding itself is. I didn't think that looked very realistic (the floor should be relatively even over, and covering, the track), so I decided to make a floor to cover the track.

I used strip styrene in a thickness to match the railheight.

Painted it, and glued it in using Duco Cement.

While I was at it, I also added some wheel stops.

The final step on the siding was to add some cinder ballast and start some base groundfoam.
If you've seen the layout tour video I posted last week, you know that things are a bit further along in Wethersfield, but - alas! - the blog is lagging behind just a bit. But don't worry - I'll get you all caught up asap. Meanwhile, I hope you're enjoying seeing the progress & I'll try and do a better job of keeping up!

Tuesday, April 14, 2020

Tuesday Tip: Wet Water

With the recent focus on layout progress during the past few weeks, I've failed to pass along a few tips I've gathered along the way. So be sure to check in over the next few Tuesdays for "Tuesday Tips" (actually, check in every day - easy if you subscribe to the blog by entering your email under the "Receive New Posts Automatically" spot in the upper left area of the page... just sayin' :^)

For this week, let's talk about how to make water just a bit, um, "wetter" . . .

If you've been in a hobby for any amount of time, you've probably heard of something strange called "wet" water. All it is is regular water with something added to break water's natural surface tension. When you spray it onto your scenery and scenery base prior to adding glue, the glue will flow much better. In fact, if you haven't broken the surface tension, the glue will just tend to bead up and never penetrate your scenery.

Luke Towan gives a great explanation about all this in this video. It's well worth the 3.5 minutes to watch it, but if you want just his formula for making "wet" water, here's a screenshot.


You may have heard about making wet water by "just adding a few drops of detergent" - well, now you have an actual formula you can follow for great results every time. Thanks Luke!

Monday, April 13, 2020

Modeling Monday: Wethersfield Lumber Co. Office

One of the reasons model railroading is so popular is that it's such a diverse, immersive hobby. At the very beginning of a layout, you're a planner & architect - figuring out what project and trackplan will fit in your space. Then you become a carpenter as you build the benchwork. Trackwork requires you to be a bit of a civil engineer, then you dive right into electrical work and electronics to get it all working. I won't even go into the paradigm shift from all this left-brained stuff to the right brain where all the scenery work requires you to become an artist.

With so many different & fun tasks required for the layout itself, it's often hard to find - or make - the time to write about it or journal your progress in any way. Consequently, not too many folks take that time. If they're lucky, they may have a phone full of photos they took along the way, but not much else.

As you may have guessed if you've been following this blog for any length of time, a big part of the hobby for me is writing about it - at least documenting my progress, and if I'm lucky, even stumbling across a helpful tip or a different perspective. But lately, with Uncle Sam requiring us to stay at home (to work on our layouts? :^) I've been focused almost exclusively on completing the Wethersfield scene - everything from finishing the terraforming, up through scenery and structures. "Finish Wethersfield" has been on my resolutions list for years - literally. And with the loss of one of my main collaborators, Dave Messer, right at the beginning of this quarantine, well let's just say my motivation to be in the basement has crowded out the blog.

But it's time to take a break from the basement, and catch up a bit. Starting with finishing up the office for the Wethersfield Lumber Co.

It seems like forever ago, but it's been less than two months since I started this project by "easternizing" it. The next step was to prime and paint. I just used a rattle can of gray primer for a base coat and then drybrushed on white acrylic craft paint for a weathered look.


I sprayed the window frames and doors a dark green and I shot the roof with black primer. Once all the pieces are painted, the fun begins - putting it all together!


I first added the window "glass" to the windows and doors using Aleene's Clear Gel Tacky Glue and then I glued the windows and doors to the walls.


The final steps were just to glue the walls together. This is especially easy to do with this kit, since the base helps keep everything nice and square.


The "last" step was to use my computer and Word software to create a made-up sign.

Lighting is fickle - the walls in all the photos are the same color white.

Unfortunately, I have no idea what the actual Wethersfield Lumber Co. office looked like - nor do I have any info or photos of the sign. I think this is a reasonable guess for a late-1940s look - but who really knows?

And actually, making the sign isn't really the "last" step anyway. I really should weather the structure a bit more - especially the roof. But more importantly, I should see if I can put any signs in those big picture windows. Fortunately, this building is way at the back of the scene next to the backdrop, so it's lack of an interior isn't noticeable.

So there you have it - another structure done for the Wethersfield scene! Stay tuned for more progress reports as I catch up on the blog, and in the meantime here's wishing you and yours safety and health for the duration of the current craziness.

Monday, April 6, 2020

Movie Monday - A Virtual Tour of The Valley Line

Looks like one good thing to come out of the current craziness has been an explosion in creative ways to connect - despite “social distancing” and orders to stay at home. I, for one, was able just a few days ago to “attend” three different layout tours during a Facebook Live event hosted by the Twin Cities Model Railroad Club. Yeah - those Twin Cities - and despite the fact that I’m in Connecticut.

It’s certainly quite a world we’re living in, and it’s not all bad. Despite the virus.

So, wanting to give back a little and provide some distraction of my own, I’ve uploaded a little video tour of The Valley Line. Even though there’s a trackplan on the website, there’s nothing quite like being “in” the space. If you’ve ever wanted to attend an open house but couldn’t (and who knows when we’ll be doing those again), here’s your chance - albeit virtually.  I hope that it provides a nice diversion while you may be stuck at home. Enjoy!