It's been over 3 weeks since I gave you a full view of the progress in Wethersfield. You can
click here for that post, but suffice it to show - here's where things left off:
All the
ground goop is in and basic fine ground foam covers the whole base. For this initial coat of scenery, and to get a variety of tones for my early Autumn look, I use a combination of Woodland Scenics (WS) Burnt Grass, Earth Blend, Green Blend, and just a little bit of Earth.
I've also finished the roads (here's
1,
2,
3 posts on those) and
grade crossings (except for weathering them):
With the roads and basic ground cover in, I decided to go back and finish up the siding at Wethersfield Lumber.
Ever since
I decided to modify the siding, despite
previous misgivings, and based not only on
Dave Messer's recommendation, but also on
a plan I just happened to find, I'd been wondering how best to scenic it.
 |
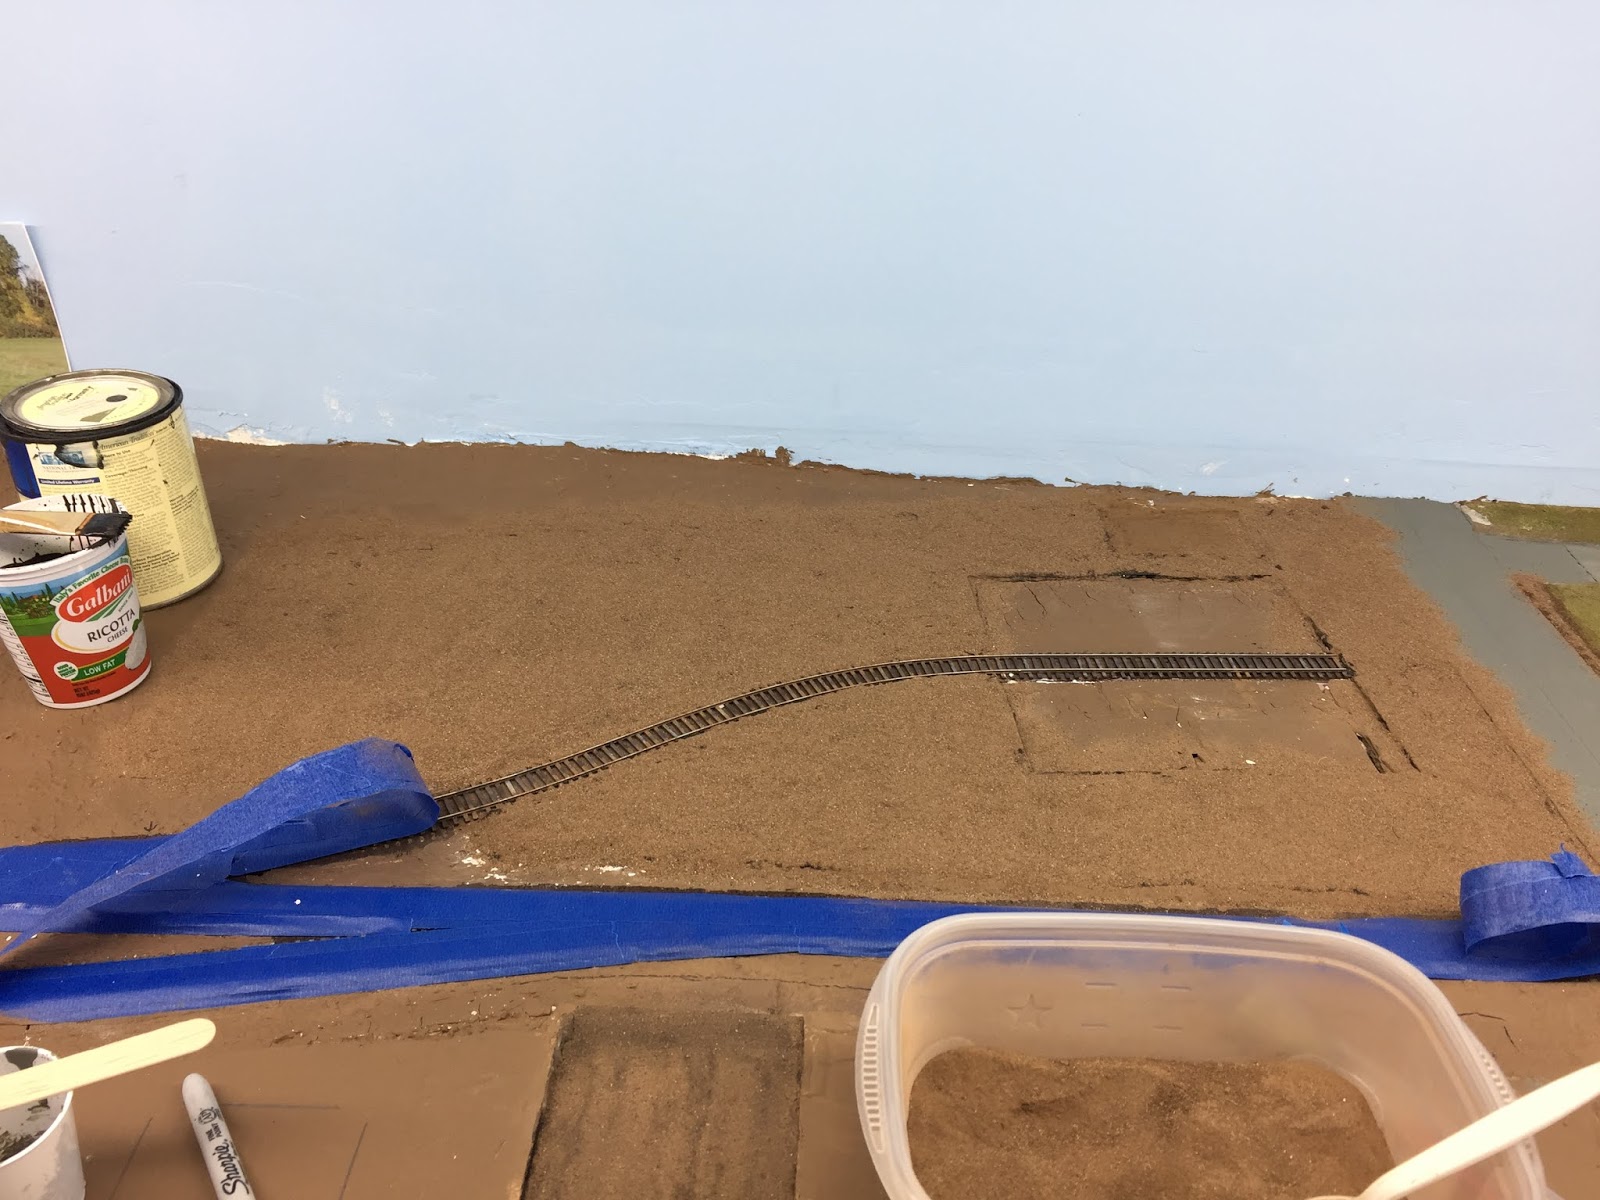
| The first step was to start "burying" the siding a bit by raising the surrounding terrain up to rail height. I used regular drywall topping and once it dried I painted it with my earth colored paint. |
 |
| For the lumber yard itself, I decided to use the same process I'd used to make a dirt road (click here for the details). I painted the lumber yard area with black paint, covered it all with dirt, misted it with 70% alcohol, dropped on diluted white glue, then topped it with more dirt. |
 |
| While that was drying, I added a small grade crossing - basically just RR ties in the gauge to protect the flangeways. |
 |
| A downside of my dirt-covering process is that there's a LOT of excess dirt. Even though it's "dirt cheap" (see what I did there?) I didn't want to just vacuum it up and waste it. So first I brushed the excess into a pile and scooped it up with a "dustpan" I made from an old switchlist. |
 |
| After a light brush and vacuum, the lumber yard area looks a bit like the dirt road I'd made before, with some black showing through. Creates a nice, weathered effect IMO. Next, I used some Minwax stain to color the ties at the grade crossing. |
 |
| Here's an overview of the area at this point. |
 |
| And a closeup of the grade crossing before it was filled in and the siding "ballasted" with dirt. |
 |
| First I covered the track with the dirt... |
 |
| ... then applied alcohol with a pipette to allow the glue to flow.... |
 |
| ... then added the glue . . . |
 |
| . . . . and added MORE dirt on top of that to ensure I'd have a dry rather than wet look. |
The lumber shed has a "concrete" floor, but there's nothing where the siding itself is. I didn't think that looked very realistic (the floor should be relatively even over, and covering, the track), so I decided to make a floor to cover the track.
 |
| I used strip styrene in a thickness to match the railheight. |
 |
| Painted it, and glued it in using Duco Cement. |
 |
| While I was at it, I also added some wheel stops. |
 |
| The final step on the siding was to add some cinder ballast and start some base groundfoam. |
If you've seen
the layout tour video I posted last week, you know that things are a bit further along in Wethersfield, but - alas! - the blog is lagging behind just a bit. But don't worry - I'll get you all caught up asap. Meanwhile, I hope you're enjoying seeing the progress & I'll try and do a better job of keeping up!


No comments:
Post a Comment