
If you follow the The Valley Local on Facebook (click here), you've already heard me mention a very cool event coming up this weekend! It's a Worldwide Virtual Convention hosted by the National Model Railroad Association - a full 24 hours of LIVE clinics and layout tours. And all you have to do to "attend" is to join the NMRA Facebook Group (click here) since they'll be hosting the live stream.
Joining the FB Group is free. All the convention will cost you is some sleep. Here's a list of list of all the events (click on the image for a larger view):

BION, I've tried to get them to shorten the longest title on the page . . . %^)
Hope you can join us - and if you do, let us know!
Now, on to today's tip . . .
There are of course a few critical items that will help static grass perform its job: 1) a good static grass applicator, 2) a light mist of water to help conduct electricity, and 3) a vacuum to pull the grass vertically. But the 4th critical component is the glue you're using to stick the grass to your layout.
Facebook definitely has its drawbacks, but one of the things it's great for is following your favorite modelers and while checking out Mike Rose's latest efforts, he mentioned that one of the reasons his static grass comes out so nice is the type of glue he uses.
So, of course, I had to get some and try it out:
 |
| This is the stuff - Elmer's Carpenter's Wood Glue MAX |
 |
| Here's what it looks like out of the bottle - it has some distinctive "specks" in it and it's definitely a bit thicker than the white glue I've been using. |
 |
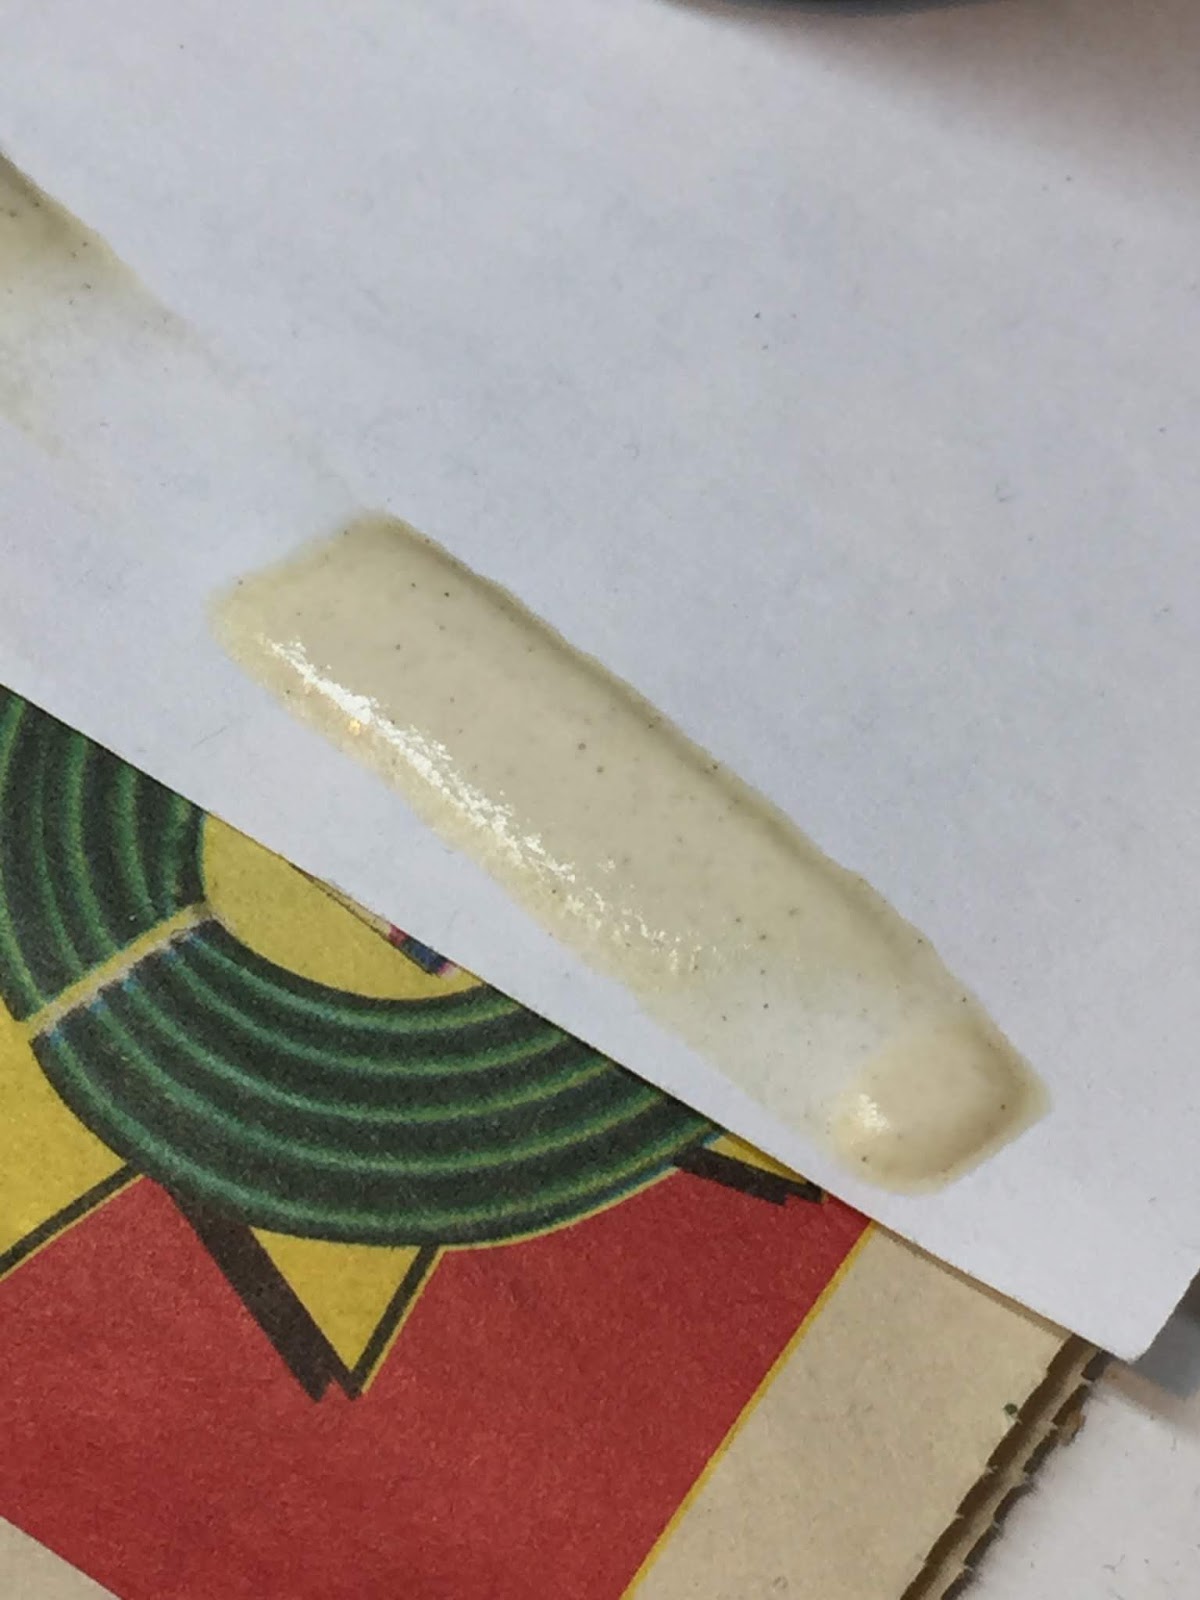
| If you're worried about the color, this is what it looks like when it's dry. |
When you're done, it should look like this:

I'm always interested in learning how folks do their static grass. Different techniques may yield different results. And if there's anything that I'm discovering is important in making scenery effective, it's variation. So be sure to share your experience and tips in the comments!
There are a couple things that affect the static grass standing up. One is the glue. The others are how high off the surface your holding your static grass applicator and, most importantly, your grounding. IF its not grounding good enough then your grass will lay down. I use a T-Pin. They are chromed steel and have a good handle for the clip to grab onto without slipping. Keep the pin clean too. The other is how the glue is prepared. Just like ballast glue it need a 'wetting agent' I use a couple of drops of Dawn. Why Dawn. It breaks up grease and oil that may be in the glue besides surface tension. My formula is 50/50 Modge Podge MATTE medium, distilled water, and a couple drops of Dawn. Hold the applicator as close as you can to the surface. I use a Noch applicator with the big hopper and a medium screen. Works well for me
ReplyDeleteThanks much for sharing your process! That's interesting that you thin the adhesive and add a wetting agent. I would think that full-strength glue would get "tacky" more quickly and be more effective. I use the same applicator and have had good results. Another thing is that I mist on some water over the area to promote additional electrical conductivity. I've found that helps too. Thanks again for taking the time to leave a comment!
DeleteGreat results Chris!
ReplyDeleteThanks very much Paul! Hope you're enjoying the blog!
Delete