
I had to remember that lesson again in Dividend.
At the end of yesterday's post, I mentioned that the arrival of the Hartford Rayon structures highlighted how rough and uneven the terrain was. Where this area is supposed to be relatively flat, this is what I actually had:

Not only did all this have to be flattened out, it had to be leveled as well. Check out that slope!

Fortunately, in Dividend as in much of the other areas of the layout, I (well, actually, Pete) used tried-and-true cardboard webbing and plaster cloth. It's not really easy to modify once it's in, but it's fairly easy to remove and redo.
So that's just what I did . . .
 |
| First step was to use a steak knife to cut around the perimeter. Yes, I have my own layout-dedicated knives. No, I didn't pilfer any of the Missus' knives (else she might have used one them - and not to remove scenery!) |
 |
| You're just cutting through cardboard strips and plaster cloth, so it's relatively easy going. I'd hot-glued the strips to the masonite fascia, so those just peeled off. |
 |
| Now, I could have redone this area flatter and "level-er" with a different (or additional) application of strips/cloth, but since the area under/around the structures needed to be really flat - and especially since I've had spotty success creating truly flat areas with strips/cloth and ground goop (didn't want to trowel on 5 pounds of goop as I mistakenly have before) - I figured I'd use foam board here instead. |
 |
| But even 2" thick foam board needs some support, so I went to my old stash of roadbed risers from my benchwork-building days long ago . . . |
 |
| . . . and glued on looooong horizontals to support the board fore/aft. Those are the clamps holding everything together - glue on top, and screwed to the joists at the bottom. |
 |
| Next I used a caulk gun to lay down thick beads of foam-safe construction adhesive (Loctite PL300) around the perimeter and on top of the supports. |

 |
| Then I used cans of paint & plaster as weights to hold it all down and in place while the adhesive set & cured. The wedges/shims you see between the board and the fascia created a gap that I could squeeze adhesive into to attach the fascia to the side of the foam board. |
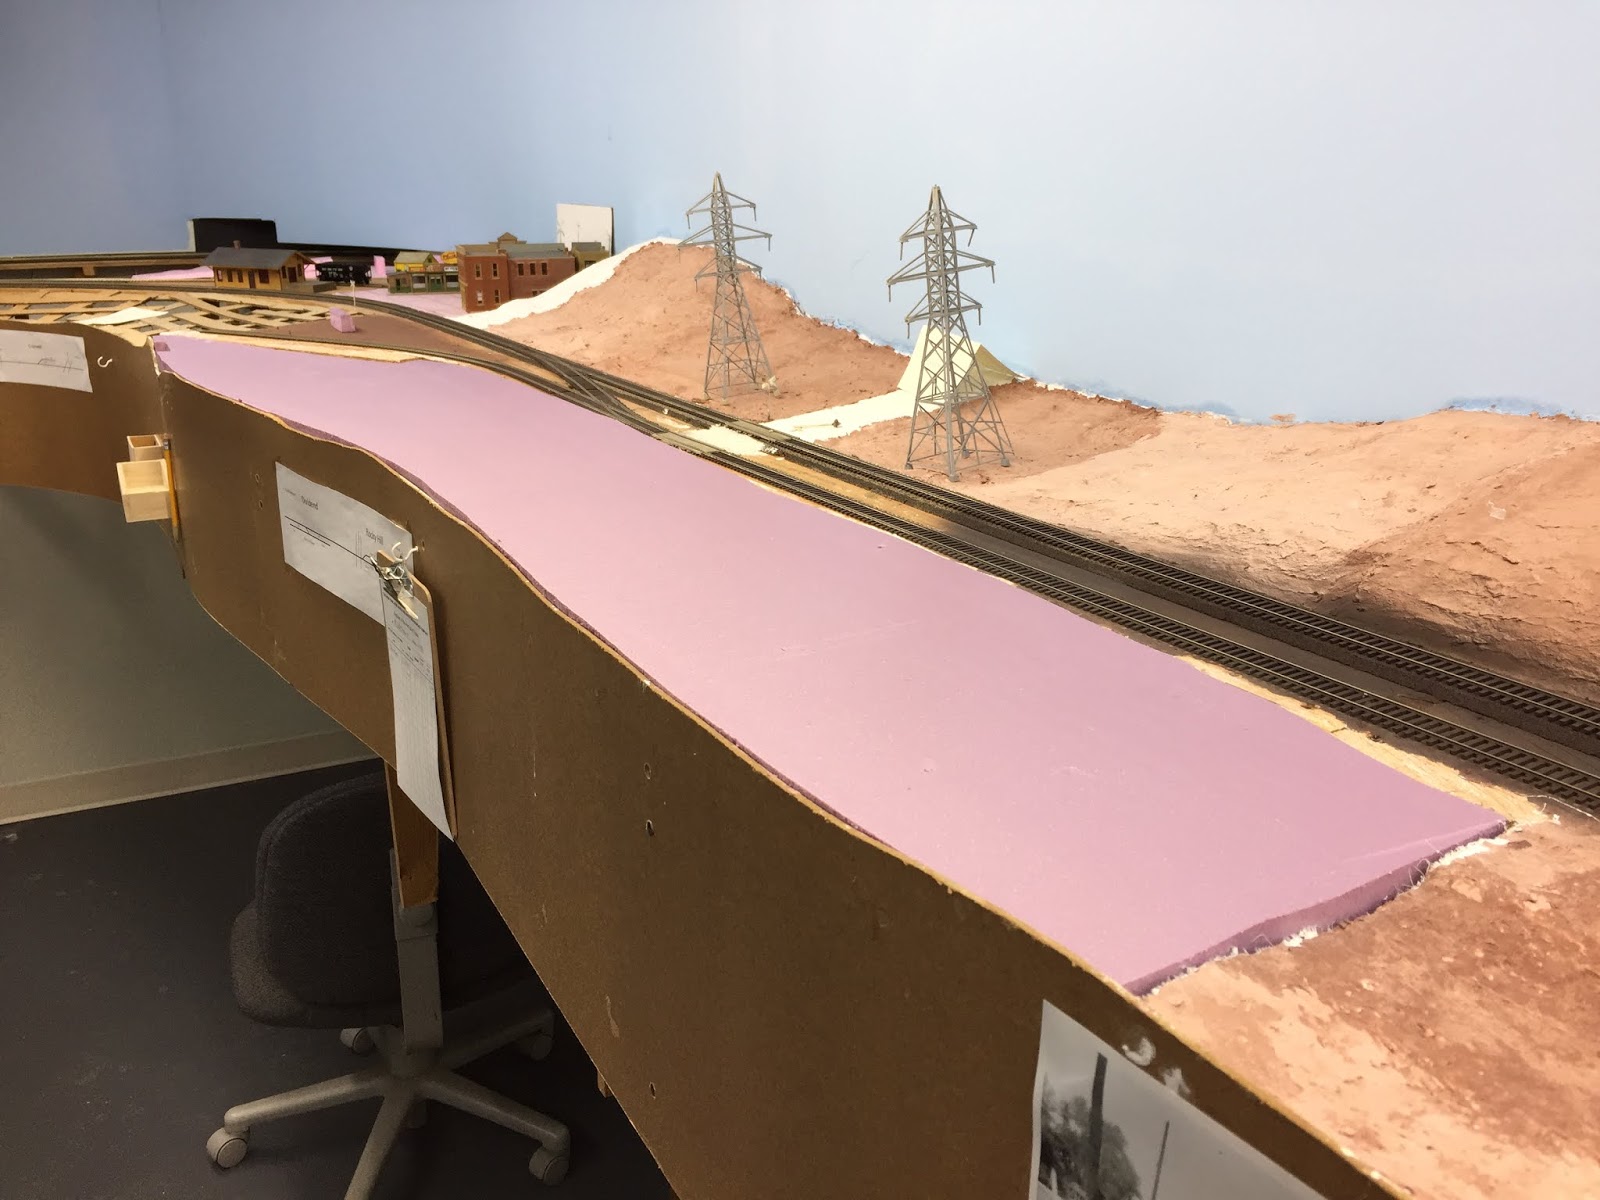 |
| And here's the result! MUCH flatter and level-er! |

The foam board definitely solved my terrain problem in this area and the structures are all nice and happy, sitting nice and even on the "ground." I'm sure I'll be able to add slight - but more realistic - undulations between a combination of light carving and judicious use of ground texture. I still prefer the strip/cloth method for most terrain since it easily - almost automatically - creates natural & random ground contours. But it's not a great method if you have a bunch of structures to place.
So plan ahead - or, if you didn't, no worries. You can just redo it, like I did.
The folks that attended my last ops session in January (I'm lookin' at you, AMLers) will attest to the fact that this is how Dividend still looked at the end of January, and I can attest to the fact that - other than some mocking up of a more-accurate track arrangement - I haven't touched this area since last December.
Until this morning when, in lieu of my morning ride and accepting the Missus' advice at the end of Sunday's post, I ventured into the basement and got to work . . .
No comments:
Post a Comment