
So, being a bit too left-brained for good scenery work, I figured I'd play to my OCD strength and do an experiment. I tried a bunch of different techniques:
- Applying brown paint to the scenic base, then adding dirt on top of it
- Same as above, but also spraying with 70% alcohol on top
- Applying full-strength white glue, then adding the dirt on top
- Same as above, but also spraying on alcohol
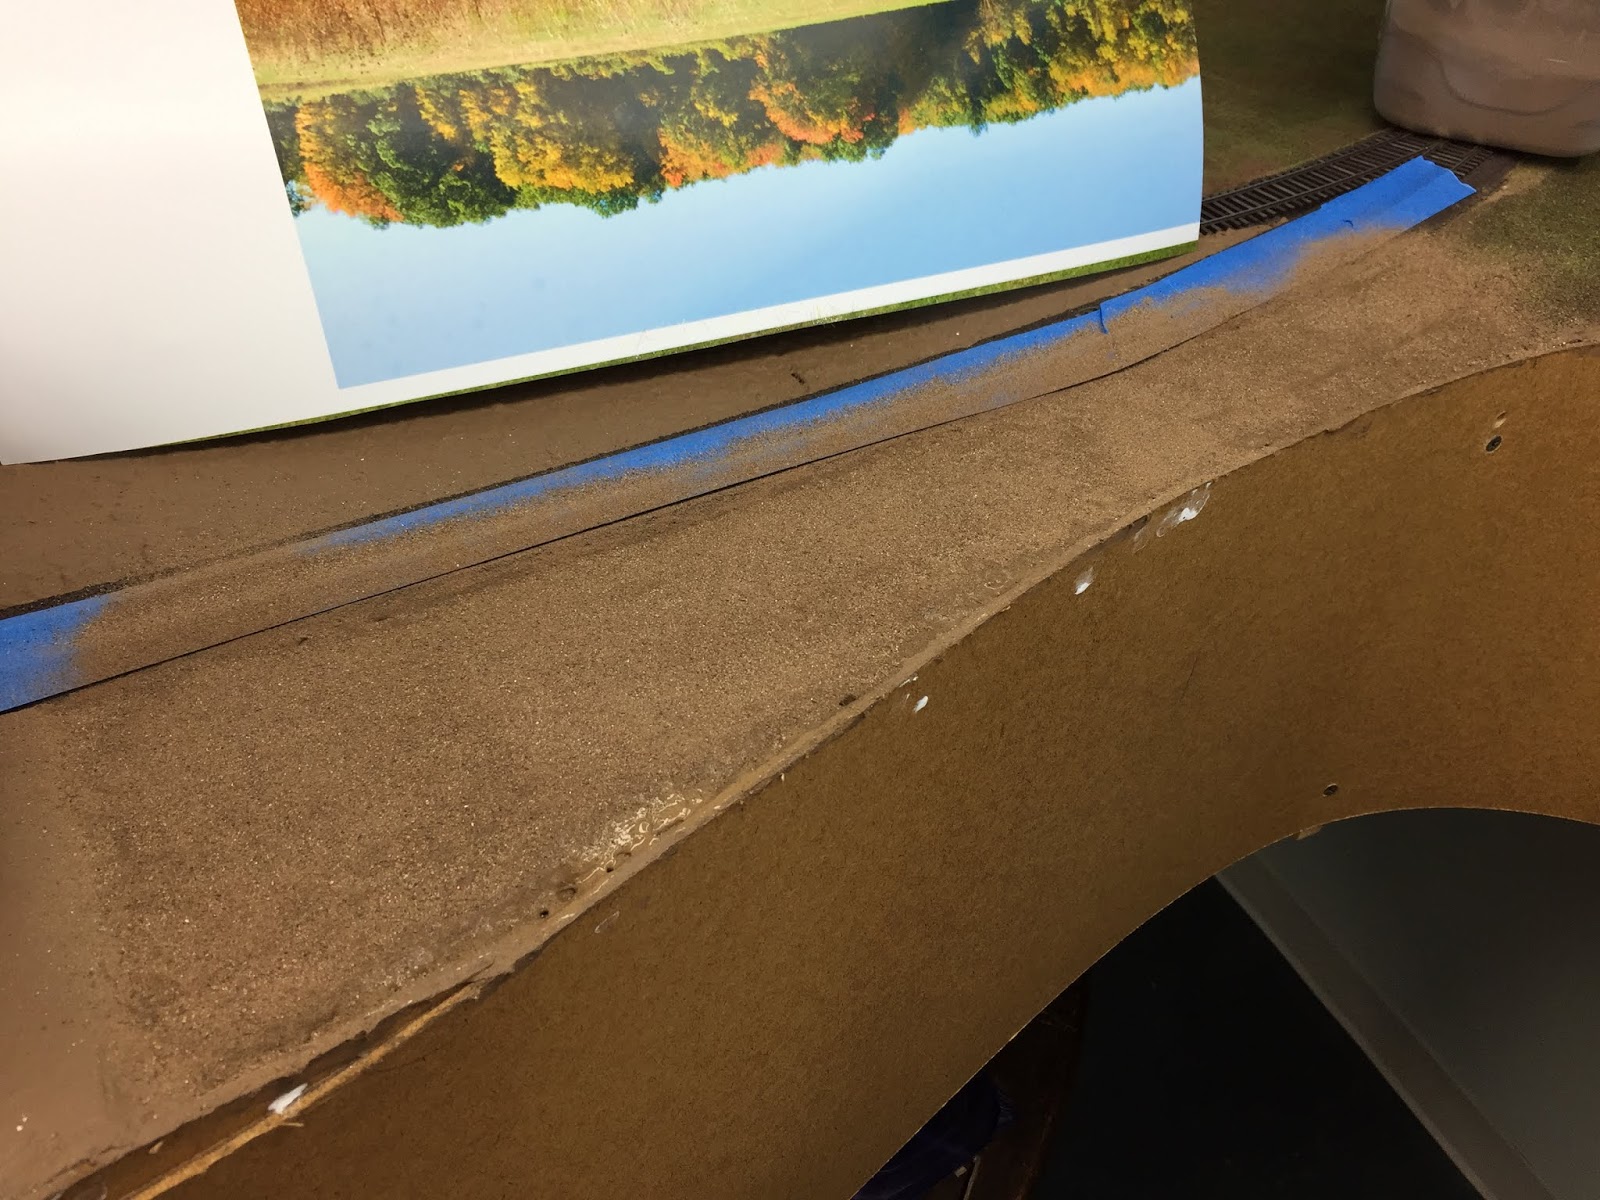
I did all these little experiments along a not-yet-finished area of the layout...


As you can see, the results were decidedly mixed, but it gave me some great information on what could work - and what definitely would not work.
I concluded that the best way (at least for me) to apply actual dirt to the layout and get consistent results was to use a 4 step process (5 steps, if you count vacuuming up the excess):

Step 1: Apply dirt-colored latex paint (in this case, I just painted right over all my little experiments).
Step 2: Sift on actual dirt, covering all the paint.

Step 3: Mist on 70% isopropyl alcohol - just enough to dampen the surface of the dirt.

Step 4: Sift on more dirt on top of the alcohol, covering all the dark spots.

Step 5: After everything dries, vacuum up the excess. If you're really thrifty, you can reclaim some of the material using a soft bristle brush to move it into pile to pick up and save. But, um, you shouldn't feel compelled to go to that trouble cuz this material is dirt cheap. (sorry - couldn't resist).
As you can see from the photo above, there's none of that annoying "water staining" effect I was getting before, and the dirt looks light(er) and dry - with just enough subtle variation in tone.
Next, I decided to see if the same technique would work well/consistently for applying fine ground foam. While I haven't been getting any "water staining" with the ground foam, I have noticed that it tends to dry a bit darker than when I first apply it. So....

Step 1: Apply dirt colored paint.

Step 2: Sift on ground foam/texture.

Step 3: Mist with 70% alcohol.

Step 4: Add another thin layer of texture on top.

After it's dry, it'll look like this.

And here it is after vacuuming.
I'm sure my technique will continue to develop and evolve and I suspect I'll experiment more from time to time, but for now I'm glad I've come up with a process that works for me and works with the materials I have on-hand.
I'm discovering that - like learning Excel - scenery is a process you really need to keep doing regularly so you don't forget how to do it (I've "learned Excel" multiple times, but don't use it enough to actually know how to use it well).
Thankfully, having come up with a consistent, repeatable process means I'll be doing scenery more regularly and won't have to relearn how to do it Every Single Time.
Nice Research, Doctor!
ReplyDelete