The last time I did an actual, written update on the B&M SW1 way back on November 9, it was all ready for primer, paint, and lettering. While there've been a few teaser posts documenting progress since then (and in one post, just dumping some progress pics), here's the MUCH longer detail on the process. . .
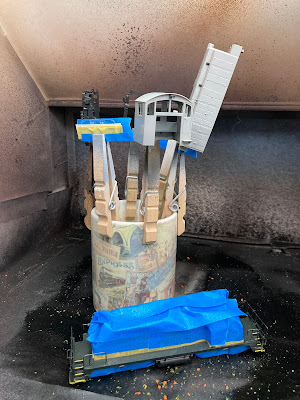
To prep for painting, the first step is to clean all the body parts and mask off the frame/chassis.
I also needed to mask off the rear light lens. For some reason, there was no way I could remove it so I figured this would be good time to try out some MicroMask. I just dipped a toothpick into the product and dropped a small drop in the center of the lens, allowing it to spread to the lens' full diameter.
For the paint itself, I decided to airbrush black
Stynylrez.

Since the loco is all black, my buddy Ralph suggested I use this primer for paint, knowing that I'd be putting on a gloss coat for decaling anyway. I was skeptical, but it airbrushed like a dream and covered beautifully.

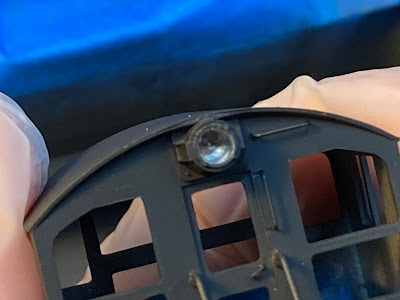
And the Micromask worked like a champ too. I just needed to use a toothpick to scrape a little bit so I could grab it with a tweezer and peel it off.
The next step was to apply a clear acrylic gloss to the body for decaling. Again, going on a suggestion from Ralph, I airbrushed Future floor polish for the gloss coat.
Things had been going so well up to this point, I supposed I was overdue for a fail. I'm still getting used to my double-action airbrush and applied a Bit Too Much Future to the front of the cab, and it began to run down the wall. ARGH!
Apparently, one of the reasons to use the Future is that it's self-leveling. So, after an SOS to Ralph, he suggested I actually add more Future(!) I'd actually planned to try and wick up the excess to remove it - but come to find out, that would certainly have ruined things. So I added more Future - and it fogged as you see in the above pic.
But I let it dry flat so it could have a chance of leveling out. . . and here's the result:


It's admittedly not perfect, but it looks a darn sight better than it did - and, in fact, looks a bit like a dent/bulge in the metal. Not a bad effect for a workaday switcher...

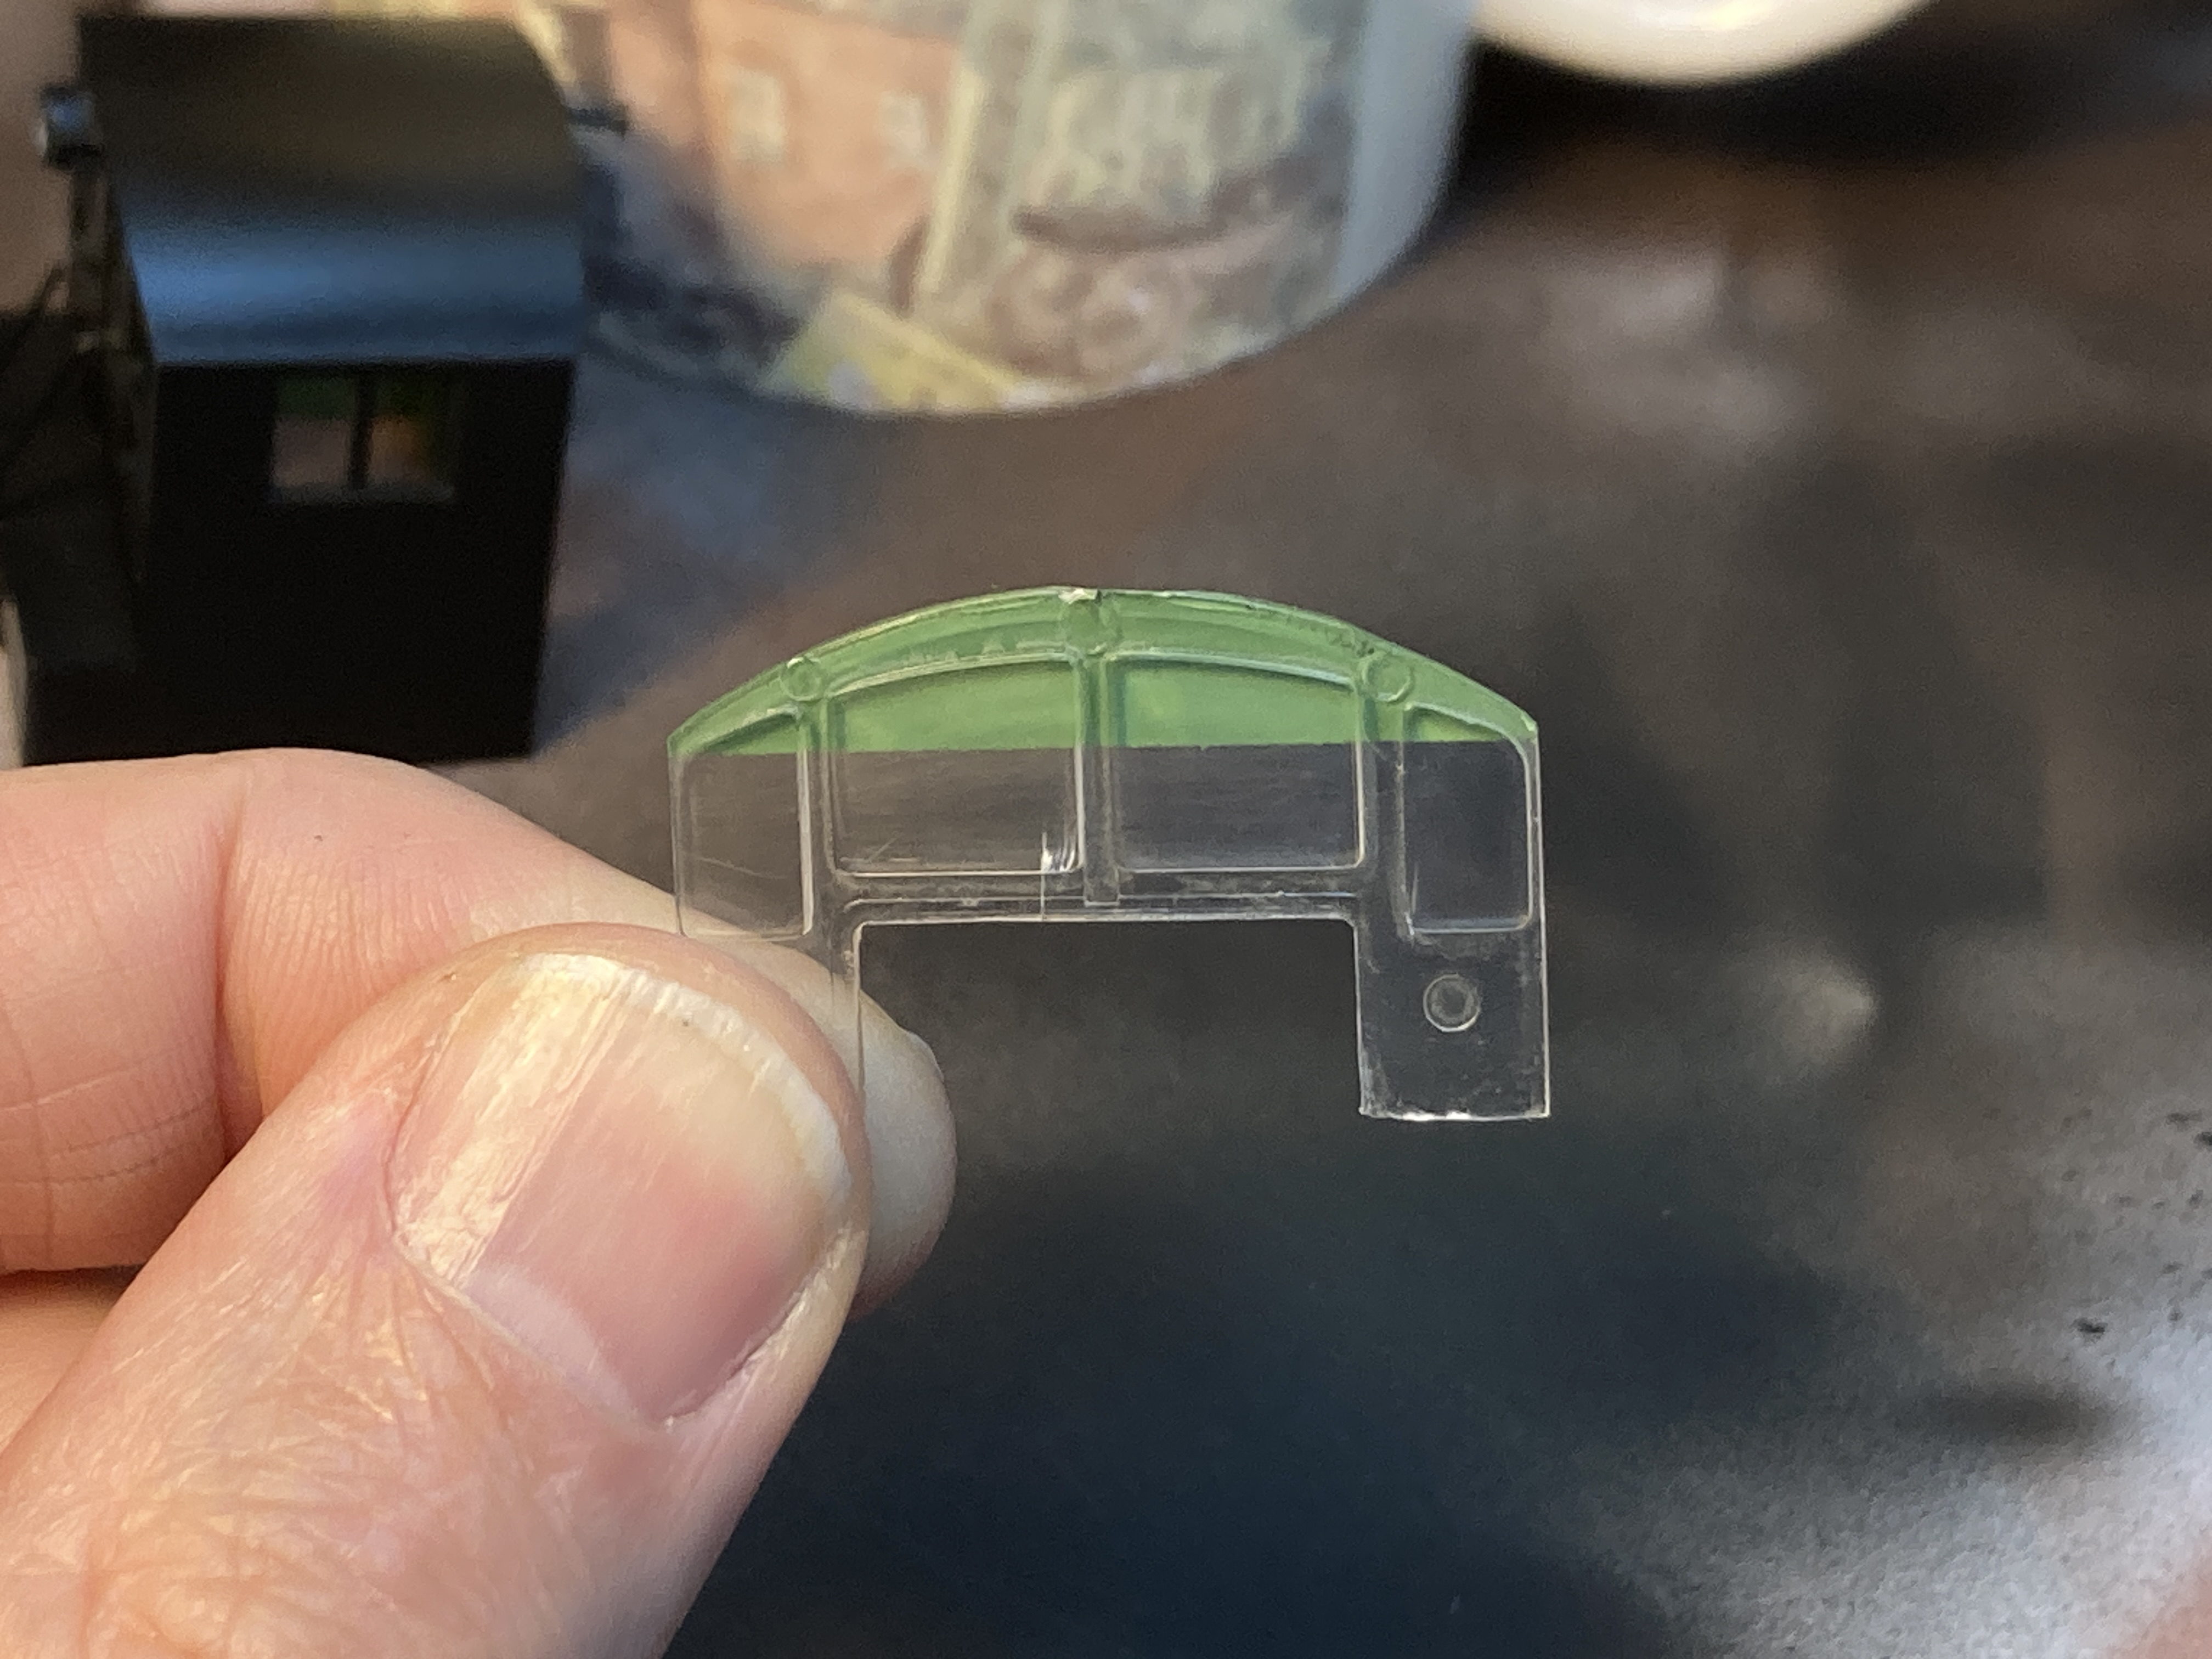
As an all-black loco, the addition of a little color is most welcome. And as it turns out, the Boston & Maine started painting "sun visors" on the cab windows to relieve the crews of the glare that resulted in the beautiful (but blinding) large "greenhouse" windows. Based on research over at the Model Railroader's Guide to B&M/MEC Diesel paint schemes Facebook group, the paint was one of two different greens - depending on the era. Apple Barrel Marsh Green was about as close as I could come with what I had on-hand. I just needed to add some materials to make it "airbrushable" (using this as a guide).
Consulting the prototype photos, it looks like the paint line occurs just as the windows start to curve down. Above is the rear window all masked. . .
And finished
And the front window finished. Just remember to spray the inside of the windows...
With the painting done, it's time focus on lettering and for that I have to thank David Hutchinson for the fantastic prototype photos - including one in color of the scheme I want to do!

 |
| I couldn't find any engineer's side pics of the 1109 in the right scheme, so this one has to do... |
After thinking I had the decals ready to go for, literally, months, once I started "dry fitting" them to the hood, I discovered that the square heralds that come with the Accucals set are too small. UGH!
Thankfully, Dave came through with the right size heralds from the Microscale set, which also included better Minuteman heralds and end numbering.
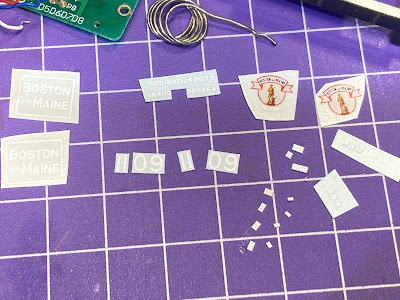 |
Unfortunately, there were no numbers small enough to fit in headlight numberboards. But I found some freight car data and used some teeny tiny numbers from that set. In the pic above, I've cut out all the necessary decals - including the number board numbers, which had to be cobbled together. Yikes! Those four tiny bits are the four #9s I need - and they're only 1/32" wide(!)
|
It too a steady hand hand and good tweezers, but thankfully I was able to shoehorn the teeny tiny bits where they're supposed to go. I used Microset and Microsol per the instructions to fix all the decals in place.
The cab end lettering is centered over horizontal top of the windows.
And I centered the hood end lettering over the two side panels of the radiator screen.
Paying close attention to the prototype photos, I centered the Minuteman herald and numbers on the side of the cab wall.
I applied multiple coats of Microsol to the decals and they looked fantastic, settling down very nicely with no silvering. My next step is typically to spray on a coat of Dullcote to seal the decals and provide a base coat for weathering.
But I'd been hearing about adding a gloss coat instead to provide a "ramp" between the body shell and the top of the decals to make the decal edges totally disappear. Being a clear acrylic, fairly viscous, and self-leveling, I decided to try an overspray of Future.
And here's where the second fail occurred . . .
For some reason, the decals seemed impervious to the Future - it glossed everything BUT the decals. That's not silvering you're seeing in the pic above, but the difference in sheen when I bounce the light off of it.
While waiting to figure out what to do about
that, I remembered I still needed to add the four door handles I'd left off so I could add the hood decals. But they had to be painted first. Have you ever tried to paint something this small?? Sticking them to some masking tape helps hold them in place. Of course, I needed 4 - had 5 - and lost one - twice!! Fortunately, I also found it twice. Whew! Next time, I'll paint them on the sprue.
And at some point, I noticed one of the NBW castings I'd added next the sandbox grabs had fallen off.
Thankfully, I had some spares - so I used a black Sharpie to "paint" it at the bench, then glued it on with CA. Yeah - that's the casting at the intersection of lines - just a smidge larger than a poppyseed(!)
The only part of the body that I hadn't overcoated with Future was the engineer's side of the long hood. So I applied a coat of Tamiya Gloss Clear to that side and the result was perfect. So lesson learned - I'm not going to apply Future as an overcoat for decals, at least not over a decal I've affixed with Microset/Microsol (maybe they just can't get along).
The Tamiya gloss may not be as viscous and self-leveling as Future - and, therefore, less effective in causing decal edges to disappear (thoughts, anyone?) - but at least it helps, and without the bad side effects (no pun intended).
After the gloss coat dried, I applied a coat of Tamiya Semi-Gloss Clear over the entire body shell to provide a base for weathering which is next.
Again, not absolutely perfect, but turned out fine - much better than I'd feared.
Oh - and I Dullcoted the truck sideframes and the chassis as well, in order to provide some "tooth" for heavier weathering.
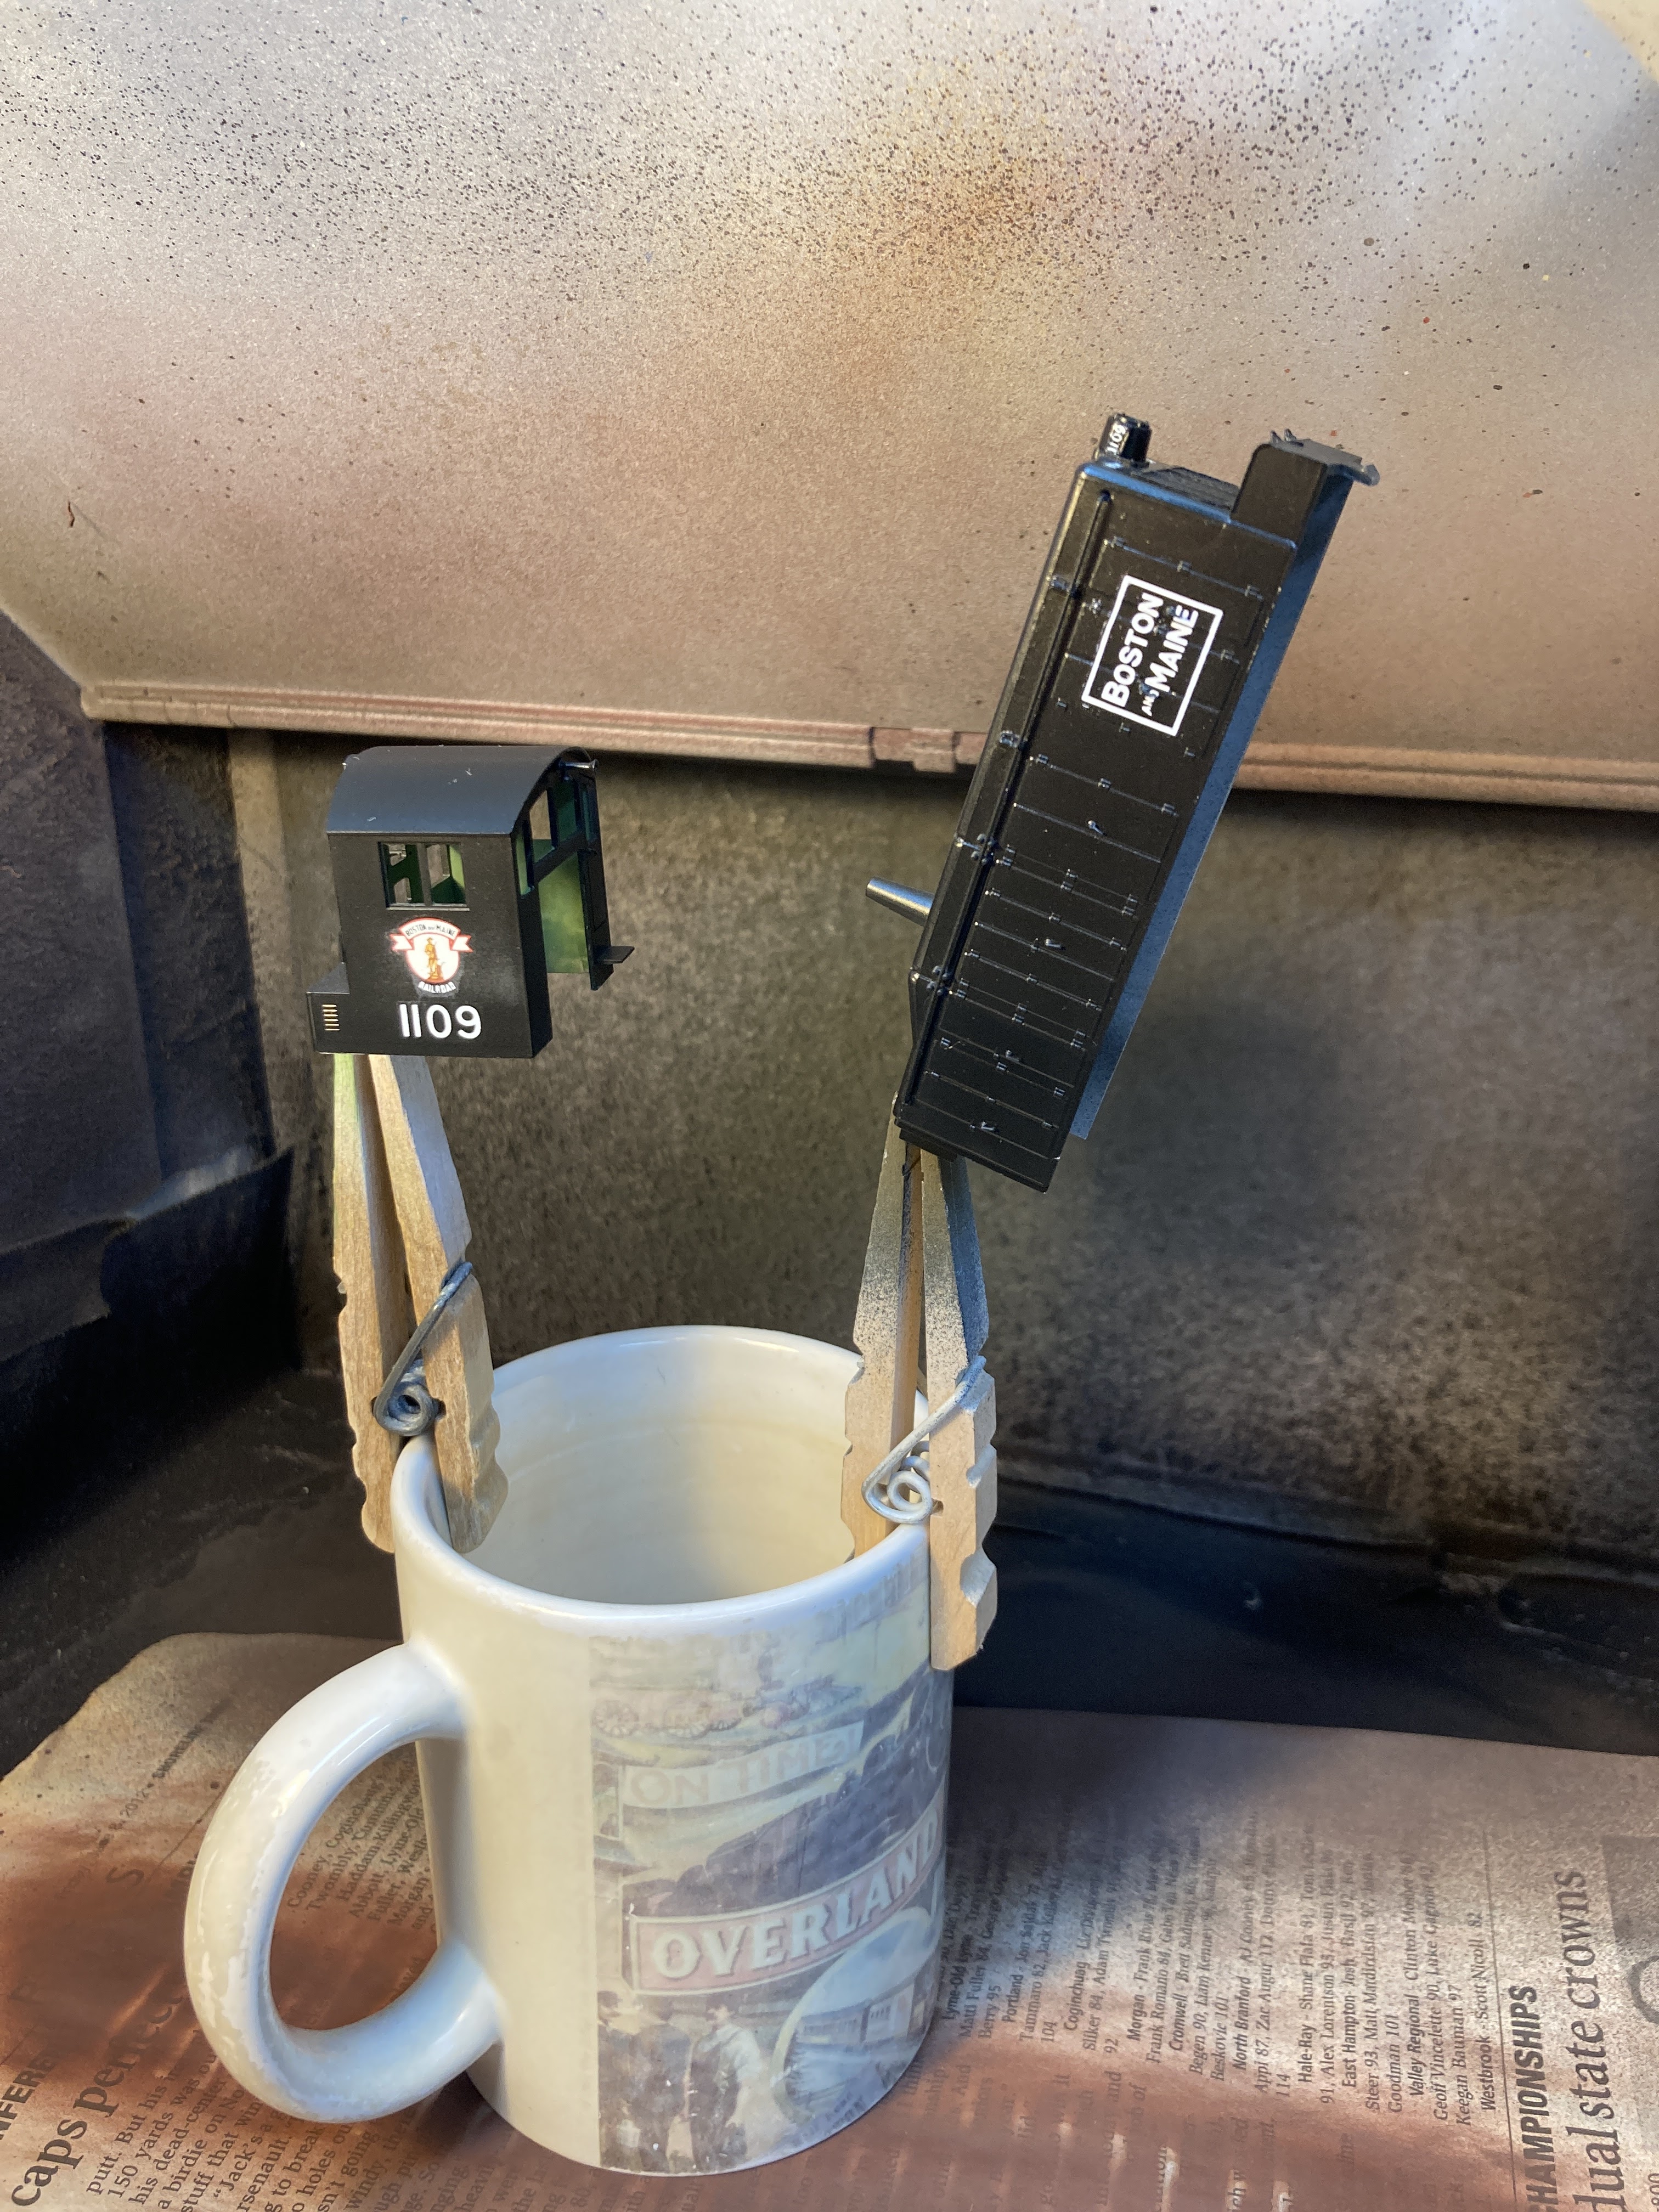
So this is where everything sits at the moment - "done" and ready for reassembly. And typically, that's what I'd do - put it all back together and in service, figuring I'd get around to weathering it "someday."
But among the many cool things about this project, the coolest is that it's really been a test bed for trying some new techniques and - most importantly - to just "go for it" without worrying that it's my flagship locomotive. It's "only" leased power, after all.
So - with a little guidance from my friend Ralph - I'm actually going to weather the 1109 before putting it on the layout. Then, it'll really be "done done" and I can enjoy it without the guilt of "man - I really gotta get around to weathering that engine..."
Here's hoping you can follow along to see how that goes. There may be some more fails, but if you/I learn something from them (especially how to fix them!), then they'll be worth it.


Awesome. Thanks for this very timely update.
ReplyDeleteI can't wait to see what you do for weathering Chris!
ReplyDelete