
After staging all the Shore Line trains I'd need to run for a "typical" ops session (as "background". Um, yeah), and reviewing the intricate choreography required in moving 33 trains through a 9' scene over 178 minutes, I had a few trusted co-conspirators/instigators over for a dress rehearsal.
And it went actually went pretty great. The videos give you just a little taste. It sure gets busy in Saybrook! But I did end up with a punch list of things to do.
So I spent a good block of time over the weekend working through the list, trying to get as much of it done as possible in time for the next session....

First and foremost were guardrails. Not the kind you're thinking of - those inner rails on a RR bridge. But the ones that keep your car from going off a cliff. They work the same in HO scale, and can be made pretty easily and cheaply. Given the speeds of trains on the Shore Line, keeping cars from careening off into the abyss (apparently, it's a family tradition) is a high priority. Fortunately, it doesn't take much to prevent disaster. In the photo above, you see I just wedged in a scrap of masonite on the outside of the curve, and stapled a cardboard strip on the inner side. And it took less than 5 minutes. I really should have done this a lot sooner.

Since there's so much traffic on so (relatively) few staging tracks, and I'm trying to cram as much into those tracks as safely as possible, I need to make it clear to the operators not only which track is which, but how many cars will fit on each track. I had just used bent business cards between the tracks showing this info, but they were either in the way or would get hidden.
Unfortunately, once the staging lid is closed, you don't see ANY of this(?!) So....

I got out one of my many handy-dandy power saws (though I'm partial to the Sawz-All, I used a saber saw here) and cut off part of the "lid" from the staging box and moved the support wire back.
The last thing I did - and what took the most time - was expand the West End Staging yard. I'd already built out the East End staging as much as possible (click here for that saga...) - and that was already the bigger of the two yards! So I should have known that an extension of the West End was inevitable. My Shore Line Shake Down confirmed the need for - literally - just a few more inches (I was 3.25 inches short of being able to accommodate two DL-109s on my premier 7 car passenger trains). But I really didn't think it would be possible.

The above photo shows what I started with. As you can see, the end of the staging yard is a drop-down extension that ends right where it would start to hit the lift-out that connects the two Air Line modules.
But "all I needed" was a few more inches. Here's how I did it.

First, I took out the Air Line lift out so I could get to both sides. Then I made/added a 10" box/benchwork/extension. Yeah, I know I only needed 3.25 inches, but I only wanted to do this once - and this is the absolute maximum I could go before hitting another truly immovable obstruction.
I then clamped everything together, including a plywood splice along the back.
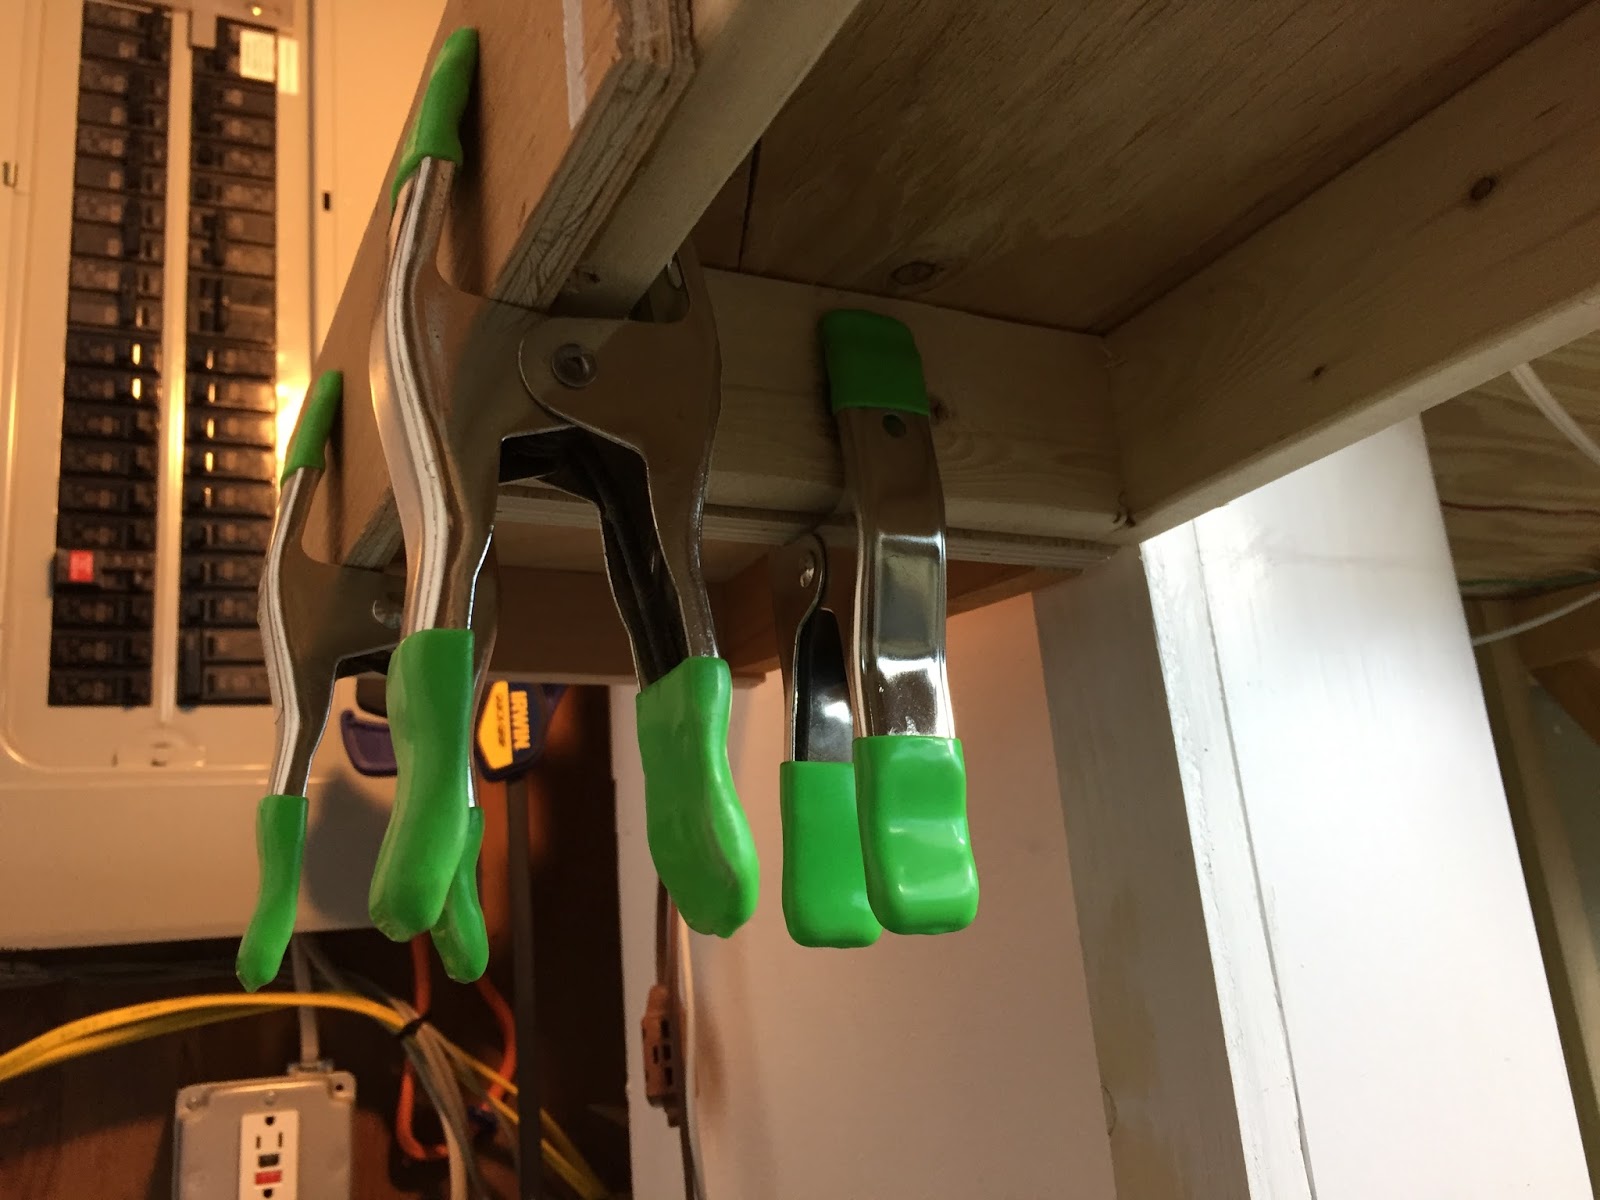
And then screwed it all together while still clamped.
Since it was only 10 inches longer, I figured I could continue to use the hook & eye support I'd been using to hold it up.
Oh, and what about the initial obstruction - namely that Air Line liftout?

Well, I already had my saber saw out, so it was just a matter of, um, "increasing the clearance" a bit. You can see the final result in the photo above. I put back my plywood lip/bumper at the end and added some rerailers to help my operators with equipment swaps.
And West End Staging went from 4 tracks of 16 cars each to 1 track of 17 cars and three tracks at 18 cars each! Certainly a lot more than "just a few more inches."
I'm really looking forward to seeing how these new additions work. I still have some stuff left on the punch list - not to mention having to come up with something easier than this

for the crews to read & follow. But all in good time. If things get too crazy on the Shore Line, I can always go back to the Valley Line.
Not "relatively" - there ARE so few staging tracks. Especially on the Cedar Hill side...
ReplyDeleteWell, as a popular children's book goes (paraphrased): "That was all there was, so that was all I have." There just ain't any more room - so I'll have to work with it. %^)
Delete