Monday, August 15, 2022

Modeling Monday - A Gas Station for Cromwell

As a small tribute to my friend Jim Sacco, who recently passed, I decided Cromwell needed a gas station. The Sanborn map of the area indicates one existed south/east of the tracks and on the east side of Middlesex Turnpike (aka Main Street), but there's no photo. So I figured Jim's archetypical "Crafton Ave. Gas Station" would fit the bill nicely. Follow along as I start what's turning out to be a pretty easy build...
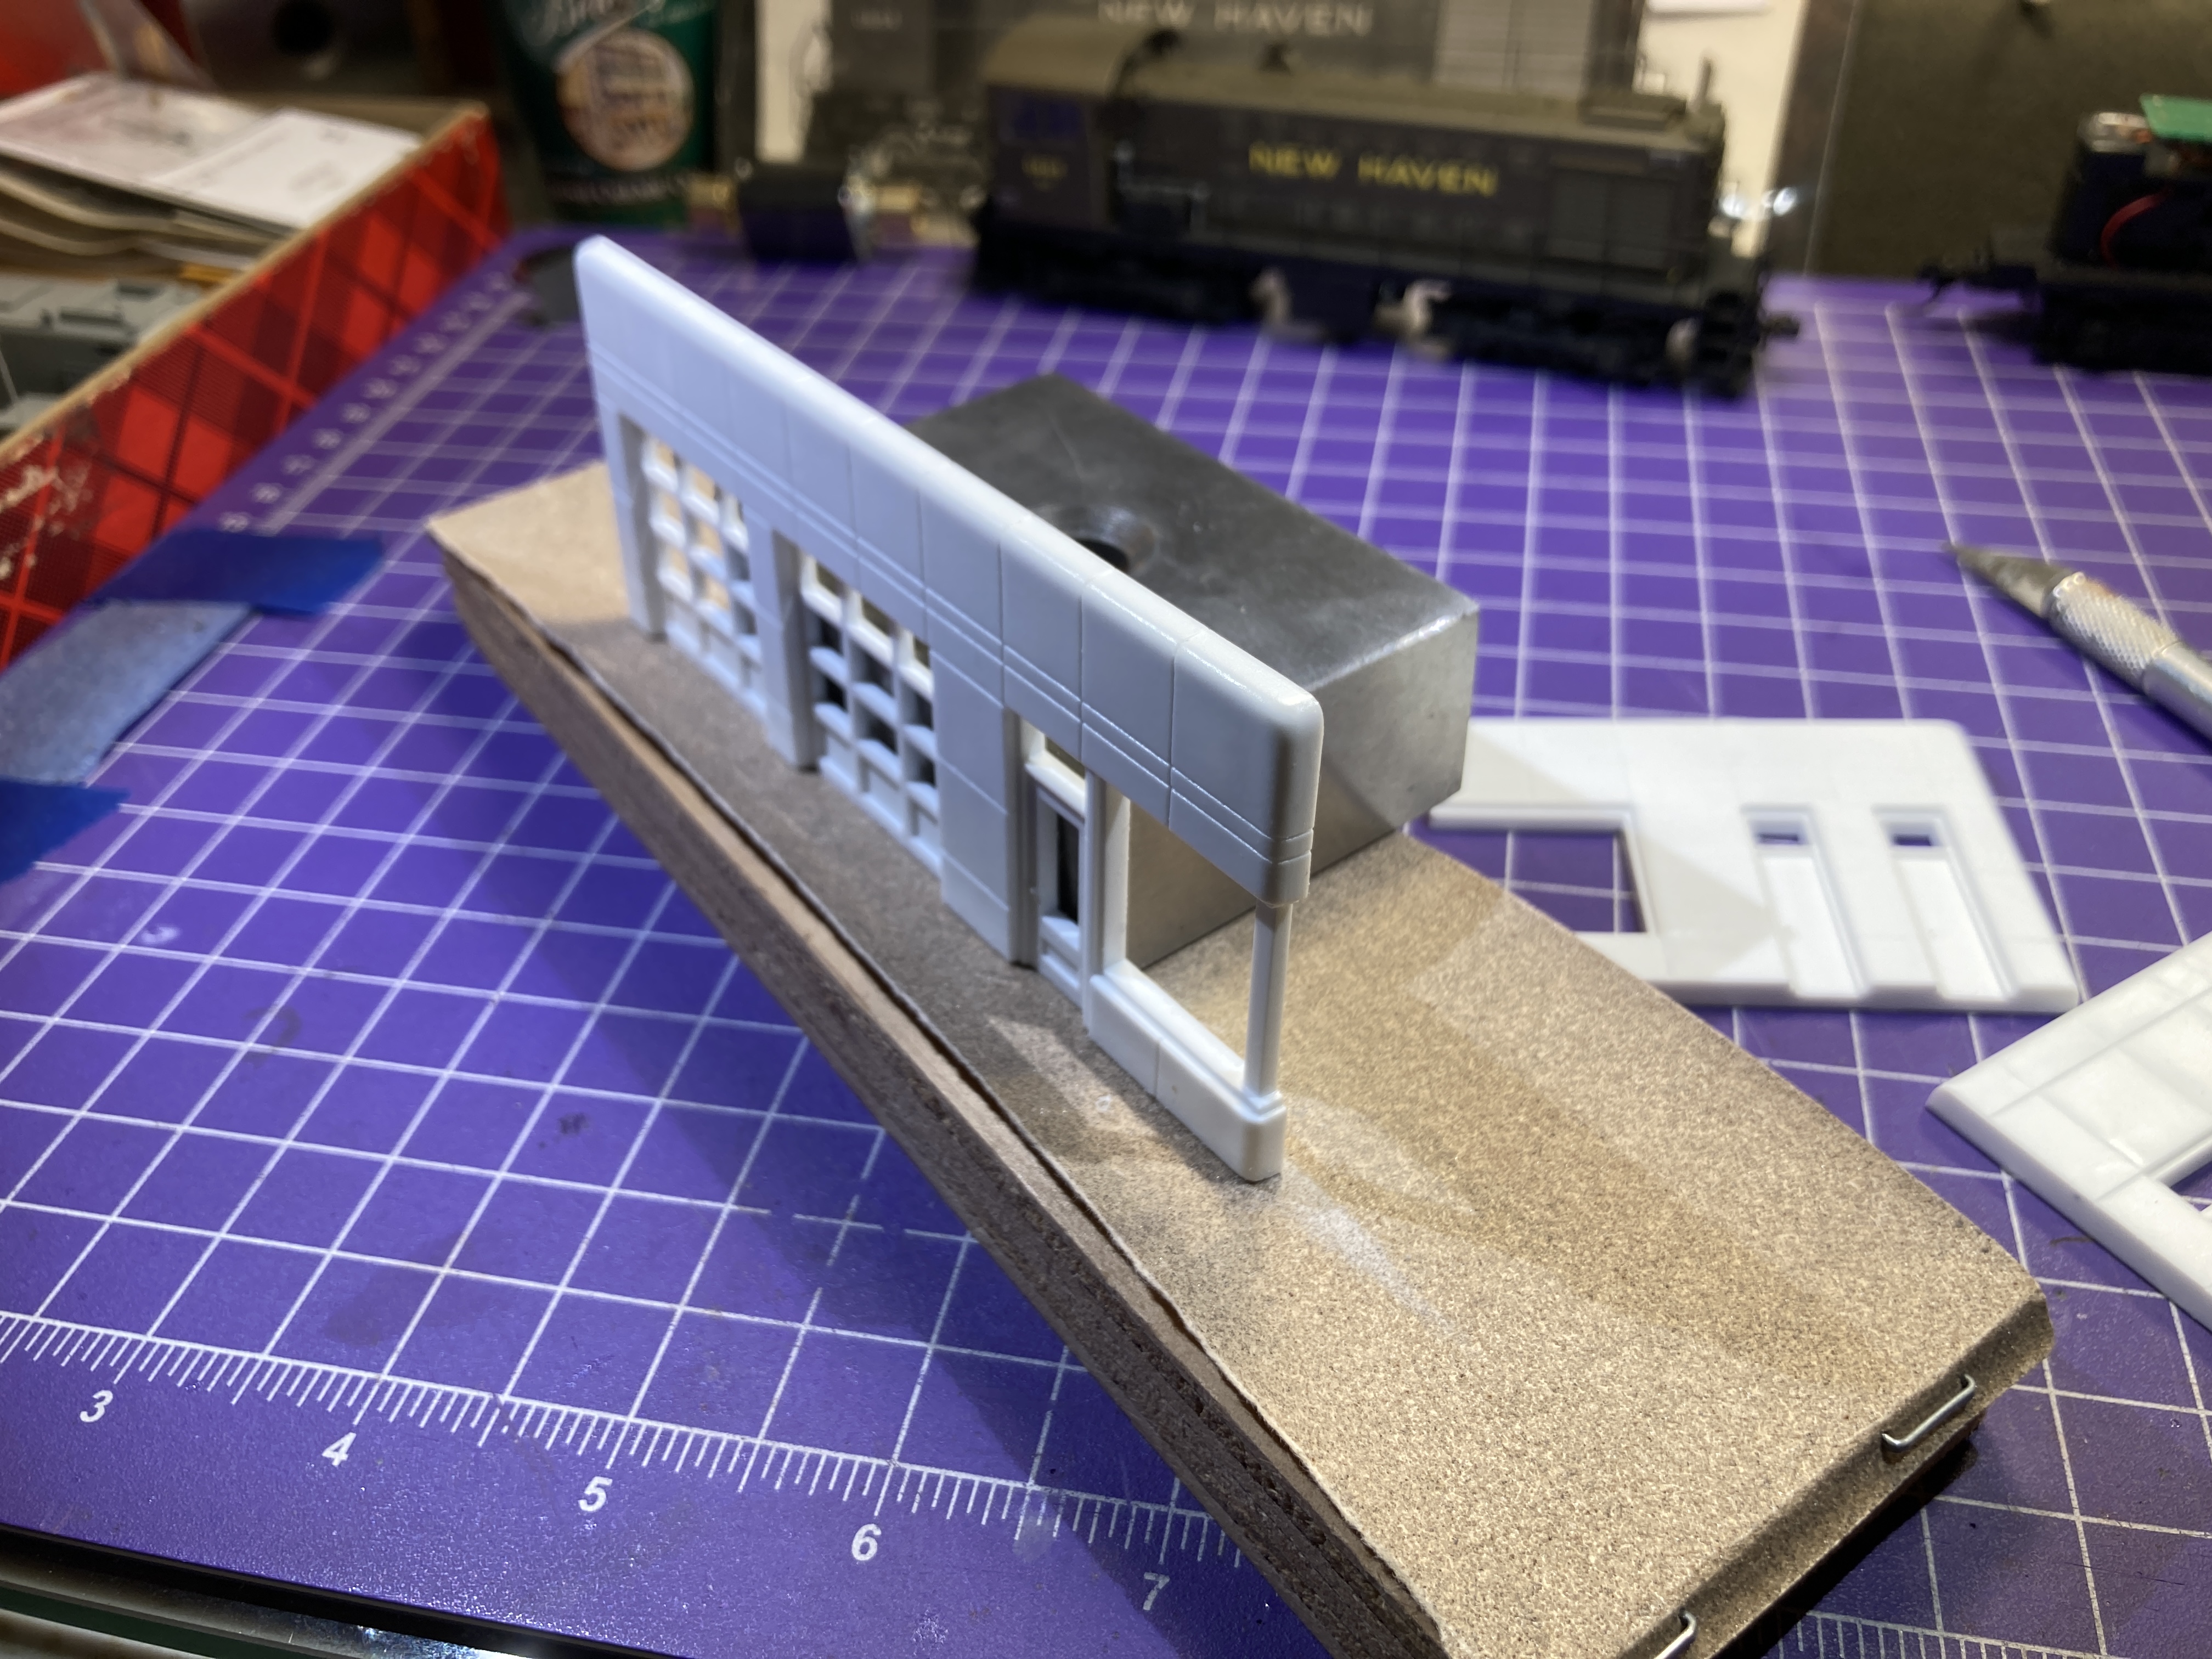

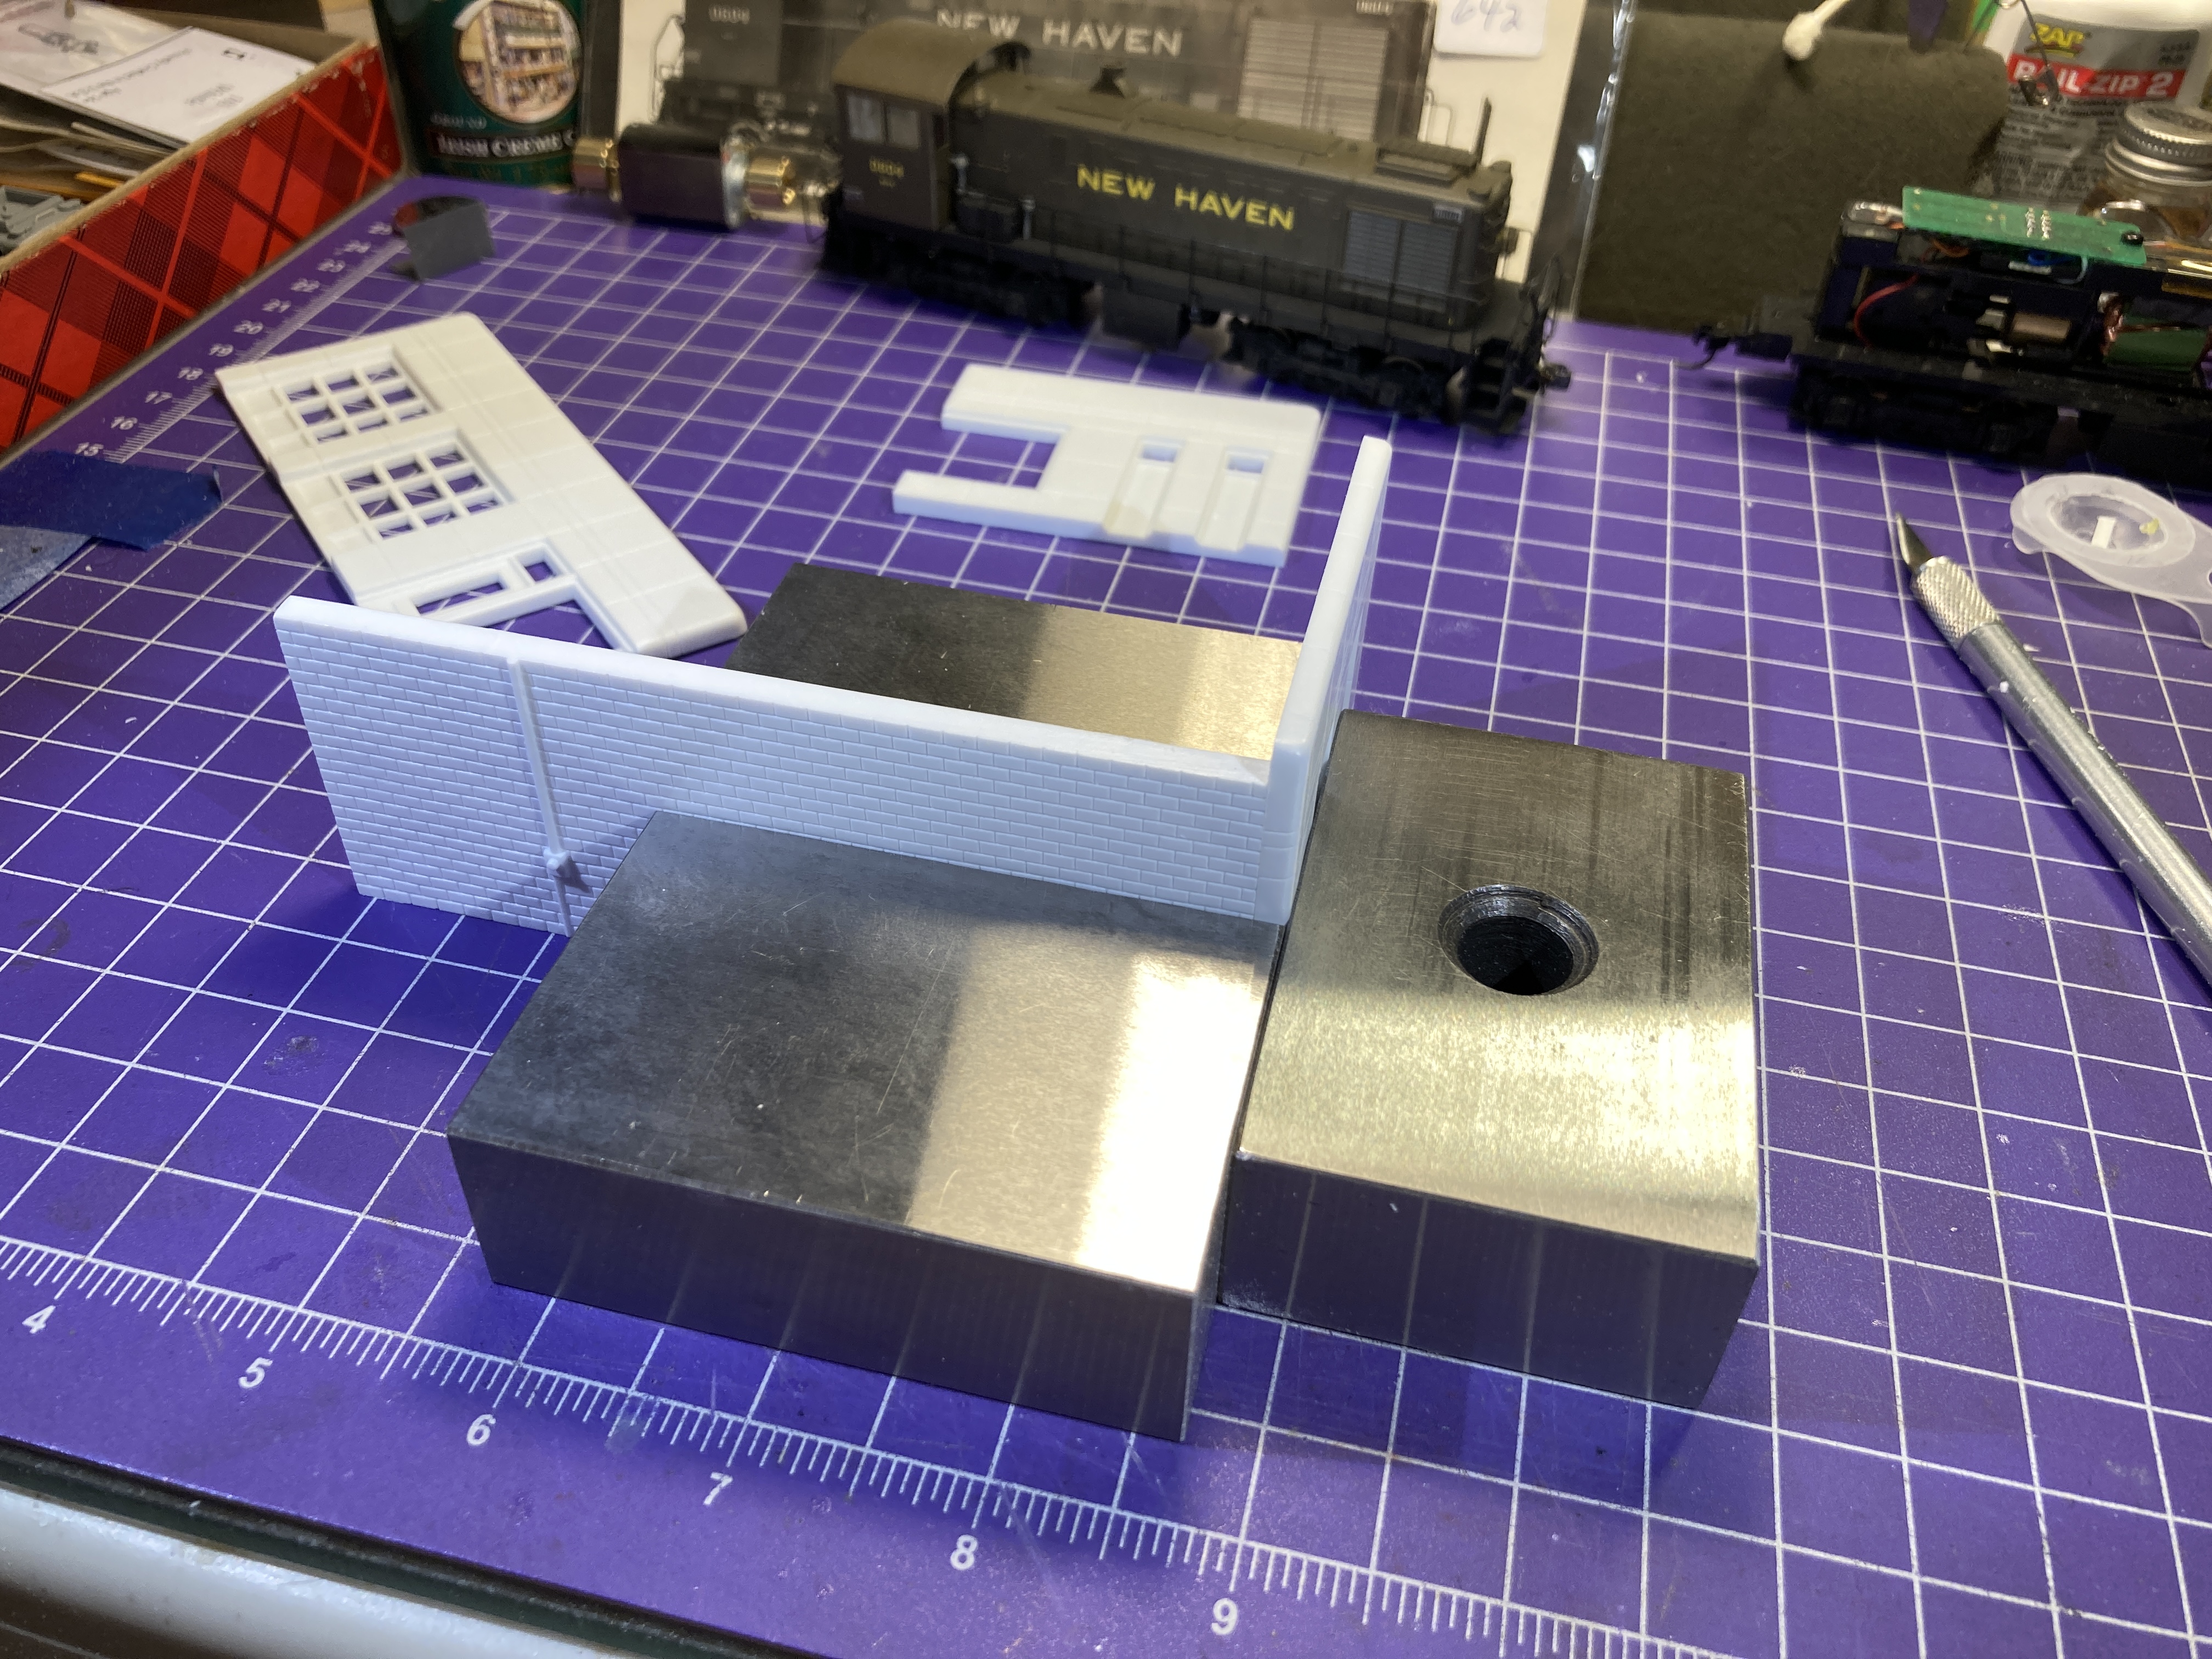
The instructions are straightforward, so I'll just emphasize a few important steps which I found especially useful. While "all you have to do" is glue four walls together to get the basic structure, a little time and patience will ensure a good build. In the photo above, I'm making sure the bottom of each wall is perfectly square. Due to the moulding/casting process, they have a slight taper which should be removed or else you risk gaps between the structure and its foundation.


Speaking of the foundation - I wish it was all in one piece, but - alas! - it's 4 separate parts which must be glued together. Again, patience with your sanding block - not to mention some assistance from 1-2-3 blocks - will make things perfectly square, which will in turn help everything else square up properly.


More use of the blocks to keep the walls square as I make one corner, and then the other...


. . . culminating in all four walls being glued together, nice and square.


The roof is made from a sheet of styrene included in the kit. To get the proper size & cutting lines, I turned the structure on its head and traced along the inside.


Here's the mostly-completed structure, with the roof dry fit in place and resting on the foundation.


With the four walls assembled, I decided this was as good a time as any to paint. To replicate the "porcelain" tile walls, I used a rattle can of Rustoleum gloss white. While I was at it, I went ahead and painted the rest of the white parts on the sprue (gas tanks, oil can racks, sign parts, etc).


Once the white was dry (it took a LOOOONG time for the Rustoleum to cure fully - like almost a week! Be careful when handling that you don't make fingerprints. Ask me how I know...), I masked the "porcelain" and shot the rear "cinderblock" wall with some rattlecan gray. I also sprayed the foundation and gas tank island with the gray, and painted the roof a flat black.

I had visitors coming over, so I quickly made up the sign (after confirming with my muse, John Wallace, that the prototype station was more likely to be an ESSO station than anything else) and placed the station temporarily on the layout. The explanation I came up with is that the station had been abandoned, but recently sold to someone who's in the process of restoring it. There are no windows or gas tanks yet, but the sign is up and there's a fresh coat of paint on the walls. At least that was my story and I'm sticking to it ;^)
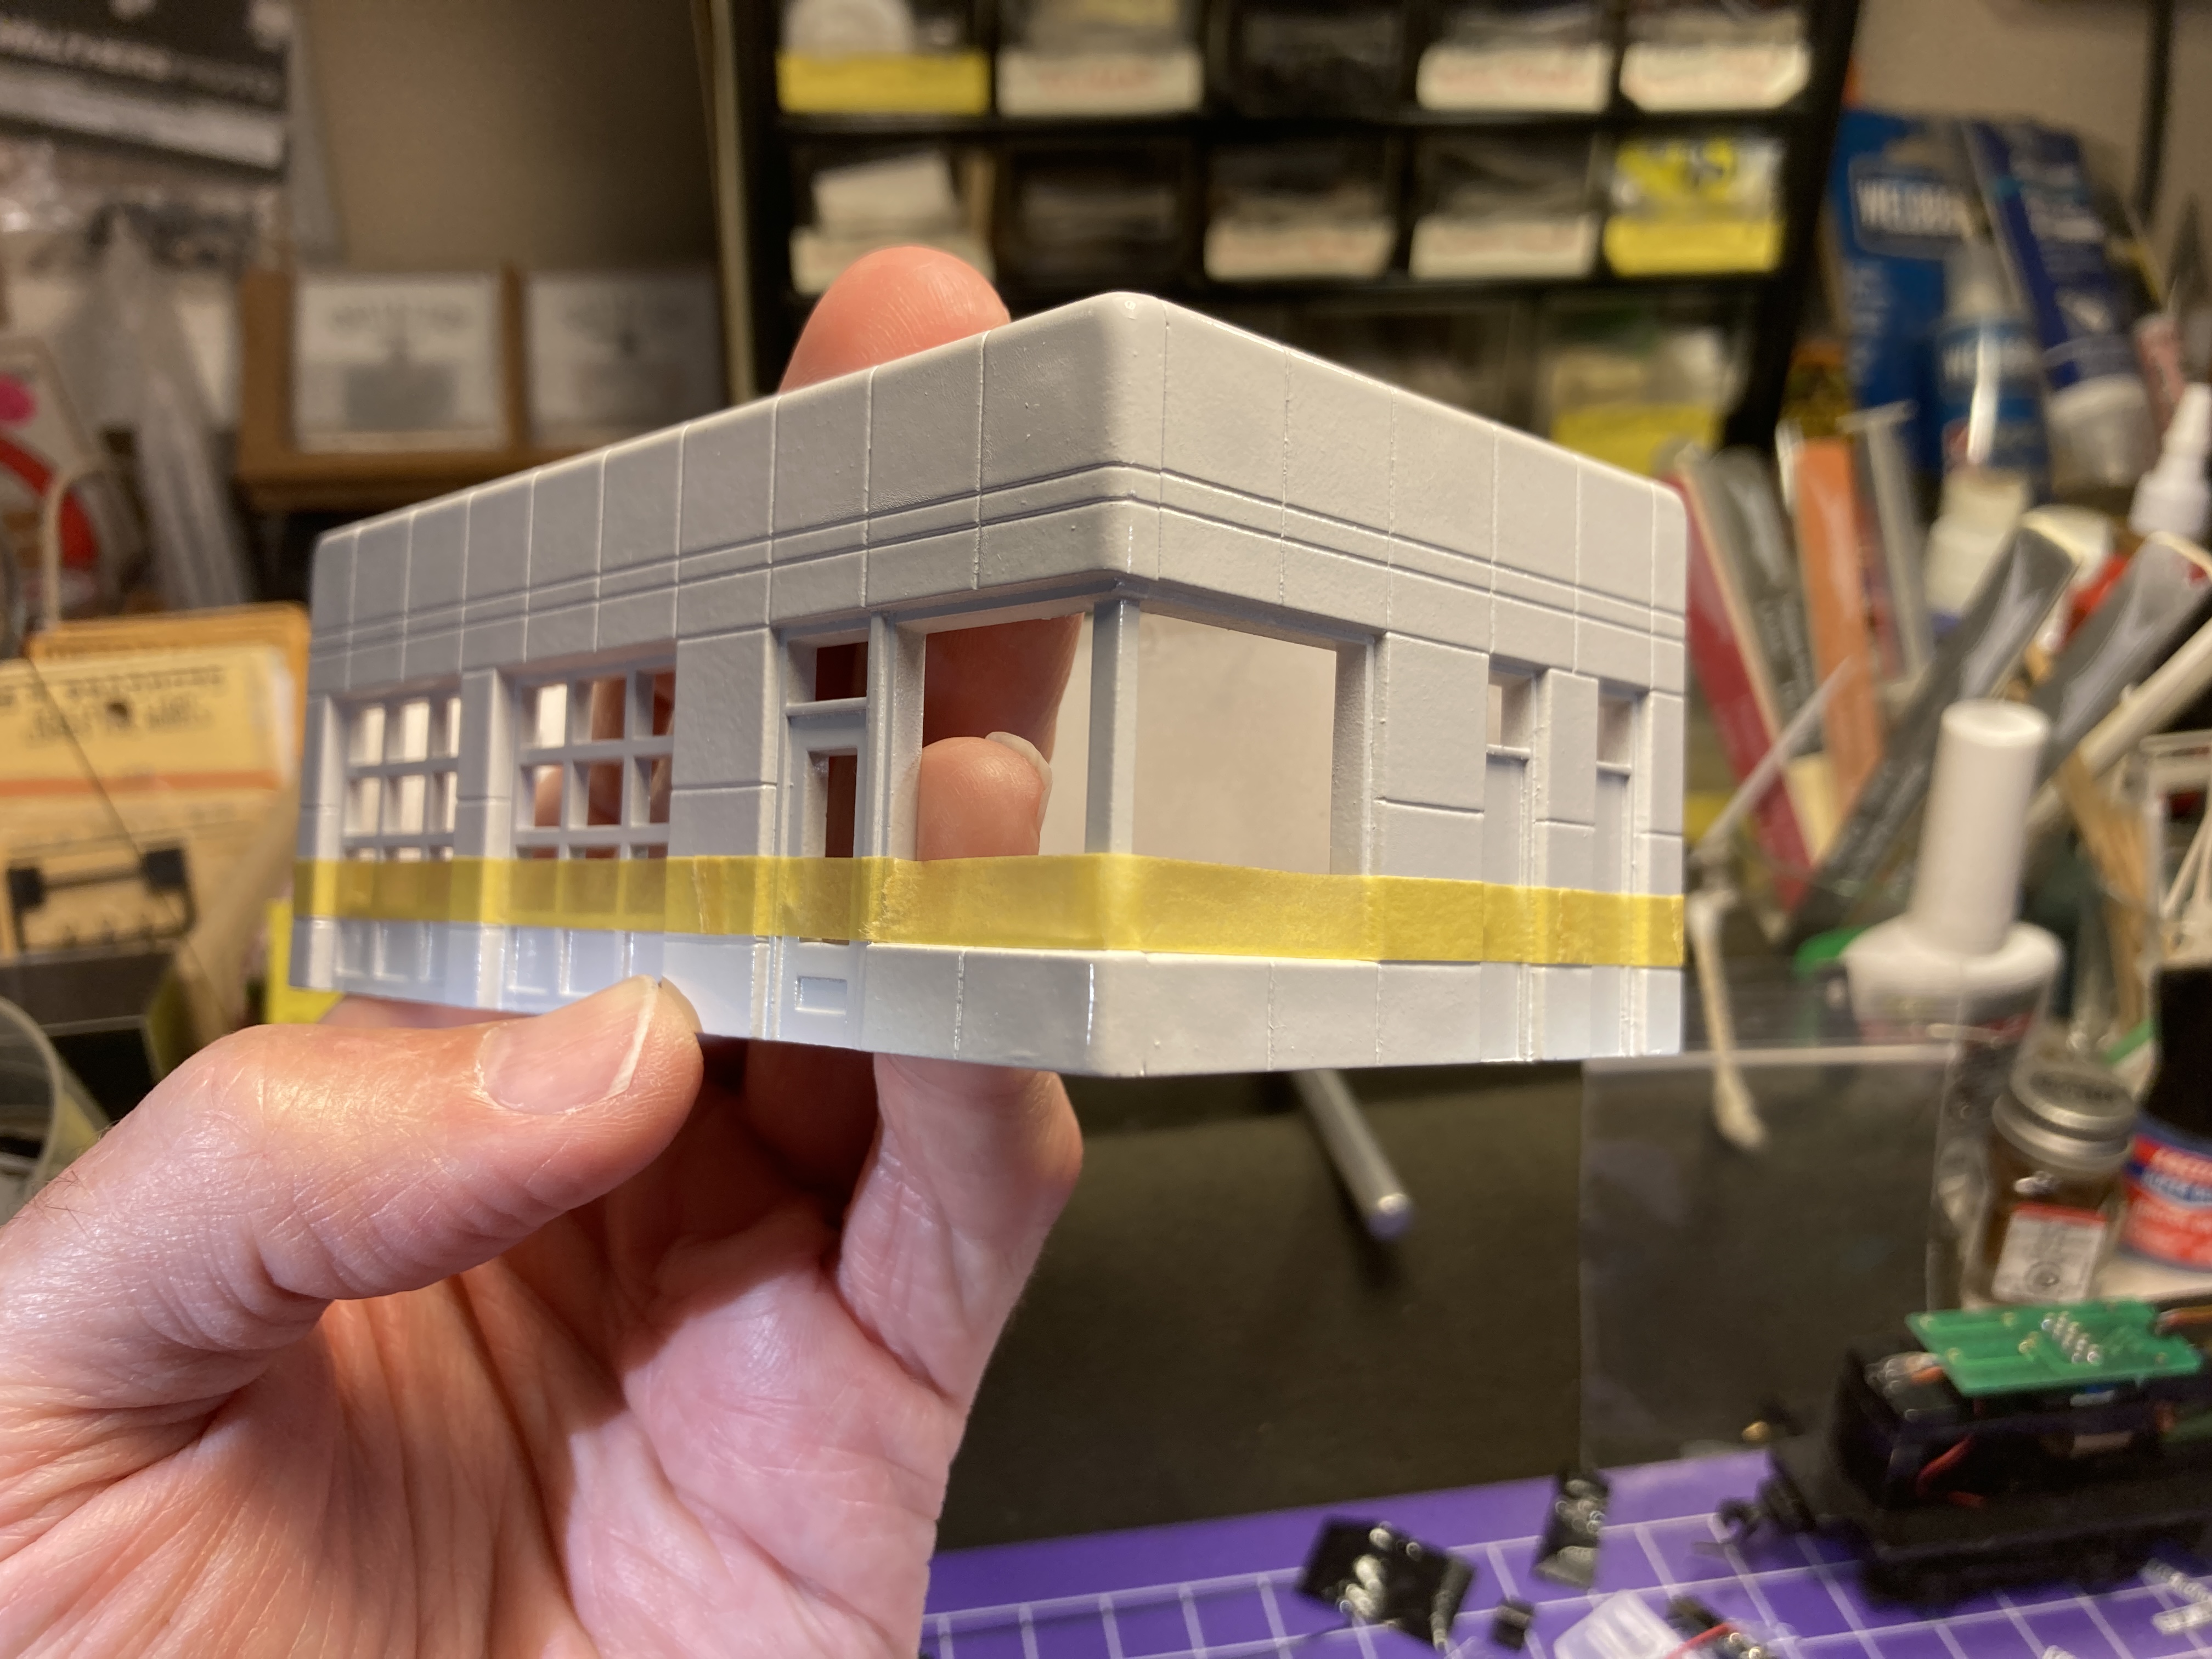

Once the visitors were gone, it was time to make some more progress. Based on the prototype photos I've been able to find (beware - old gas station photos are a HUGE, though very enjoyable, rabbit hole), ESSO stations had a wide red stripe along the bottom. So I started by masking as closely to the "foundation" panel as possible. Even then, there were a LOT of little ridges and edges to deal with - especially over the garage doors - but tucking in with the toothpick helps a lot.


I used Tamiya masking tape for the critical edge, and then finished up with regular low-stick masking tape. Now we're ready to paint the stripe!

After reviewing my paint collection with my color consultant (The Missus), we decided the closest color to the red in the ESSO sign was Apple Barrel Red Apple (#20784) craft paint.

Now, I'm not going to get into a debate here about whether shooting craft paint through an airbrush is a good idea or not. Your mileage DEFINITELY will vary. But I have a huge collection of colors, they haven't gone bad, and with the proper preparation, I've had very good success at airbrushing them.


This article gave me the idea, and I've been following it ever since.  The main points to remember are to add airbrush medium and flow aid to your paint. For extra insurance, I also use a strainer in my color jar.

It admittedly took a bunch of coats to build up the color for complete coverage, but the paint dries fast (especially when aided with a hair dryer *ahem*) so I was able to do 5-6 light coats over the course of 20 minutes or so.


I couldn't be happier with the coverage I got, but as you can see in the photo above, my masking over the big doors wasn't as perfect as I thought it was.


Thankfully, it cleaned up REALLY easily. Maybe it was the combination of craft paint over glossy lacquer paint, but I just scraped at the paint with a toothpick and you can see the result above.  I'll just be VERY careful not to scratch the paint elsewhere! After I add decals, I'll be sealing all of it with a clear coat.


Speaking of decals, that's really all that's left to do on this structure (well, other than a rudimentary interior, adding window glass, assembling/decaling the pumps, adding the island light, etc.), so it's back to the prototype photos to review lettering, positioning, and such. Thankfully, after looking ALL OVER for decals, I finally found what I was looking for during my recent trip to PA - and at the last hobby shop I visited.


I also picked up an ESSO tanker truck at another hobby shop. It, the station, and my SW-1 are all on the bench now awaiting further attention - as soon as my current house project wraps up(!)

Thanks for continuing to follow along here at the Valley Local, especially as my progress occurs in fits and starts. Your feedback and encouragement really helps keep things moving forward!

Wednesday, August 10, 2022

Wordless Wednesday #404 - Life Imitates Art

(most photos by Howard Pincus, others unknown, so if you know, please let me know so I can provide proper credit)


Monday, July 25, 2022

Modeling Monday: SW-1 Disassembly & Stripping

I guess I should just bite the bullet and admit it: I can't keep up with this blog as much as I'd like. Either I'm too busy with the usual stuff of life/work (which nobody wants to read about - and I sure don't want to waste time writing about), or there ends up being so much cool stuff going on at once that - before I know it - days/weeks have passed and it's then old news. That's a nice problem to have, but still a "problem" when it comes to blogging. I'll just try to post more often so things don't backlog & build up too much.

And there have been a LOT of things lately. Since my last full progress report (way back on May 18 - ugh!) I:

That's just the layout-related stuff. In addition, The Missus and I celebrated our 27th wedding anniversary, attended a concert in NYC, spent a long weekend at the Cape, then I went to PA for four days of RR fun (Reading, Blue Mountain & Northern RDC ride, steam loco shop tour, Strasburg, Ken McCrory's legendary PRR Buffalo Division layout, Tom Jacobs' Reading Crossline layout, Colebrookdale RR, and the Reading Railroad Heritage Museum). And now that I'm back home, we're starting on another (semi)major house project.

Whew!

But all that is probably not why you're here. As I alluded to in last week's Wordless Wednesday, I got started on converting PRR SW-1 #9137 to B&M #1109. In addition to the decals (thanks again to Tom Murray and Dave Owens), David Hutchinson contributed the correct bell (and an extra stack) to the cause, and while I was away my order for KV Models stainless steel details arrived in the mail along with the bell & stack. 

So the SW-1 project went to the top of the priority list and the first step was to disassemble it and strip the paint. Thankfully, this turned out to be much easier than I expected/feared.


First, remove the cab by rocking it side to side and lifting up the front. There's a large locking tab at the back, but only two small ones at the front of the cab sides. Once the cab is off, the hood lifts up at the back (its large locking tab is at the front).

Next, pull gently on the shrink tubing (cushioned tweezers are ideal for this) to pull out the headlight from the casing. Remove the headlight lens by pushing it out from inside the hood. I then used a small screwdriver to gently pry the handrails off of the hood.

The cab is a bit more complicated and at first I was just going to try and mask the windows and paint right over the factory paint (maybe trying to remove the road number first). But on advice from friend Schuyler, I used a (very!) small screwdriver to gently pry up the contact board for the rear light (see pic above). . .

. . . used tweezers to peel off the electrical tape . . .

. . . and pulled the rear light out of the casing. I also used a small screwdriver to pry out the windows (remove the side windows first) and pry off the headlight casing. Unfortunately, the rear light lens is so well glued in that I couldn't remove it. So I may end up just having to mask that off for painting.

With everything taken apart down to the main styrene body parts, it was time to strip the paint!  (Beware - graphic images - PRR fan viewer discretion advised).

Reminds me of a frog in formaldehyde %^)

I'd never stripped paint off a model before, so after consulting the helpful folks over at The Valley Local Facebook Group, I decided to give 91% alcohol a try . . .


After soaking for less than 10 minutes, the paint and lettering/numbering started to dissolve.


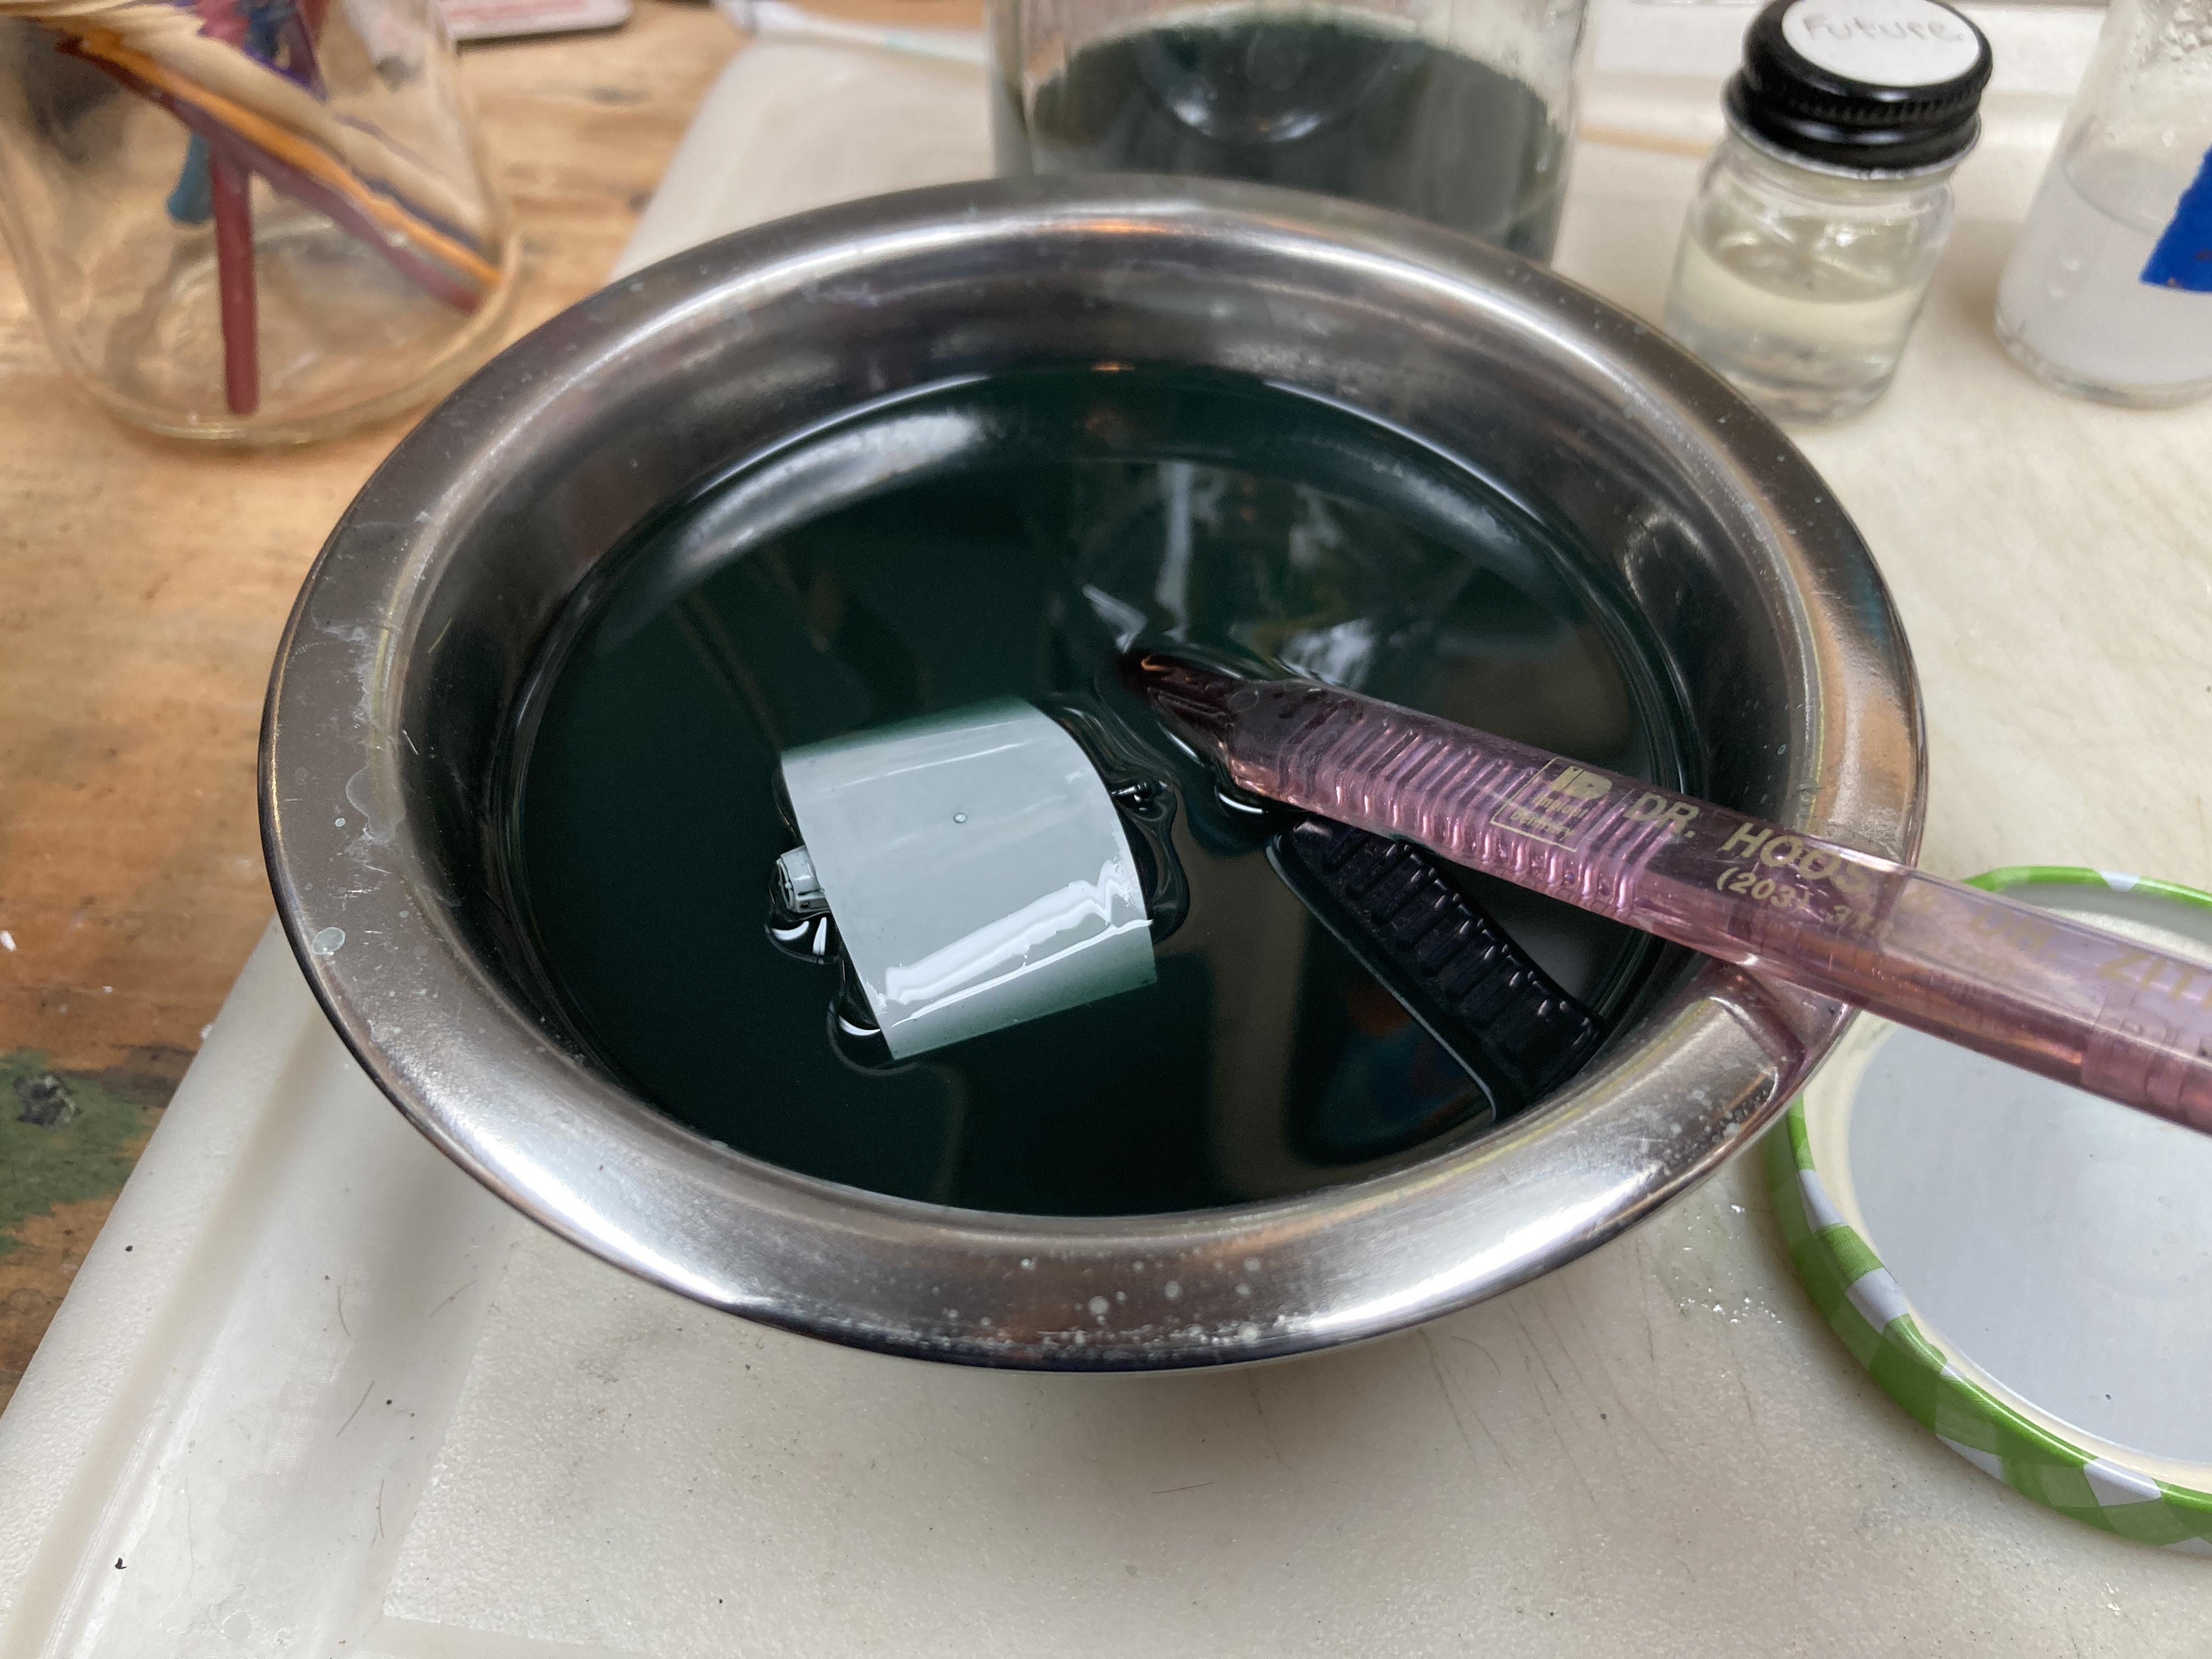
I then dumped the whole jar & parts into a bowl and, using a soft/old toothbrush, gently cleaned off the remaining paint residue. I was pleasantly surprised at how easy it all came off - no hard scrubbing needed at all.

While I've since heard from others that 91% alcohol is safe for plastic (some folks claiming to have left parts soaking for days/weeks!), and won't even unglue details, I moved the parts over to a "stop bath" of soapy water for final cleaning.

After a final rinse under running water, and air drying, this former PRR unit is ready for additional details, paint, and decals to convert it to B&M 1109!

I haven't just been working on the SW-1 though.... While I was in PA, I scored a set of ESSO gas station decals at one of the hobby shops we visited. So I've been trying to get that finished too. But I'll save that story for next time...