Heh - it's Tuesday, so it must be time to talk about rocks again, or in this case rock walls. After so much success with coloring rock castings, I decided to try my hand at coloring a rock wall foundation. Why? Two reasons: 1) I'm curious to see whether my technique will work the same, and 2) I have have to mind the gap . . .
 |
| The resulting, unsightly, gap needs to be addressed, so the barn needs a foundation. |
 |
To prep the site, I marked the barn's footprint . . .
|
 |
And then scraped away the grass - or at least as much as I could.
|
 |
| I also created a template for the foundation by tracing the base of the barn onto some scrap paper, which I then cut out. |
 |
| To make the foundation I needed, I used some stone wall molds I had on-hand. |
 |
I also used a couple of my favorite mixing pitchers - favorite since Anchor Hocking was the main sponsor of one of my favorite old-time radio shows
("Anchor Hocking - The Most Famous Name in Glass") |
 |
| I mixed some plaster, according to the instructions. I put the water in the larger pitcher since you have to add the plaster to the water. |
 |
| Add the plaster slowly and then let it sit a bit. I forgot to let it sit and proceeded right to stirring/mixing. But I lucked out - it worked fine. |
 |
| Pour the plaster into the mold slowly, filling all the corners but not overflowing. Once the mold is filled, tap on the table to encourage any bubbles to rise to the top and pop. Pro Tip: Don't do what I did and fill the molds to the very top - and slightly overflowing. That creates flash you'll just have to break off later - and the walls just have to be thick enough not to break. |
 |
| After breaking off the "flash" around the edges . . . |
 |
| . . . you just have to sand the edges smooth and straight. |
 |
| Obviously, this is a casting of a full, large wall. But we don't need much for a small foundation under the barn. So I just cut off two courses of stone. This is a slow process - and one that will probably dull your blade :^( |
 |
| And the plaster is brittle, so be careful not to force things - or else you may break the casting :^( |
 |
| Once I had enough run of material, it was time to cut the sections to fit. This is where the template comes in handy. I first cut one end at a 45 degree angle . . . |
 |
| . . . then use the template to mark the outer end of the other angle. |
 |
| I'd cut the first angle using a guide line I made using a protractor. Then I remembered (duh!) that I had this handy miter box. |
 |
| Unfortunately, I didn't heed my own advice, forced things a bit, and broke the piece. |
 |
| Fortunately, though, plain ol' white clue is the perfect adhesive for plaster - especially if the ends mate perfectly. |
 |
| While white glue is perfect for joints that mate perfectly, I found that gap-filling ACC is great for joints that aren't so perfect. And no clamping required! |
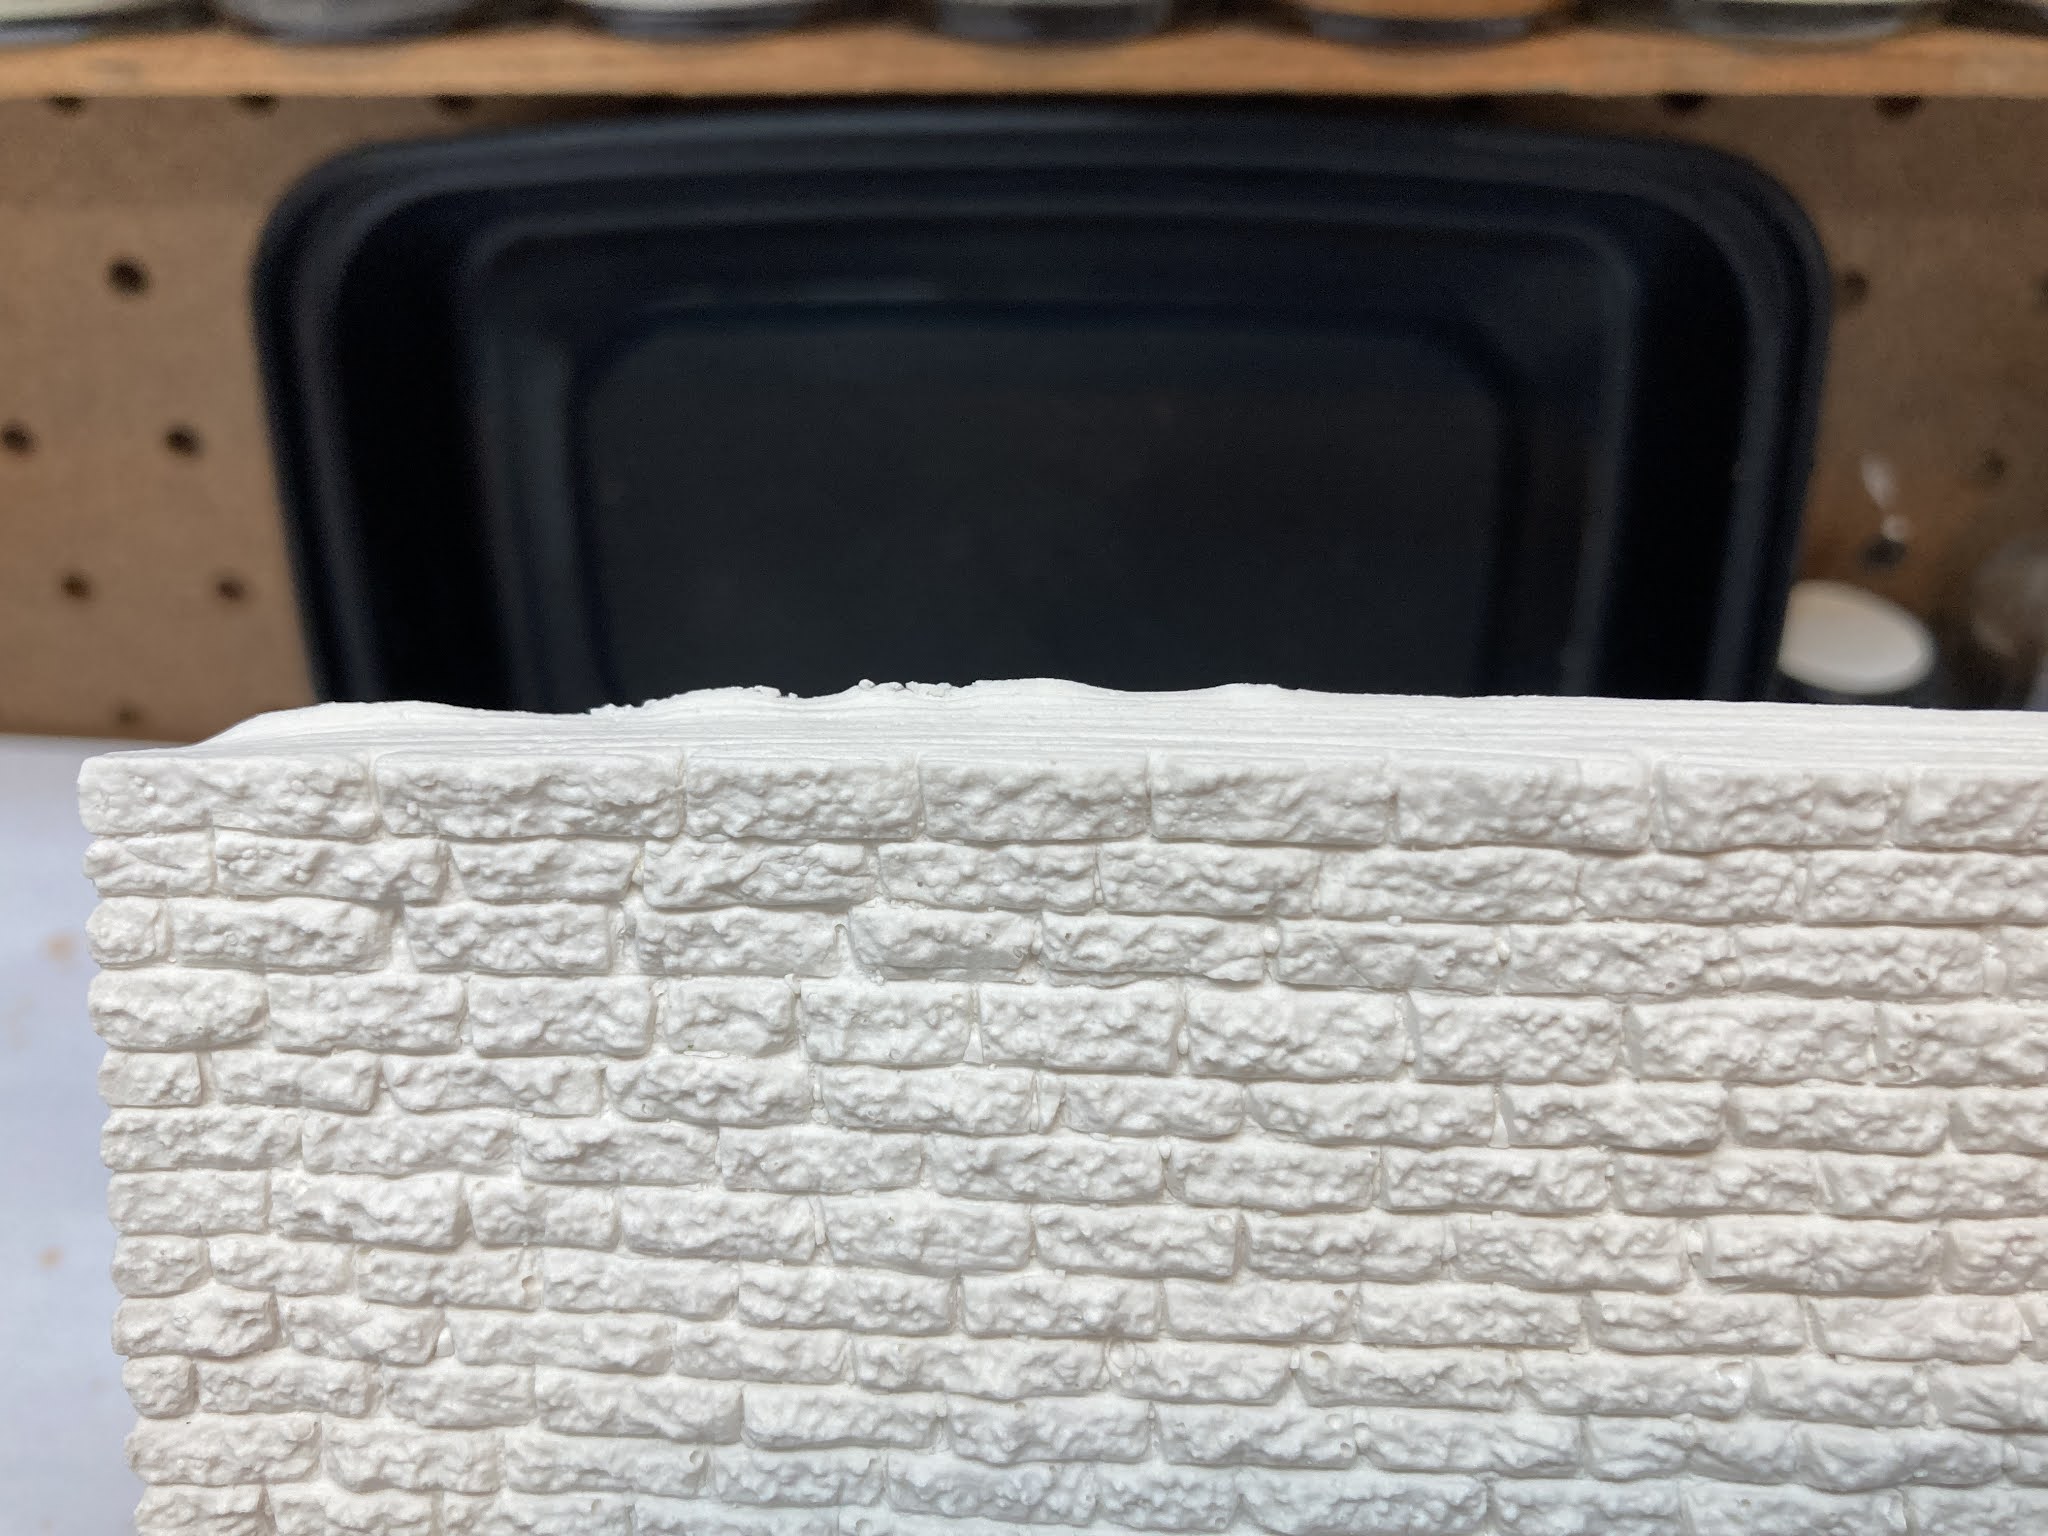
You may have noticed in the pics that I kept track of which ends joined together, as well as what side of each piece was the "top." I'd intended to assemble this upside down in order to keep the top edges all flat & flush with one another. But I somehow managed to forget.
So the next thing I have to do is sand or file the top to mill it down all nice and level. Otherwise, there'll be a gap between the barn and the foundation - which would kinda defeat the whole purpose of adding a foundation to begin with!
That's where things stand at the moment. Certainly not much left to do - just level then color. But I've been distracted by the backdrop in Dividend lately - and backdrops generally. . .
But more on that in the next post!


Anchor-Hocking you say... here's an interesting book about the town and company... good read. https://us.macmillan.com/books/9781250085801
ReplyDeleteChris, nice tutorial. I had never noticed that you were to leave the water and plaster sit before stirring. That must be in the instructions, no wonder I never saw that.
ReplyDelete