First off, I want to say a hearty "Welcome!" to anyone who's visiting here for the first time having heard of The Valley Local on the NERx this week. While I admit I post most regularly on the Valley Local Facebook Group page, I really want to get better at posting more detailed content here at the blog (and, ergo, on the Valley Local website).
Unfortunately, it's been just over a month since my last full progress blogpost and FB group members have gotten a little taste of what's been going on 'round here. But over the next few days, I'll get the blog caught up - and with additional detail . . .
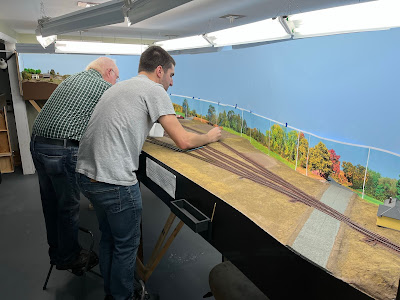 |
| I set up a work session in late February where I was able to enlist the help of some fellow modelers. Here's Pieter and Roman providing some HUGE help in coloring/weathering ties & track in Essex. As a younger/newer modeler, Roman hadn't ever done this before so I pointed him to my blogpost on the technique I use (scroll down) and he did a great job. While I'd love to think his success was due to my impeccable instructions, I suspect it had at least - if not much more - to do with having experienced-modeler Pieter alongside for guidance. |
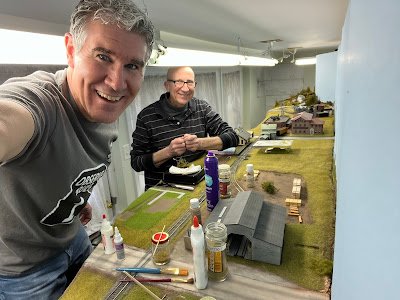 |
| No matter how experienced a modeler you might think you are though, you can always benefit from others' perspective and experience. So while Pieter and Roman were working on track in Essex, I had the privilege of having Jim Dufour help me with scenery in Wethersfield. |
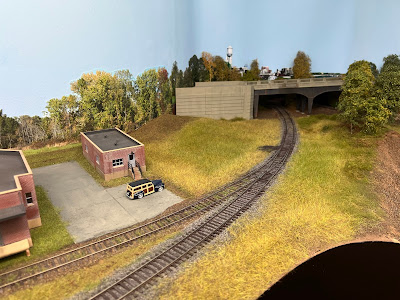 |
| Here's the "before" photo of the area I wanted to improve. It's looked like this for, literally, years now and it was high time to fianlly add some additional texture over the base scenery - and hide the left end of that bridge abutment. |
 |
| The only downside of getting more scenery done is that it gets harder to find where to put down your stuff! Here I'm using a variety of items: Hairspray, white glue, different colors of fine ground foam, green polyfiber, and Scenic Express Super Trees. |
 |
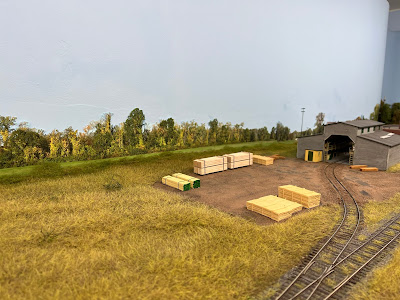
| Here's the "after" photo. . . Briefly, the technique was to: 1) make "underbrush" - pull/stretch the polyfiber very thin, spray some hairspray on the layout surface, apply the polyfiber, more hairspray, add some groundfoam on top of the polyfiber; 2) add trees; 3) add additional textures/colors to taste. |
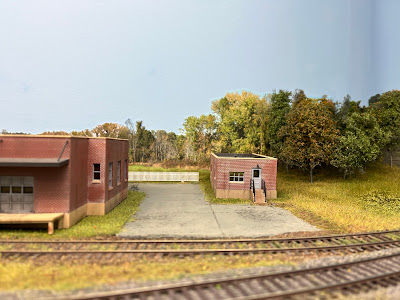 |
I used a common, but tried & true, technique for hiding the bottom edge of the backdrop here. . . polyfiber right along the bottom and placed a fence in front of that.
(remember, you can always click on an image for a larger view) |
 |
| I continued the polyfiber "brush and brambles" to hide the transition between horizontal scenery and vertical backdrop, but I'm not really happy with the result here so far since it creates too much of a difference between the two without blending them - just the opposite of what I want to achieve. So I stopped at this point and will be reassessing - perhaps by adding some fine ground foam in a color that's closer to what's on the backdrop and foreground . . . |
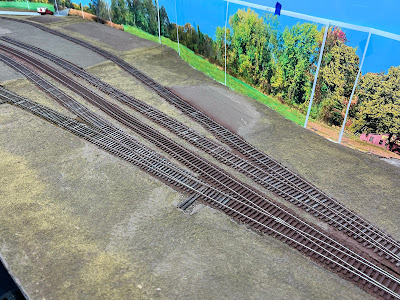 |
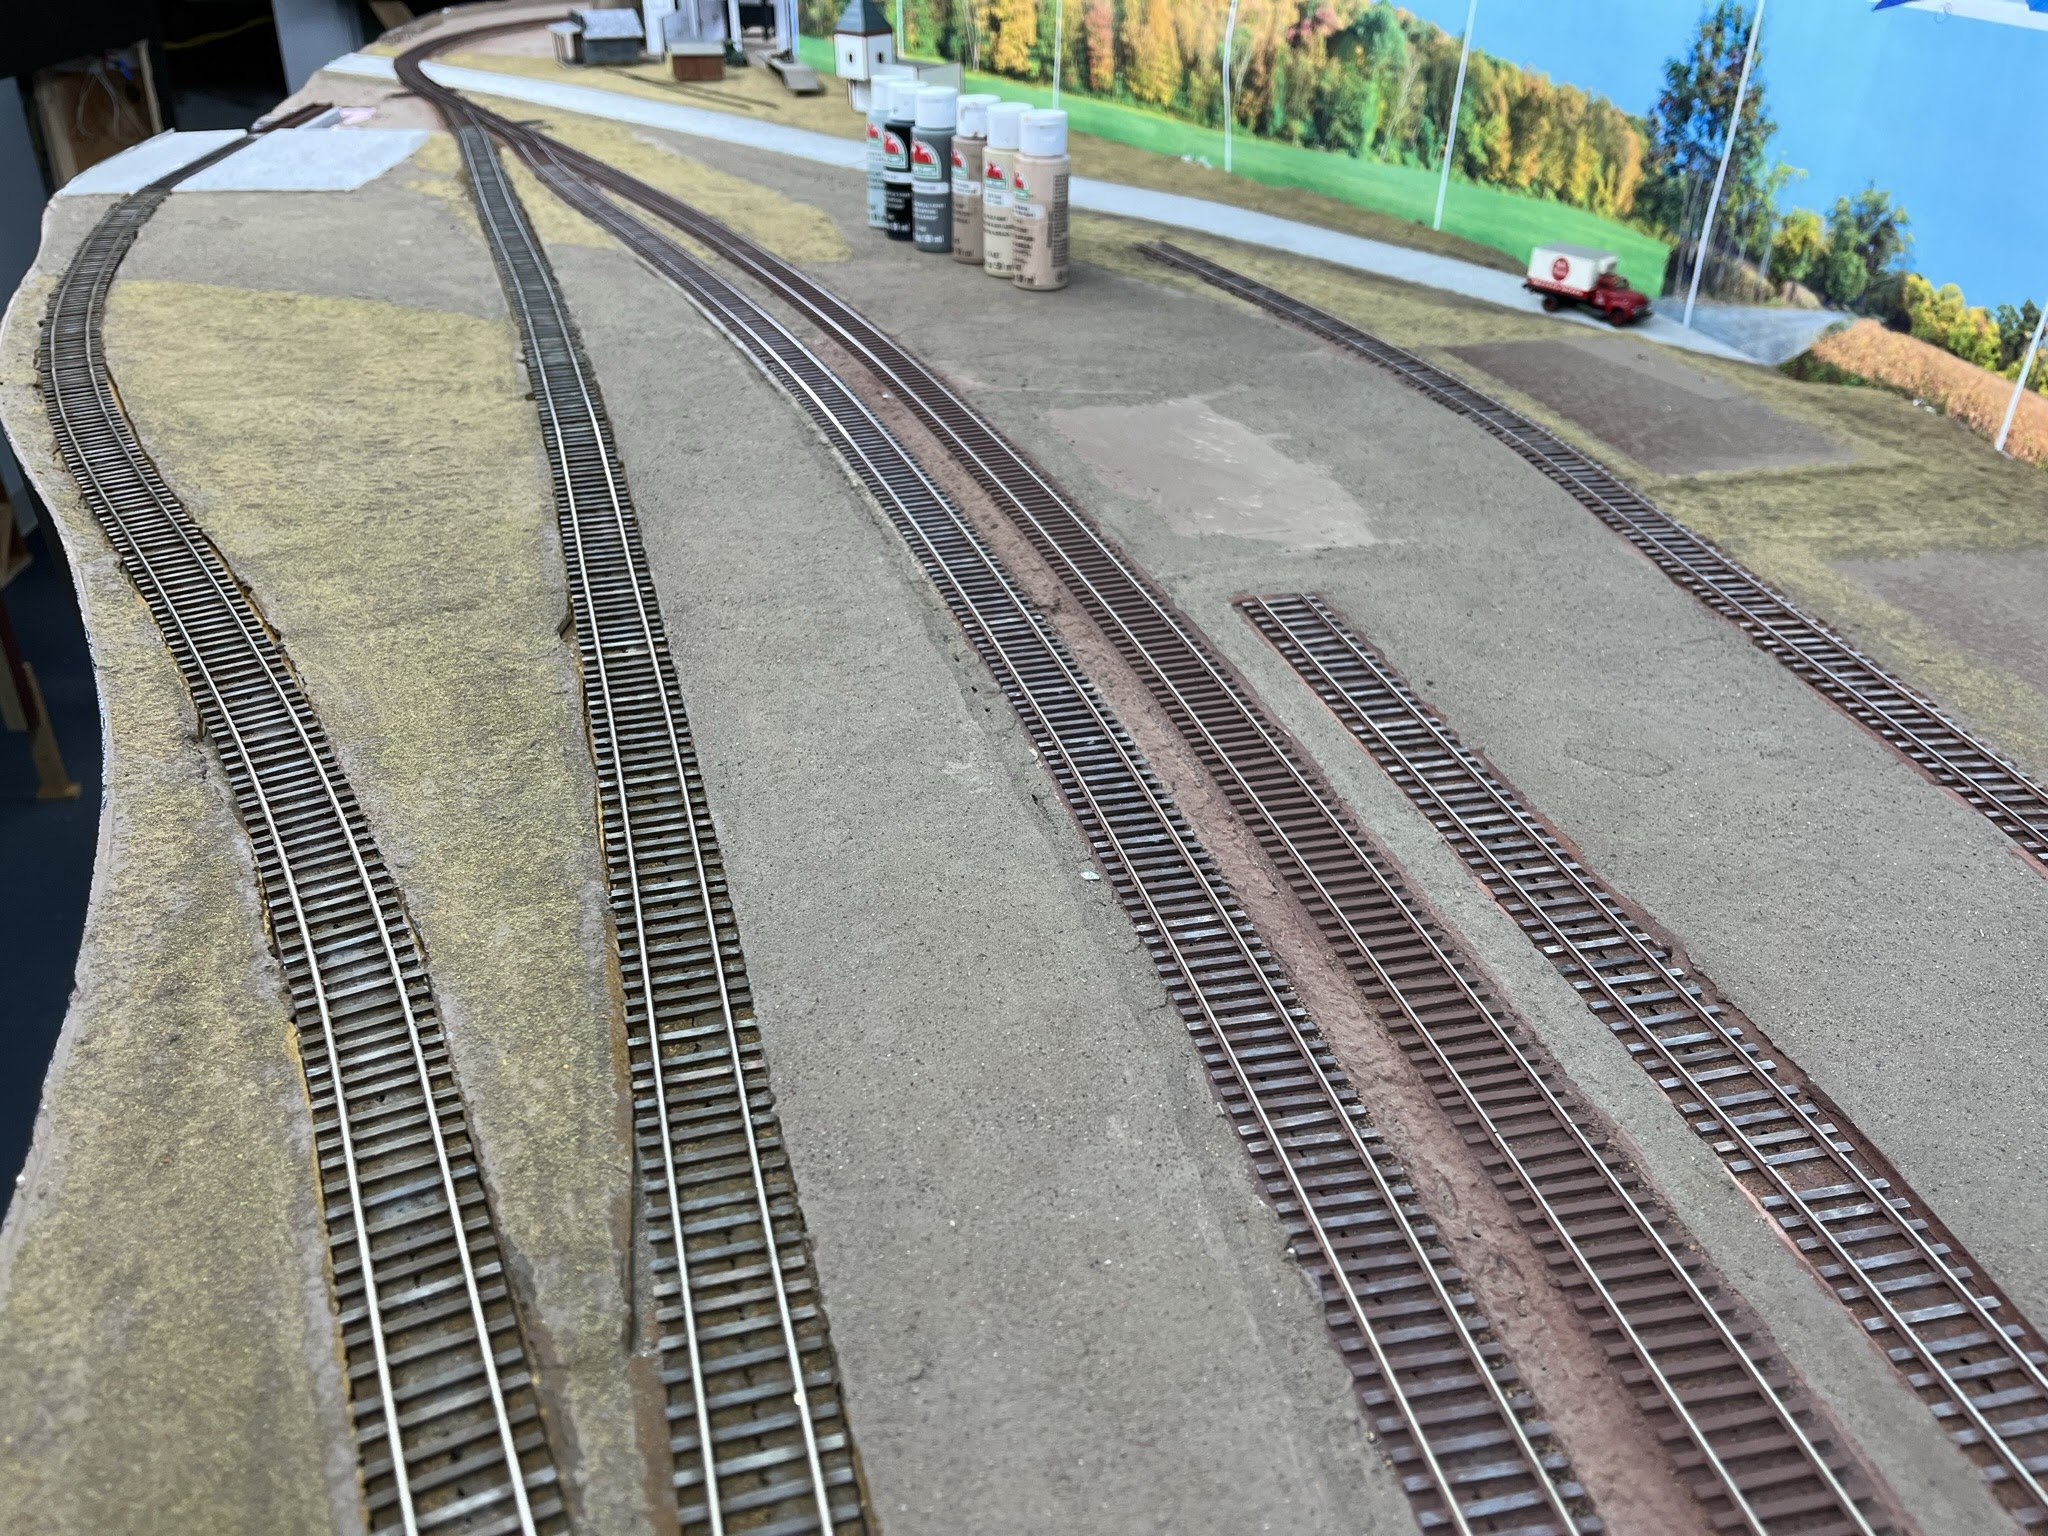
| Meanwhile, the guys back in Essex made great progress on the track, coloring/weathering all the ties except those on the mainline. |
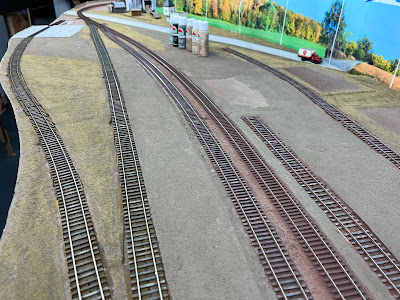 |
| You can also get a few glimpses of the backdrop mockup in Essex. I'll be detailing that process in a future post. |
As you can probably guess, weathering the ties like this can be REALLY tedious/time-consuming work so having Pieter and Roman tackle it for me was a huge help! And it was a bonus that, having two different guys doing it, with different levels of experience, went a long way to making it all look very prototypically random. All I had left to do was the mainline!
And of course it probably goes without saying that having somebody like JimD provide guidance on scenery-making is priceless. I have a long way to go before my grasp gets anywhere close to my reach, but getting such a good start on the "layering" aspect of scenery has certainly put me on the right path.
Thanks to Jim, Pieter, and Roman for such a productive and fun day!


Nice to see some progress! Thanks for the shout out BTW on the NERx last night!
ReplyDelete