

You can easily see what happens when you leave something on top of ground goop that hasn't thoroughly dried. But it ended up being no problem. It did eventually dry and - bonus! - I had some nice indications where things needed to go.

The masonite was cut wide enough to provide a flat area for both the street and sidewalks.

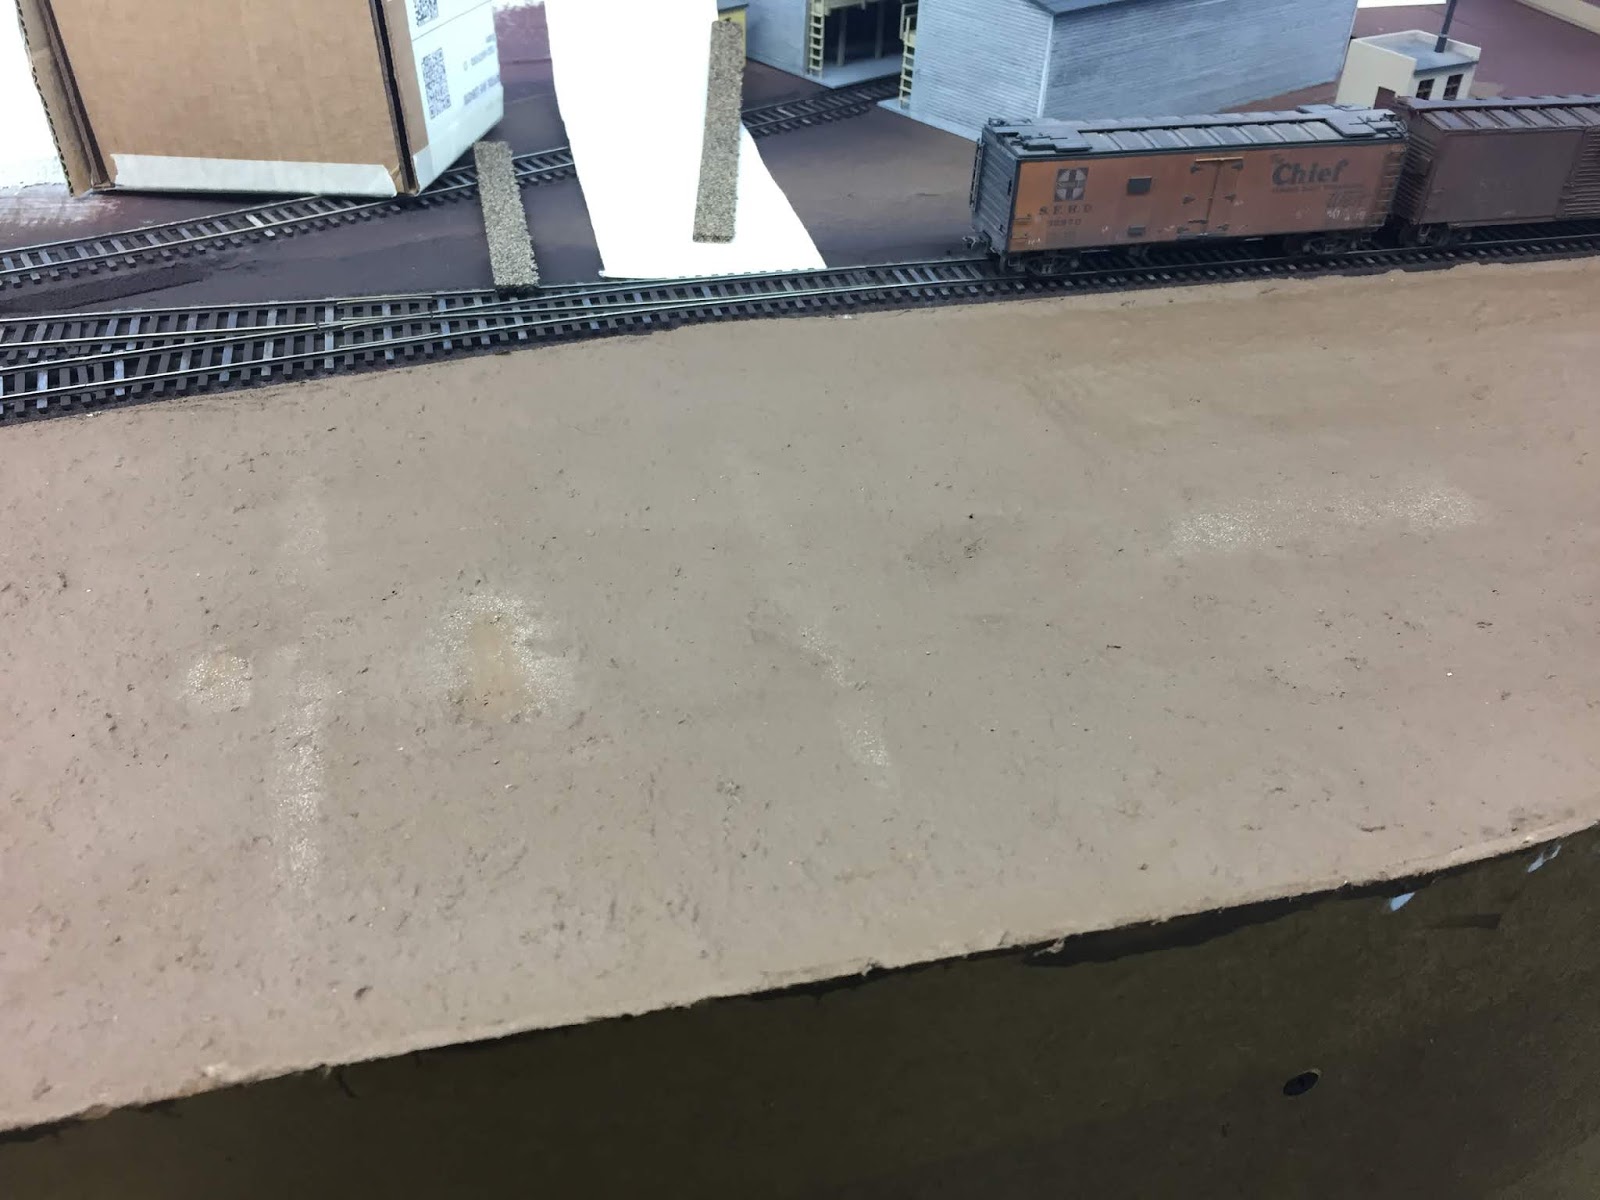
And in the photo above, you can see the street mockup laid over the masonite. Also, note the track covering in preparation of yet more ground goop application.

I used some goop to fill in under the masonite road base and pressed the masonite in place, keeping it level.

I also applied another layer of goop to the surrounding area to bring everything up to the same level.

I also applied goop to he right (north) side of the masonite, again to blend everything in.
And, finally, a few shots of the overall area after all the goop was applied:


Lastly, and admittedly not a great shot (you'll have to click on it to enlarge), you can see the masonite road base is all nice and level:

Unfortunately, it wouldn't stay that way. More-experienced folks may have already guessed what happened next. But the rest of you will have the "fun" of discovering that later - as I did . . .
Hi Chris: The scene is starting to take shape. What I have learned from using ground goop is that it takes time and material to make it up and you use a lot in areas like this. I have been using Sculptamold as a base then skimming the ground goop over that for a top layer. From my experience Sculptamold does not tend to shrink as much, if at all and even if the top layer of ground goop shrinks a little it won’t be noticeable once ground cover is added. In real deep areas add the Sculptamold in layers. Just what I have found anyway.
ReplyDeleteHey Don! Great to hear from you - especially since I was just thinking about you yesterday while going through some old posts and seeing you :^) And thanks especially for weighing in here. So if I'm understanding right - you're suggesting using Sculptamold *only* to do any major filling-in that's required and then just a skimcoat of goop (made up of Sculptamold, latex house paint, & white glue) on top of that for color and final level. Yes? I also expect in the future for real deep areas, I'll just fill in with some wadded-up newspapers, held down with masking tape, and overlaid with another layer of plaster cloth. Heh - or just get the level right in the first place so I don't have to do so much filling in!
Delete