
I'm back to the basement after a long-work-and-short-vacation-induced hiatus. I was a bit surprised at how difficult it was to get back down there, despite chomping at the bit to make some more progress. But "
At first I thought I'd install the backdrop behind Saybrook. The basement/foundation wall there is pretty unsightly and some masonite would cover it up nicely. But it quickly occurred to me that I should at least get some of the track down there first - otherwise I'd have to try and do the trackwork through the "tunnel" holes. So I turned my attention back to the Saybrook Wye.
I'd last worked on this with Pieter way back on April 23 (click here for the details) and here's where we'd ended up:
My first step was to figure, again, exactly where the wye benchwork needed to go. In my haste to get the mockup out of the way, stupid me didn't think to mark where it had been. All I had to go on was a little "X" chalked in on the floor. Fortunately, that was all I ended up needing.

Above is "Mockup, ver. 2" It was a bit more difficult without Pieter there to help me, but as you can see, I'm pretty resourceful. Nothing a bunch of clamps and a stack of stools can't accomplish! I wanted to maintain a 2' minimum aisle, so you see that from the corner of the bottom step to the face of the benchwork (marked out with a 4' level turned vertical). And you can barely make out the homemade plumb bob on the left, with the string held in place by my hammer.

Here's a close-up of the plumb bob: "X" marks the spot!
I could have done the "normal" thing and - once having thoroughly marked where the benchwork's supposed to go - taken the frame back to the shop and added the cross-pieces. But what fun would that be? Especially when you can build it in place using a fun clamp?

I got out my $12 framing clamp (I'll say it again - it's one of the best $12 you'll spend) and clamped a crosspiece in place to hold it for drilling/screwing in. In the pic above, it's holding a 90 degree angle. Pretty straightforward.

But here is where the clamp really shines - here it is holding the other end of the crosspiece at a 22.635 (or thereabouts) degree angle. I'd marked the angle cut on the crosspiece beforehand and used my miter saw to make the cut. Having this clamp hold things together for drilling/screwing was a huge help.

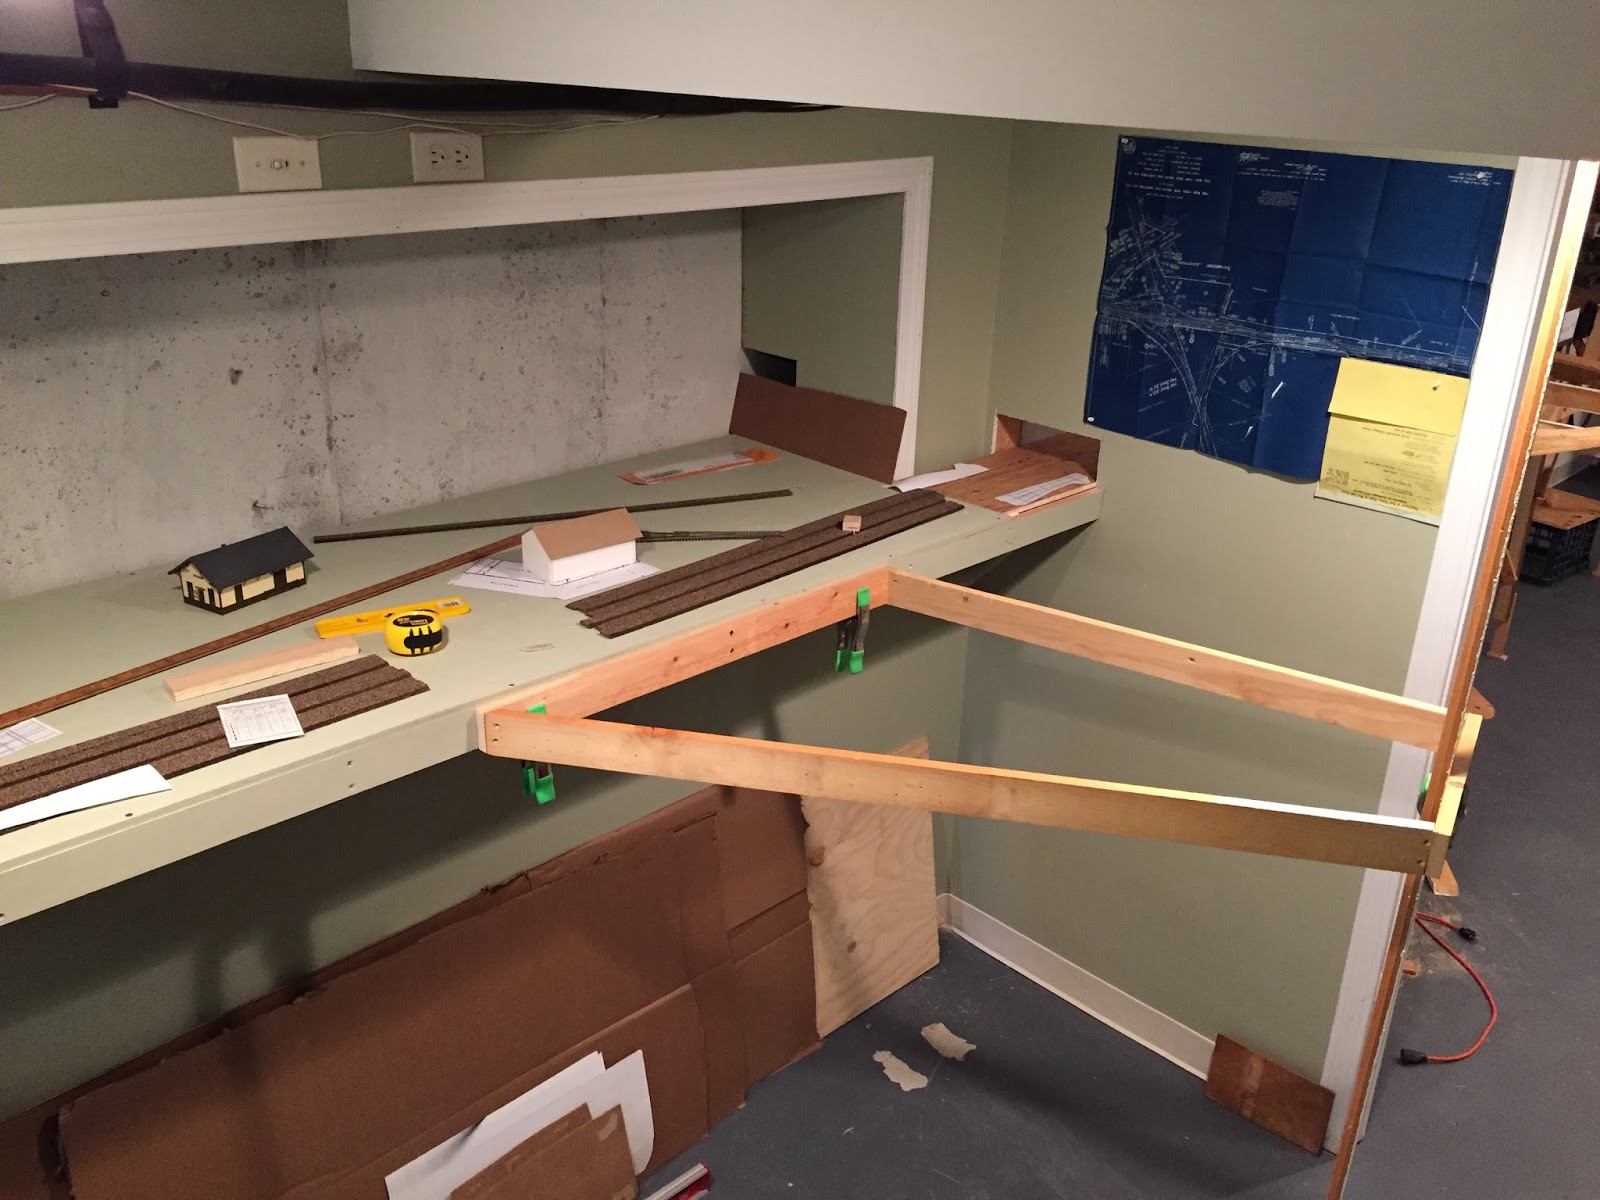
Not the best overall pic of the result, but here's the wye benchwork all done and ready for legs. Well, actually one leg - to replace that stack of stools(!). With a bit of angle bracing, one leg should be sufficient, then it's just a matter of attaching this section to the existing benchwork.
Next step will be to either A) mockup the subroadbed that will go here (the "north" leg turnout will be at about the end of the benchwork), or B) start making the liftout section that will go between this wye benchwork and the wall. In order to get to Essex, the mainline will have to punch through the wall just to the right of door.
So the final countdown to my open house begins! My goal is to have all the benchwork, subroadbed, and operating track DONE - and I have less than 8 weeks to go . . . Stay tuned for what I hope will be some very regular pics of my progress!
Go for it, Chris! Push on forward! Highball!
ReplyDeleteThis is the saw you go to when you want to cut curved lines, notch out small pieces, or make small cuts in the center of something without starting at an edge. You might want to cut a small notch into a board to accommodate the edge of another board or an obstruction. This is also the saw you would use to cut out intricate shapes to make Christmas ornaments, craft projects, etc.
ReplyDelete