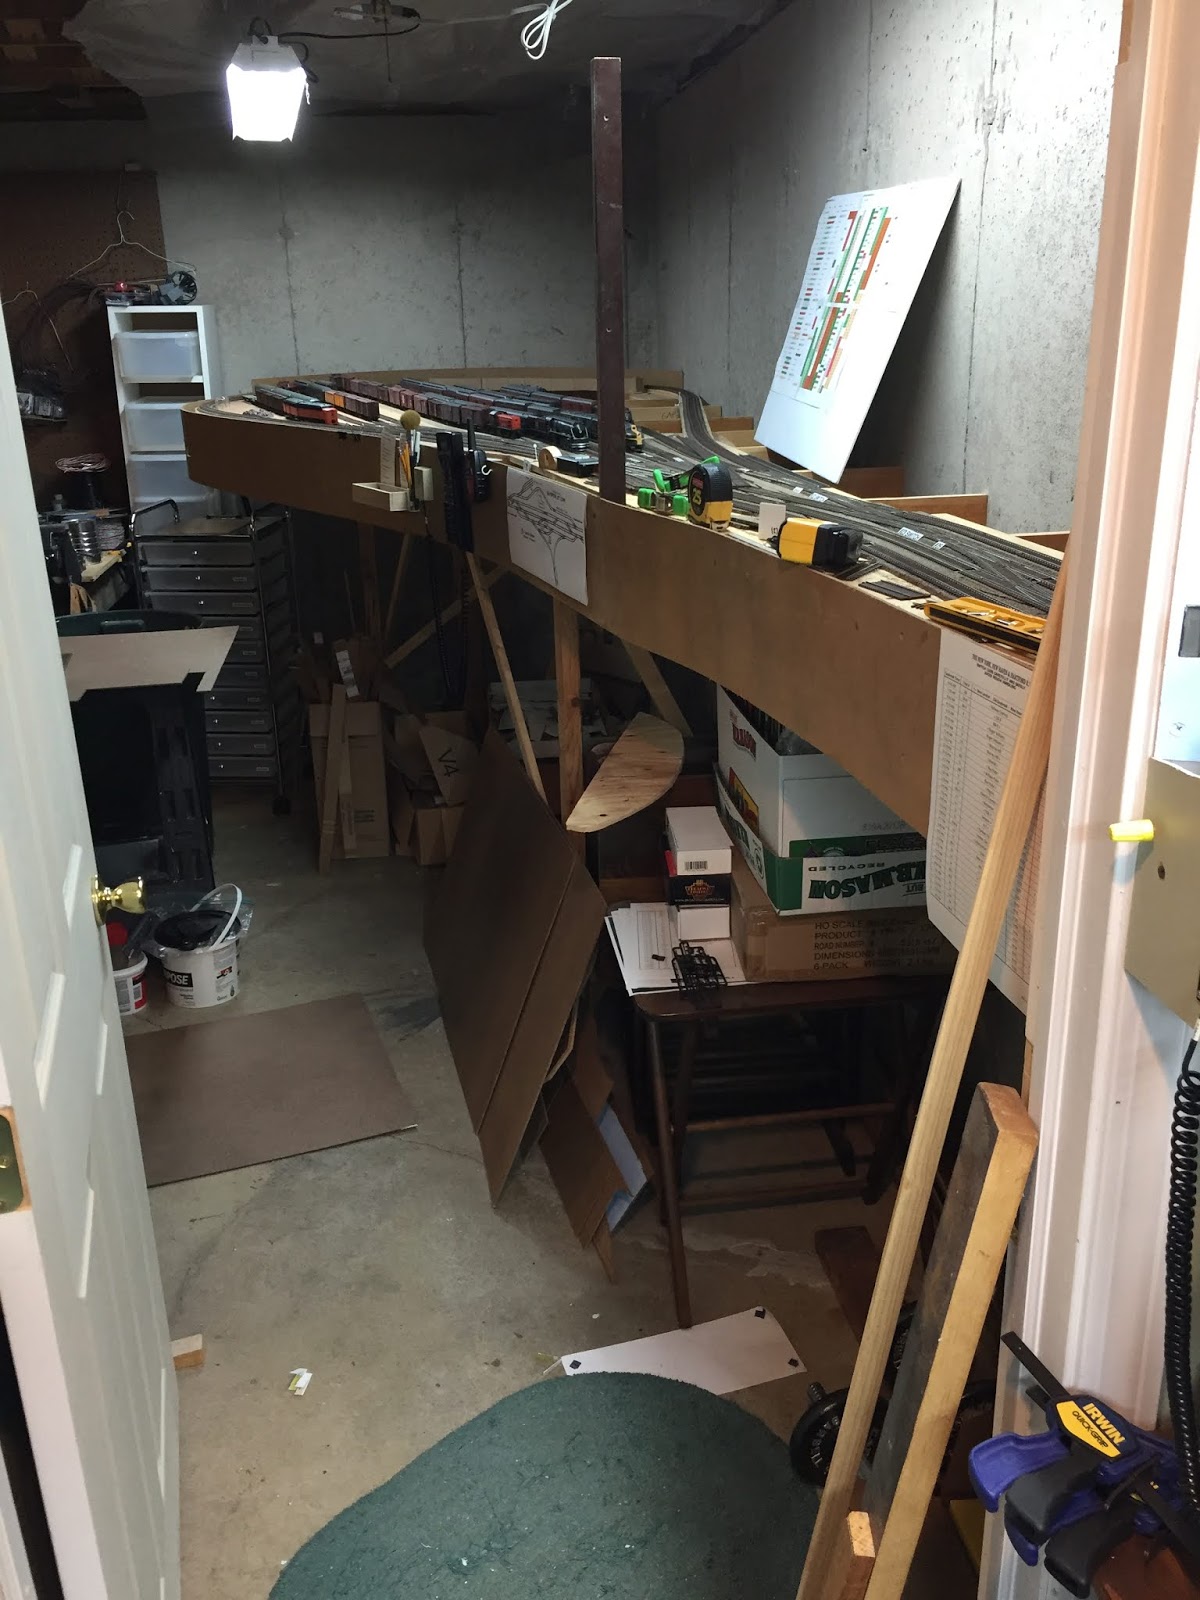
Crews operating PDX-1 in Old Saybrook typically have to use a long lead off the east (left) end of Track 6 (aka the "Balloon" track behind the station). The good news about that long lead track is that they're able to stay off the busy Shore Line while switching. The bad news is that they have to go "off scene" into the other room (shop/New London staging area) to do it. So, at the (very high) risk of some "
mission layout creep," I decided to extend the Saybrook scene "
just a little" and finish the rest of the east end of Track 6.
 |
| This is what you used to see as you looked through the door into the shop/New London staging area. The Saybrook scene is at your right shoulder here. I've already added a vertical support (2x2) for the end of the backdrop. |
 |
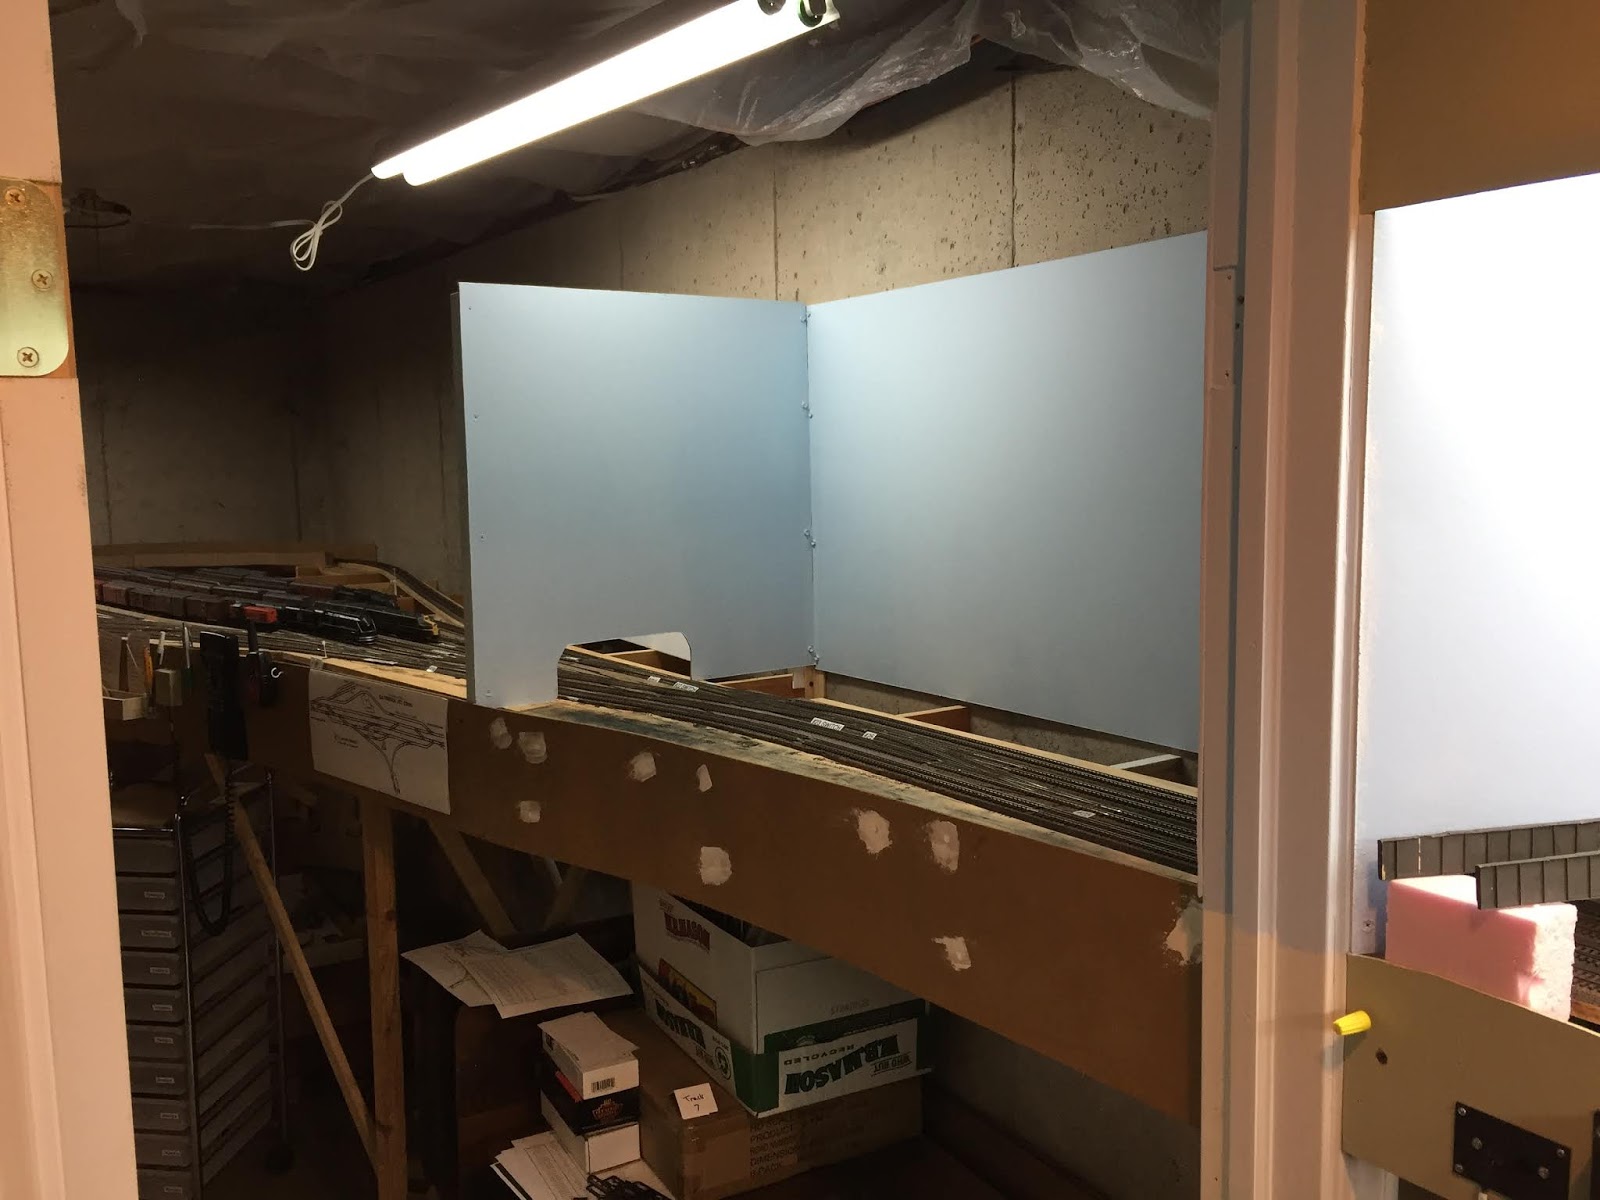
| Other than the fact that I'd like to keep the door, this is the other reason I don't just remove this short portion of wall. These are all the power distribution wires going from the Saybrook control panel to all the switch machines on the layout. |
 |
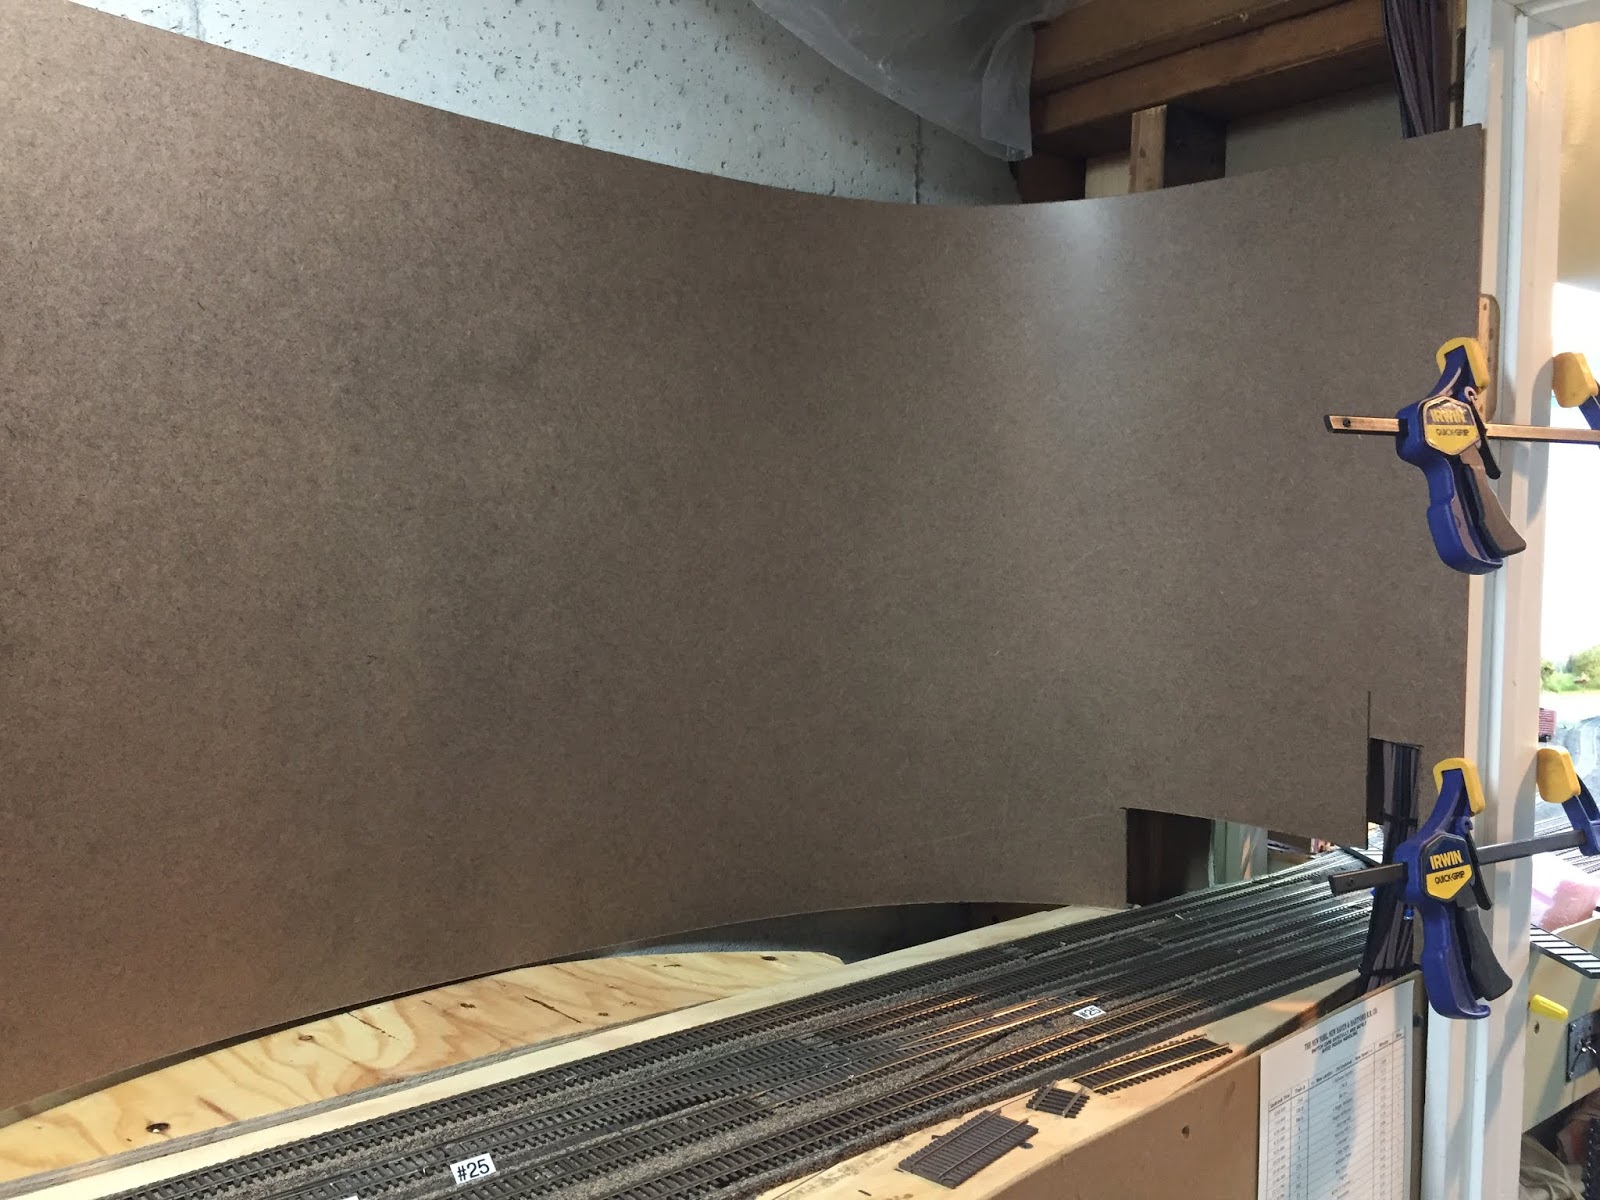
| I started by fitting in a curved backdrop - again, of 1/8" Masonite |
* * *
So that's all the major work on the layout that I've done lately - and it (hopefully) represents the last of the "heavy" construction needed for the layout (e.g. benchwork/masonite backdrop) - at least until I decide what to do about a valence.
I've also been doing a bit more scenery, have built & finished some scenic details, and have even started water & started building a few craftsman structure kits(!!). But details on those projects will have to wait til next time!


No comments:
Post a Comment