Sometimes a change of pace from strict prototype modeling and research can be a welcome break and give your creativity a chance to stretch its legs. I've mentioned before (here and here) that I've started a Christmas layout (or module or diorama) using items I salvaged from a my first finished layout ever (which was "Christmas Layout ver.1").
Now that the benchwork is done and the foam is firmly glued, it was time to unpack the box o'stuff.
 |
| Everything was carefully packed away after last Christmas and the layout itself taken to the dump. |
But I figured pretty early on that the "mainline" would enter & exit off the edge, rather than abruptly end at the ends. And I wanted a nice, gentle "mainline" curve, with room for a small trestle or causeway at the left end.
After a LOT of rearranging, I came up with what I think is going to work for the town. Nothing too crowded, the main street will come on-scene at the lower right and go back and all the way to the left end, with a little side street (the cardboard strip) dead-ending at the track, but providing access to the house. The main road will then go up and over the railroad at the left end of the scene.
"How" you ask? Why, on a "Rural Timber Overpass" which I just happened to have on-hand...
 |
| It's so easy & quick to put together that I was already done with the deck before I thought to take a photo. |
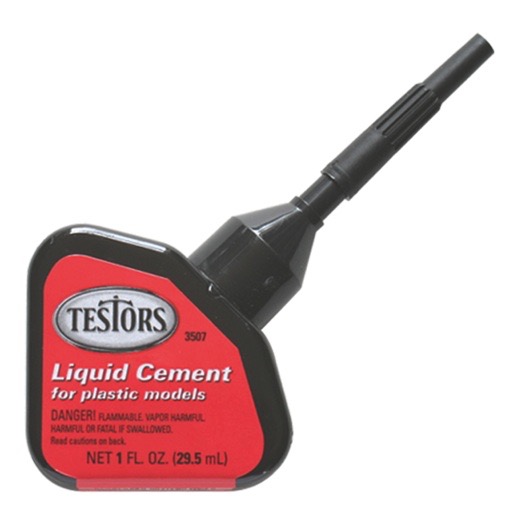
The only reason it took me two nights is because I wanted the deck to be really cured before manhandling it to add the trestle bents/supports. But construction went very quickly using Testors Model Masters glue:

I really like this stuff - it has a higher viscosity (it's thicker) so has some gap-filling properties and a quick cure rate. The needlepoint applicator is also handy.
Best of all, since I was at the bench rather than down in the basement working on the layout, I got to put a fire in the railroad stove and have a nice cozy evening with the family. As you can see, Rosie is thoroughly enjoying herself...


No comments:
Post a Comment