Monday, July 14, 2014

Back to Middletown Tower: Cuttin' Up


I haven't done anything on the Middletown Tower project since I introduced it over a week ago. I did end up getting some clapboard styrene from The Time Machine a couple days later, but the "re-kitted" building has been languishing on the workbench waiting for me to get the nerve to actually cut it up. 

As I looked at the walls more closely to decide where best to cut them, Haksaw's comment made more and more sense: considering the work involved  in adapting this re-kitted building, why not just scratch build? Good point - but now that I finished with the razor saw, it looks like I'm on my way. See the photo above.

To determine where to cut, I counted the clapboards on the prototype from the bottom of the windows to the ground and cut the excess boards from the bottom of the back wall. I forgot to account for the trim board across the bottom, but I don't think that'll be too difficult to remedy.

The side and front walls on the kit had doors and windows, to I decided to cut & remove all the clapboard from below the "chair rail."  It would have been more prototypical to remove from just below the window sills, but as you can see on the left side wall, there's a door that goes down to that "chair rail" (wish I knew the proper term) and cutting through it or rebuilding that wall from scratch wouldn't have been worth the time.  Since this is supposed to be Middletown Tower Q&D, it needs to be Q (quick).

Next steps will be to cut the new styrene clapboard walls to add to the bottom of the front/side window sections, add trim, and paint to match.  At least that's the plan for now.  I'll let you know how it goes - though in addition to the Q, there could very well a good deal of D (dirty) in this particular build.

***
My day job has started to interfere with my blogging a bit (day jobs have a way of doing that), so after being able to post pretty regularly, I haven't been quite as regular lately.  Rest assured though, progress continues - although at a slower pace.  And it must continue - after all, I have my next ops session scheduled for July 26 and only one weekend between now and then to get through my growing punch list!

Saturday, July 12, 2014

Trains Through Old Saybrook, 1947

One of the best parts of prototype modeling, IMO, is the fun research projects that it presents.  And while research often highlights how much we have to compromise to fit the prototype into our space (and budget) - e.g. the more you know, the more you know you have to choose what to do without - sometimes research will help you be true to prototype with little, or no, compromise at all.*

Case in point: Modeling Old Saybrook at the south end of the Valley Line - and its dense traffic.  Follow along as I show you how I reduced a daily schedule of 71 trains down to just 4 - much easier to model, and all perfectly prototypical.
Data from Employee Timetable and Arranged Freight Service Book, entered into Excel and sorted by time-of-day.
I finally finished compiling a list of all the trains that would have gone through Old Saybrook on a typical day in 1947 (see above pic - that's just the first page).  As I mentioned in my last post, not counting the two Shoreline Locals I plan to model (PDX-2 New London-Cedar Hill, which serves the lower end of the Valley Line, and PDX-1 Cedar Hill-New London, which exchanges cars with PDX-2 in Old Saybrook), there are a staggering 23 through freight trains and 48 passenger trains during a typical day.

Yikes!

Now, unless I want to model a full 24-hour period (which, considering my main focus - local freights on the Valley Line - operated during the day, is unlikely) I can confine Saybrook traffic to the daylight hours only. 

How do I determine what the "daylight hours" were during October, 1947?  Google, as it often turns out, is your friend. I threw in a quick search and came up with this website which told me just what I needed to know.  During that month, daylight ranged from 5:54a-5:36p at the beginning of the month to 6:24a-4:55p at the end of the month.  So, as you can see from the pic above, I sectioned-off the trains that would have operated during the day.

That little exercise made things a LOT more manageable for freight traffic and a little more manageable for passenger trains.  Turns out, there are only 3 daytime through freights:
  • Boston-Cedar Hill train 9 (BN-9), westbound through Old Saybrook at 7:10 am
  • Boston-Cedar Hill train 3 (BN-3), westbound through Old Saybrook at 8:40 am
  • FGB-2, eastbound through Old Saybrook at 2:30 pm
The remaining 20(!) through freights operated at night.

But there are still 20 daytime passenger trains through Saybrook, from westbound train #401 at 6:40 am to the eastbound Puritan (train #20) at 5:10 pm.  Interestingly, the mid-afternoon features an especially impressive show of famous New Haven Railroad name trains during a short period:
  • 2:43 westbound Senator
  • 3:05 eastbound Yankee Clipper
  • 3:22 westbound Yankee Clipper
  • 4:17 eastbound Colonial
Check out the pic above for a full listing of daytime trains.  That's still a lot of trains.

From a practical standpoint, there's no way I have the space or the equipment (or time or money) to model all of these trains.  The three through freights would be great to have - they had either a DER-1s (DL-109s) or an R-3 4-8-2 on the point, and of course included any freight car you can imagine.  The Yankee Clipper, Senator and Colonial all have very distinct consists so should probably be modeled, but the other passenger trains could be represented more generically - maybe even with just a couple "typical" trains running around and around to simulate the high level of traffic.  

On the other hand, I could just concentrate on representing the trains that would be going by when the two Shoreline Locals are in town exchanging cars - that would still keep things hoppin'!  Assuming the locals met sometime in the early afternoon (based on PDX-2's 12:30 on-call time at New London), I'd only need to model the Pilgrim (1:17p), 42nd Street Express (1:32), and Bostonian (2:07).  Only downside is that I'd only get to see one through freight (FGB-2 at 2:30).

That's just 4 shoreline trains, in addition to the two Shoreline Locals - so much more manageable than trying to model 71 trains.  And I don't have to worry about "night" lighting!

We have to selectively compress so many things on a model railroad, from the Right of Way, to track layout, to structures.  But with the right research - and a little luck - you can model one of the busiest stretches of railroad in the country with just four trains.

Friday, July 11, 2014

You want trains? Old Saybrook's got trains!

So far, my model railroad depicts only the Valley Line from Hartford (staging) to Middletown and the Air Line from New Haven (staging) to Middletown.  Two local freights.

Eventually though, I plan to extend the Valley Line from Middletown to Old Saybrook.  If I do get to Saybrook, operations could get VERY intense.  I'd of course have to have staging on either side of the Saybrook station scene in order to simulate traffic on the New Haven Railroad's famous Shoreline, and the four(!) mainline tracks and the traffic they support would provide a very interesting (and prototypical) contrast to the meandering single track that heads north from the Saybrook wye to Middletown & Hartford up the Connecticut River Valley.

How intense, you ask?  Well, I plan to do a more formal compilation in a spreadsheet to get my arms around all the trains that passed through Old Saybrook in a typical day, but a quick review of the Employee Timetable and the Arranged Freight Train Service Symbol Book from c. 1946/1947 reveals the following:

  • Two local freights, one eastbound (PDX-1) & one westbound (PDX-2).  But you knew about these already.
  • Twenty-three (23!) through freight trains.
  • Forty-eight (48?!) passenger trains.
I think I'm going to need to beg/borrow/steal more equipment.  A lot more equipment . . .  And I may need to blow out the side of my basement to build all the staging I'm going to need . . .

Hmmmm..... maybe I won't be in such a hurry to get down to Old Saybrook - not for a while at least....


Thursday, July 10, 2014

The Best Job on the (model) Railroad: The Agent-Operator

Reading the model railroad literature lately, you discover that Timetable & Train Order (TT&TO) operations - long mainlines, long sidings where long trains can meet and get out of each other's way, reading & knowing all the Rules on train authority, etc. etc. - are all the rage.  It certainly sounds exciting and some of the hobby's most famous names swear by it.  But what about the lowly branchline that has only one lonely wayfreight per day (or, worse, "M-W-F" or "as needed")?  Can a model railroad based on such a line be exciting to run?

I think so, and one effective way is to add an Agent-Operator - the most realistic job on a model railroad.

On the prototype,* the A-O was responsible for proper billings and collection, checking the location of cars, investigating damage claims, etc.  He would also have maintained a station record of train movements on which he recorded train arrivals and departures and would issue train orders as needed.  Most importantly for our purposes, he'd give local freight train conductors their switchlists - information on what cars in the area needed to be pulled & where they needed to go.

I'll have to credit my friend Randy with turning me on to this position.  At an operating session (the best ideas always seem to come up for ops sessions) during the NE ProtoMeet, he asked me if I wanted to be the A-O for his session.  Figuring it'd either be really fun or I'd really screw up his railroad (a win either way in my book <g>), I tried it out and quickly discovered how easy it was to forget I was working on a "model" railroad and not the real thing. I was getting records of cars being dropped off by through trains, recording train movements, and issuing switchlists to crews - it didn't matter that the trains were 1/87th scale and that the cars were, in fact, empty models.  It really felt like I was doing bona fide railroad work.  Now I'm totally hooked.

First, some preliminaries.  You're still operating TT&TO so you still need paperwork to move your train.  I use a Clearance Card A and a Form 19 train order (see below).  You don't get to move without a clearance card and you don't know where to go without a train order.

Clearance Card & Swtichlist made up based on prototype forms, but the Form 19 is an actual New Haven RR flimsy from a pad of them I acquired a while back.
So that takes care of how your train moves and where it goes.  But what about what it does along the way? This is where having an Agent-Operator job on your railroad really makes a difference.  The A-O at the initial station/yard gives the conductor a listing of all the cars in his train and where each car must be delivered - see the form we use on the right in the photo above.  That's all the conductor gets with his clearance card and train order.

As the train arrives at each station, the conductor checks with the agent for the work to be performed in that town.  The agent gives him another switchlist for that town - a listing of the cars that need to be pulled, and where they're going.

And so on.

The cool thing is that - at least for now (or until I can train somebody to take it over) - I'm the A-O at my layout.  Both the Air Line Local and the Valley Local have to check with me each time they reach a station. And each time they check in with me, I give them the work that needs to be performed in that town - and also have an opportunity to issue any additional orders that govern the movement of their train.

The A-O position is typically simulated on a model railroad with bill boxes at each town.  But on a railroad with few trains, having an actual person perform this task provides another job for someone to do.

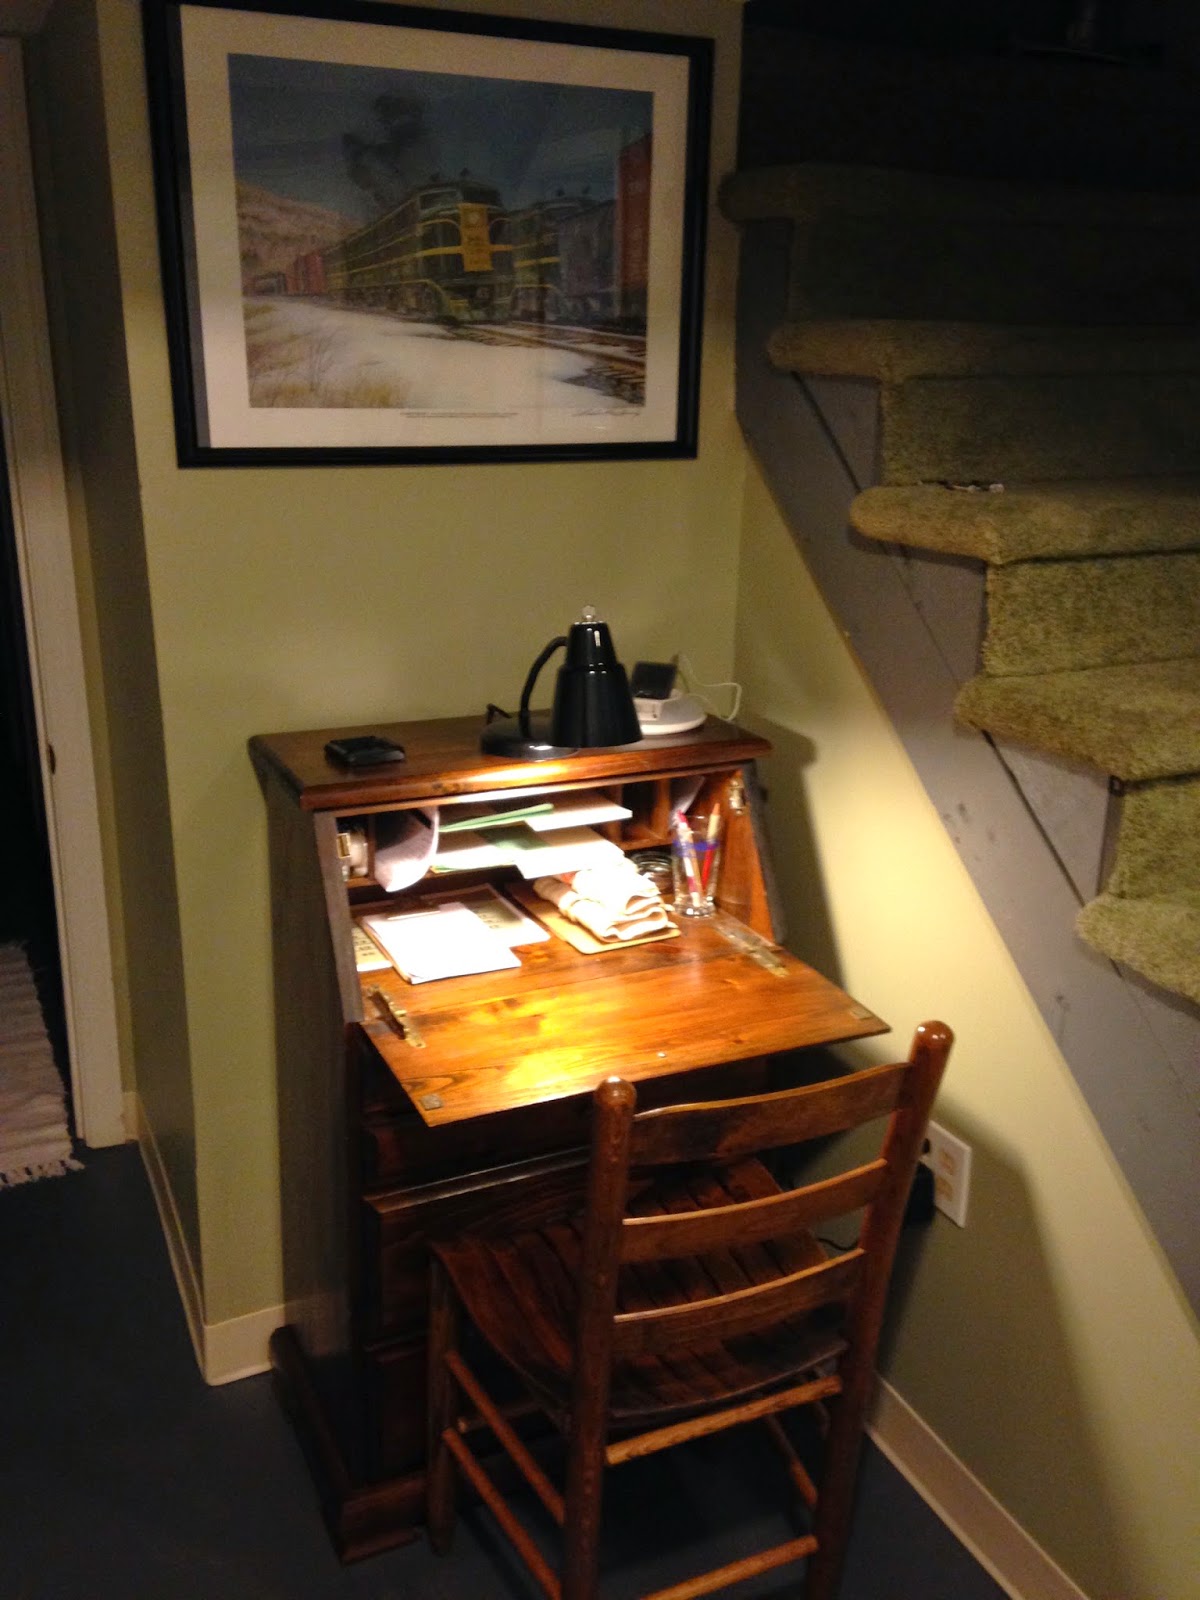
And all this work is done on a really cool desk - set up as much like the prototype as you're able.

Agent-Operator's Desk: Prototype or Model?
When you're sitting at the desk doing your work, you might as well be working on an actual railroad. Unlike being an engineer or conductor, when you're working directly with the 1/87th scale models, the A-O's job is really not all that different than the real thing and "scales" well too. And that's why I think this job is one of the best ones you can get on a model railroad.  Why not try instituting it on your railroad for your next ops session?  If you do, let me know what you think!

*Prototype information from an article by Richard K. Hurst & Edwin G. Motte, Jr. in the New Haven Railroad Historical & Technical Assn.'s Shoreliner magazine, Vol. 35, No. 3, pg. 22-23.

Wednesday, July 9, 2014

Skewed Bridge


Any ideas or suggestions on how best to modify a MicroEngineering thru girder bridge to be skewed 120 degrees?

On my model, the Air Line crosses the a road at a 120 degree angle and the abutments need to be parallel to the road. 

Any tips or guidance is much appreciated - and any links to examples of how someone else already tried this would be especially wonderful!

Wordless Wednesday #26


Tuesday, July 8, 2014

Attacking East Berlin: Benchwork Rework

I took advantage of the 4th of July holiday to attack East Berlin.  Well, not exactly - I mean I decided to add some additional benchwork to support the trackage I expect I'll need to be there.

I haven't really said too much about the Berlin Branch so far, but it began life in 1848 as the Middletown Branch of the Hartford & New Haven Railroad and ran from Berlin through East Berlin down to - you guessed it - Middletown.  Apparently, the Hartford & New Haven (built 1836-1844) was originally planned to go through Middletown.  When the builders chose an easier route through Berlin, Middletownites (Middletownies?) protested.  The branchline was the result.  It predated the Valley Line & Air Line by over twenty years, and originally went all the way down to a wharf by the river.  By 1947, the line had been cut between Berlin & East Berlin (c.1940) and on alternate days the Valley Local served the chemical/paint plant there and the brickyards along the way.

Naturally, I too have a (rough) representation of the Berlin Branch on my layout.  See the trackplan to orient yourself - you'll barely make out where the line comes off the north end of Middletown yard (top of the plan) and heads to East Berlin (upper right corner of the plan).  Since all I can manage are a couple of sidings - and there's a bridge over the Mattabessett River to cross before getting there - this area hasn't been a high priority.  In fact, I installed the fascia in this area before even putting down any track.

Since I want to keep my track layout options as open as possible, I decided I needed to lay more plywood subroadbed.  Only problem was - there was no support for it.  And there was already fascia in front of it. Follow along as I show how to attack this sort of problem - and you'll see another reason I really like the flexibility of L-girder benchwork.

First step was to unscrew the fascia from the corner of the wall and one intermediate support, then bend it back and secure it out of the way. You can see that I already had one L-girder running to the corner of the wall.  This proved fortuitous.

Next, I needed to add a new/additional joist to support the riser - screwed into an existing joist at the back and through the L-girder in the front.

The new joist actually serves two purposes: 1) to support the riser (to be installed later) and 2) to provide backing for the fascia so it doesn't "give" when pushed (and thus ruin any scenery attached to it).  Clamp and level vertically, then screw it in.

Next we add the riser.  I actually decided it'd be better in this case (i.e. more centered under the new subroadbed) to attach it to the L-girder rather than the joist.  To get the proper length, I temporarily clamped the new plywood/subroadbed to the adjoining subroadbed and clamped the riser in place.

Then it was just a matter of clamping a cleat to the riser - again, making sure everything is level both horizontally and vertically.

I made a splice out of scrap plywood and screwed it into the existing subroadbed and the new subroadbed, clamping it to hold everything together while I drilled & screwed.

Finished product - underside

Fascia screwed back in place at the corner and also at the new support.

Now my track has more area to play with....

. . . which is good since - with only two sidings, they're gonna have to be quite long in order to serve the industries I want.
While nothing here is particularly innovative or even all that complicated, I hope that you see how easy it is to change things if you have to.  The prototype railroads changed things all the time as their needs evolved and we can do the same thing. So don't let the prospect of getting something "wrong" deter you from ever getting started - or trying something new.

To paraphrase a famous general (considering I attacked East Berlin, it's fitting he was German) - no layout plan survives construction of the layout.  Yes, by all means plan - but don't expect you won't have to make adaptations along the way.  As I'm discovering more and more, realizing - and being (relatively) comfortable - with this reality is one of the keys to actually making progress.