
I can't believe it's already been over two whole weeks since this year's NERPM - and what a busy couple of weeks it's been! In addition to making some major (and hopefully final, for this season) progress on the house and yard, my buddy Pete and I got to visit Jason Fontaine's amazing layout and I got to operate on friend Alex Wood's layout. Those activities will be the subject of a future post - but for now, I have some fairly major progress to report since my last update way back on May 21(!).
When I haven't been otherwise occupied, I've had the bit between my teeth and been making some progress on scenery north of Essex, coming into Deep River . . .
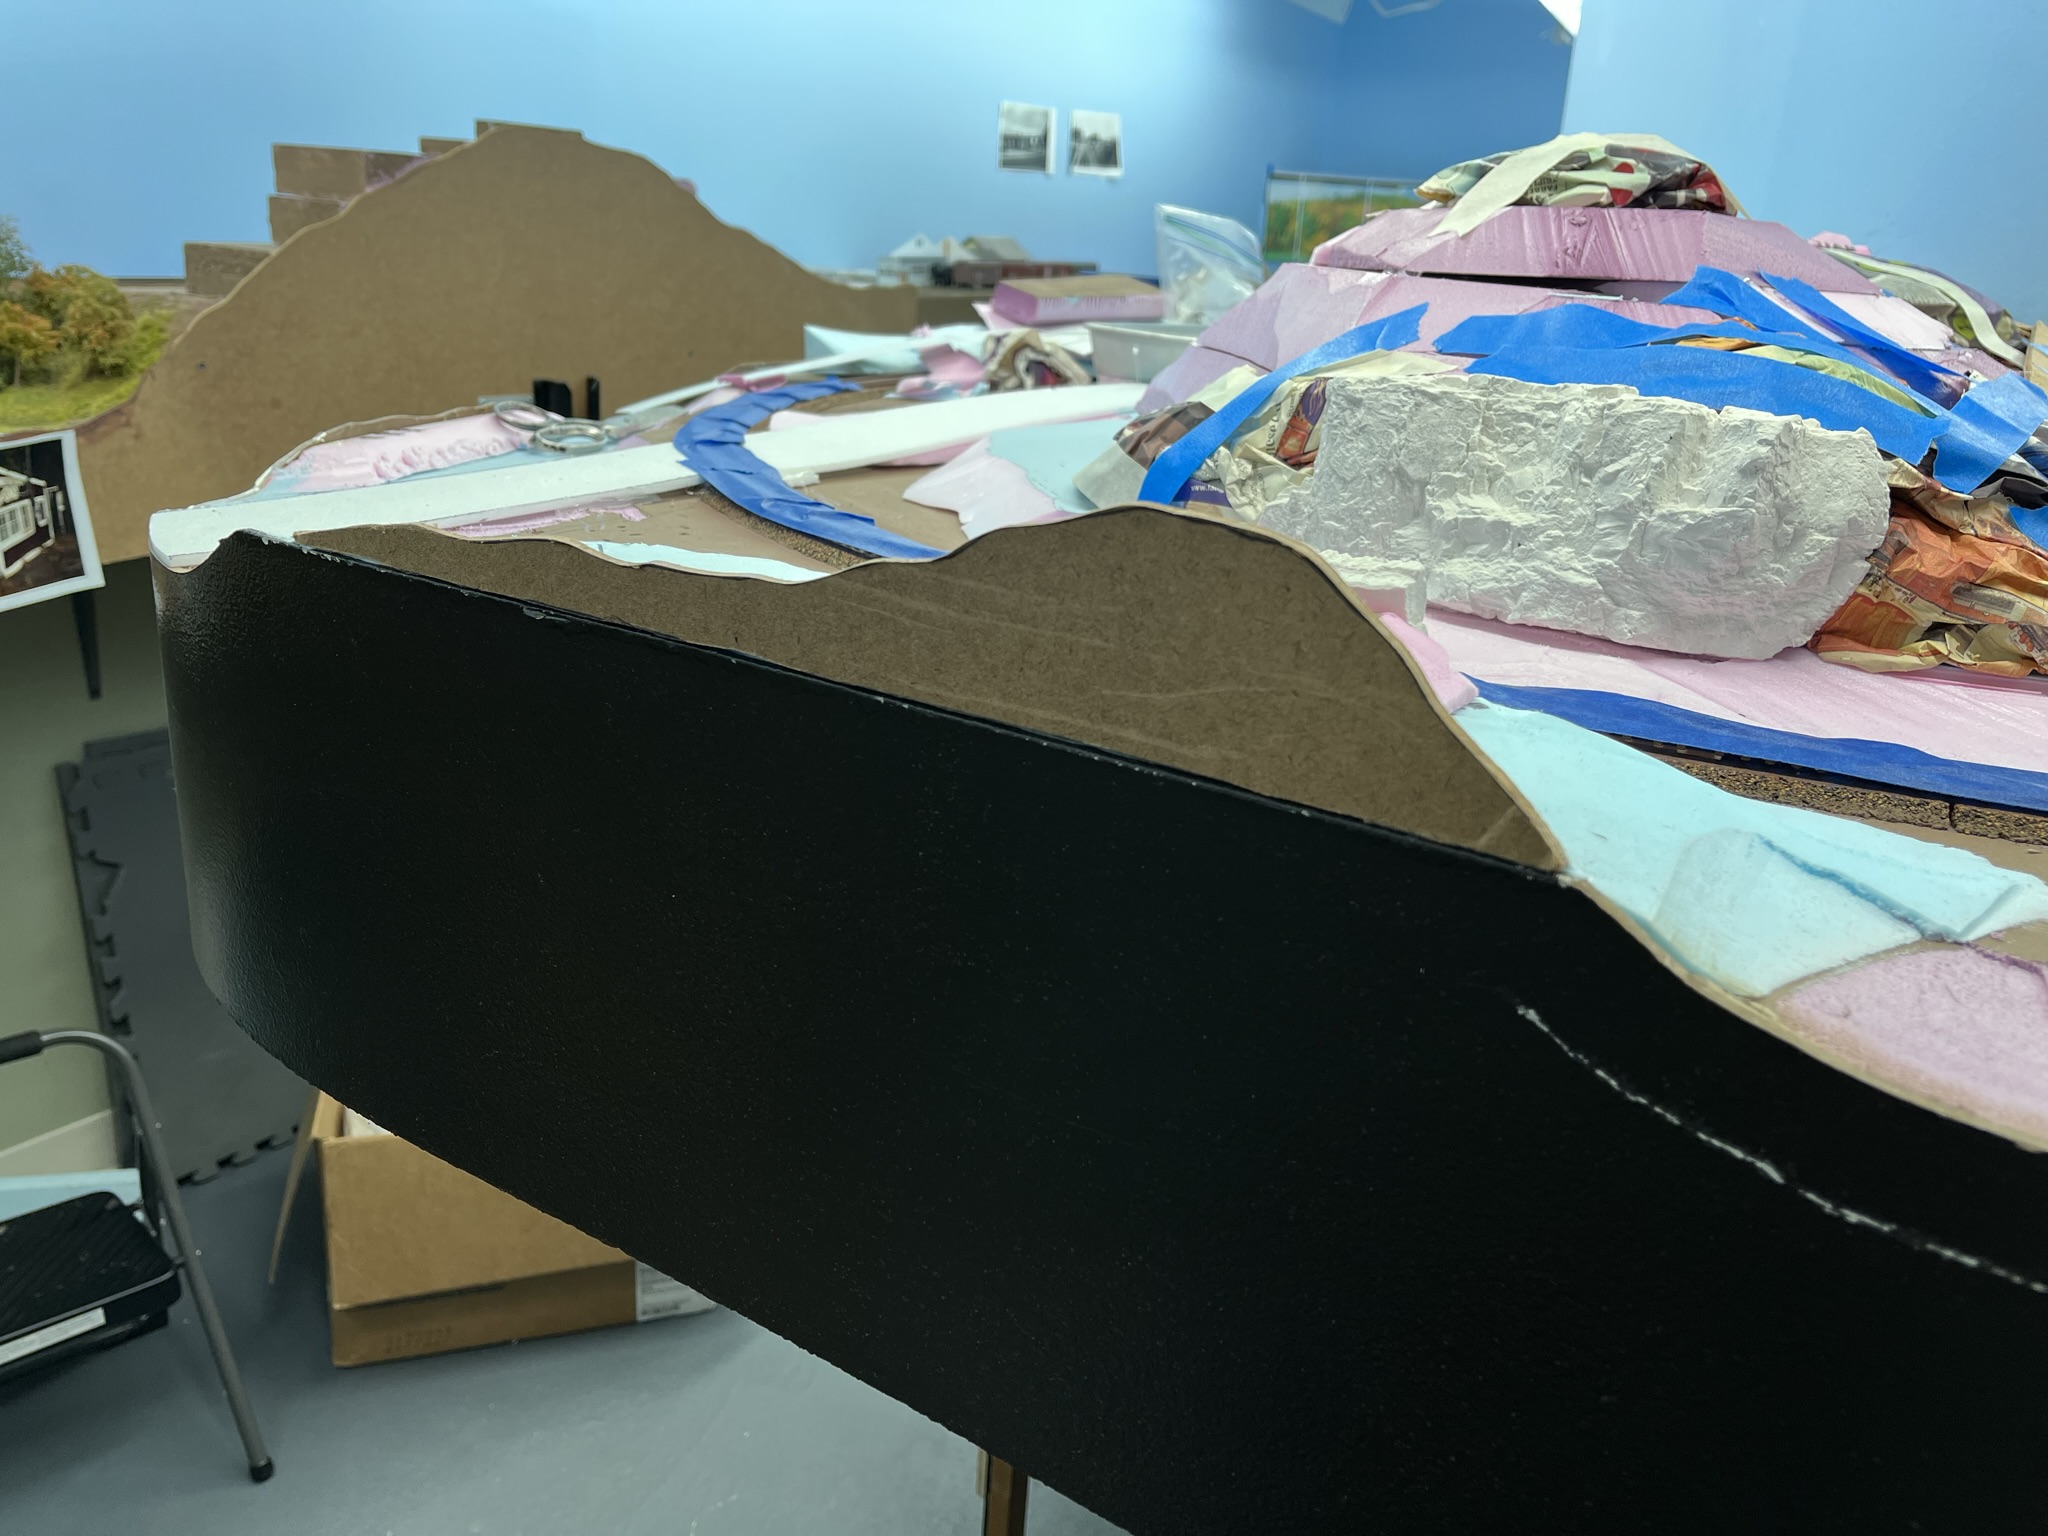
Old School Hardshell

Specifically, I've been focusing on the area around the grade crossing at Old Deep River Road. If you'll click here, you'll see the genesis of this spot - as well as prototype photos. Eagle eyes will notice that the hill above has evolved somewhat from what Bill started way back then . . .
I wasn't quite happy with the layered foam look, so I added a couple of additional old-school hard shell techniques - specifically masking tape over balled-up newspaper, as well as cardboard strips. This all will support plastercloth which will be added later to make the hard shell.

Extending fascia to cover hillsides


While that was all drying, I decided to continue painting the track northward. While I've long been a fan of Rustoleum's "camo" line of paints for painting track, without adequate ventilation the fumes are dangerous and unhealthy. Unfortunately, even though it's now summer, I still have my basement windows sealed and, besides, they're all in the other room. This location in Deep River is about the most UNventilated part of the whole layout (in a cul de sac, surrounded by walls and a tall backdrop).
So my go-to track painting process now involves my airbrush and Tamiya's "Linoleum Deck Brown" paint, thinned with 91% alcohol. Since I'm using such a small amount of paint, and it's an acrylic, the fumes are minimal - and (bonus!) I get low-risk practice using my double-action airbrush.

Casting & Coloring Rocks

If you checked out the prototype photos of the Old Deep River Road area, you probably noticed how many rocks and rock outcroppings there are there. So I needed to make a LOT of rocks. I go into the process in more detail in this post, but here are the bullet points:
- I used Woodland Scenics "Super Strength Plaster" (C1199) mixed according to the directions, and poured into a variety of rubber molds (WS C1231, C1232, etc).
- Once the castings are done (24hrs or so), I pop them out of the molds and color them using washes of raw sienna, raw umber, and black (detailed process here)

I used ground goop to cover the hard shell, and added the colored rock castings to the wet ground goop to "plant" them in place. Alternatively, I've added uncolored/white castings to uncolored Sculptamold and colored the rocks in place (having to paint the Sculptamold later, of course). Click here for that method. Frankly, I'm not sure which method I like better. What about you?

Ground Goop
Speaking of Sculptamold, I use it as the basis for my version of Lou Sassi's famed "Ground Goop" which is used to cover the hardshell - including any cardboard "lattice" that's showing through - and provide some thickness for planting trees and such. It's a versatile material that can be used to make small hillocks, eroded embankments, etc. I used it over foam board base as well to provide some much-needed terrain undulation. While you can use it plain (it looks like mud), you'll most often want to add ground foam and other scenery materials to it.
There are a variety of formulas - here's what works for me:
- 2 parts Sculptamold
- 1 part brown latex paint (I use a Home Depot/Behr color called "Davenport Tan")
- 1/2 part Elmer's Glue All
- 1/2 part water - just enough water to make a oatmeal consistency
So the last couple of days has involved a lot of rock casting & coloring as well as ground goop mixing & applying. But once you're in a groove, progress is made by the foot rather than by the inch, and the layout starts to look like something other than a Plywood (or foam) Pacific.
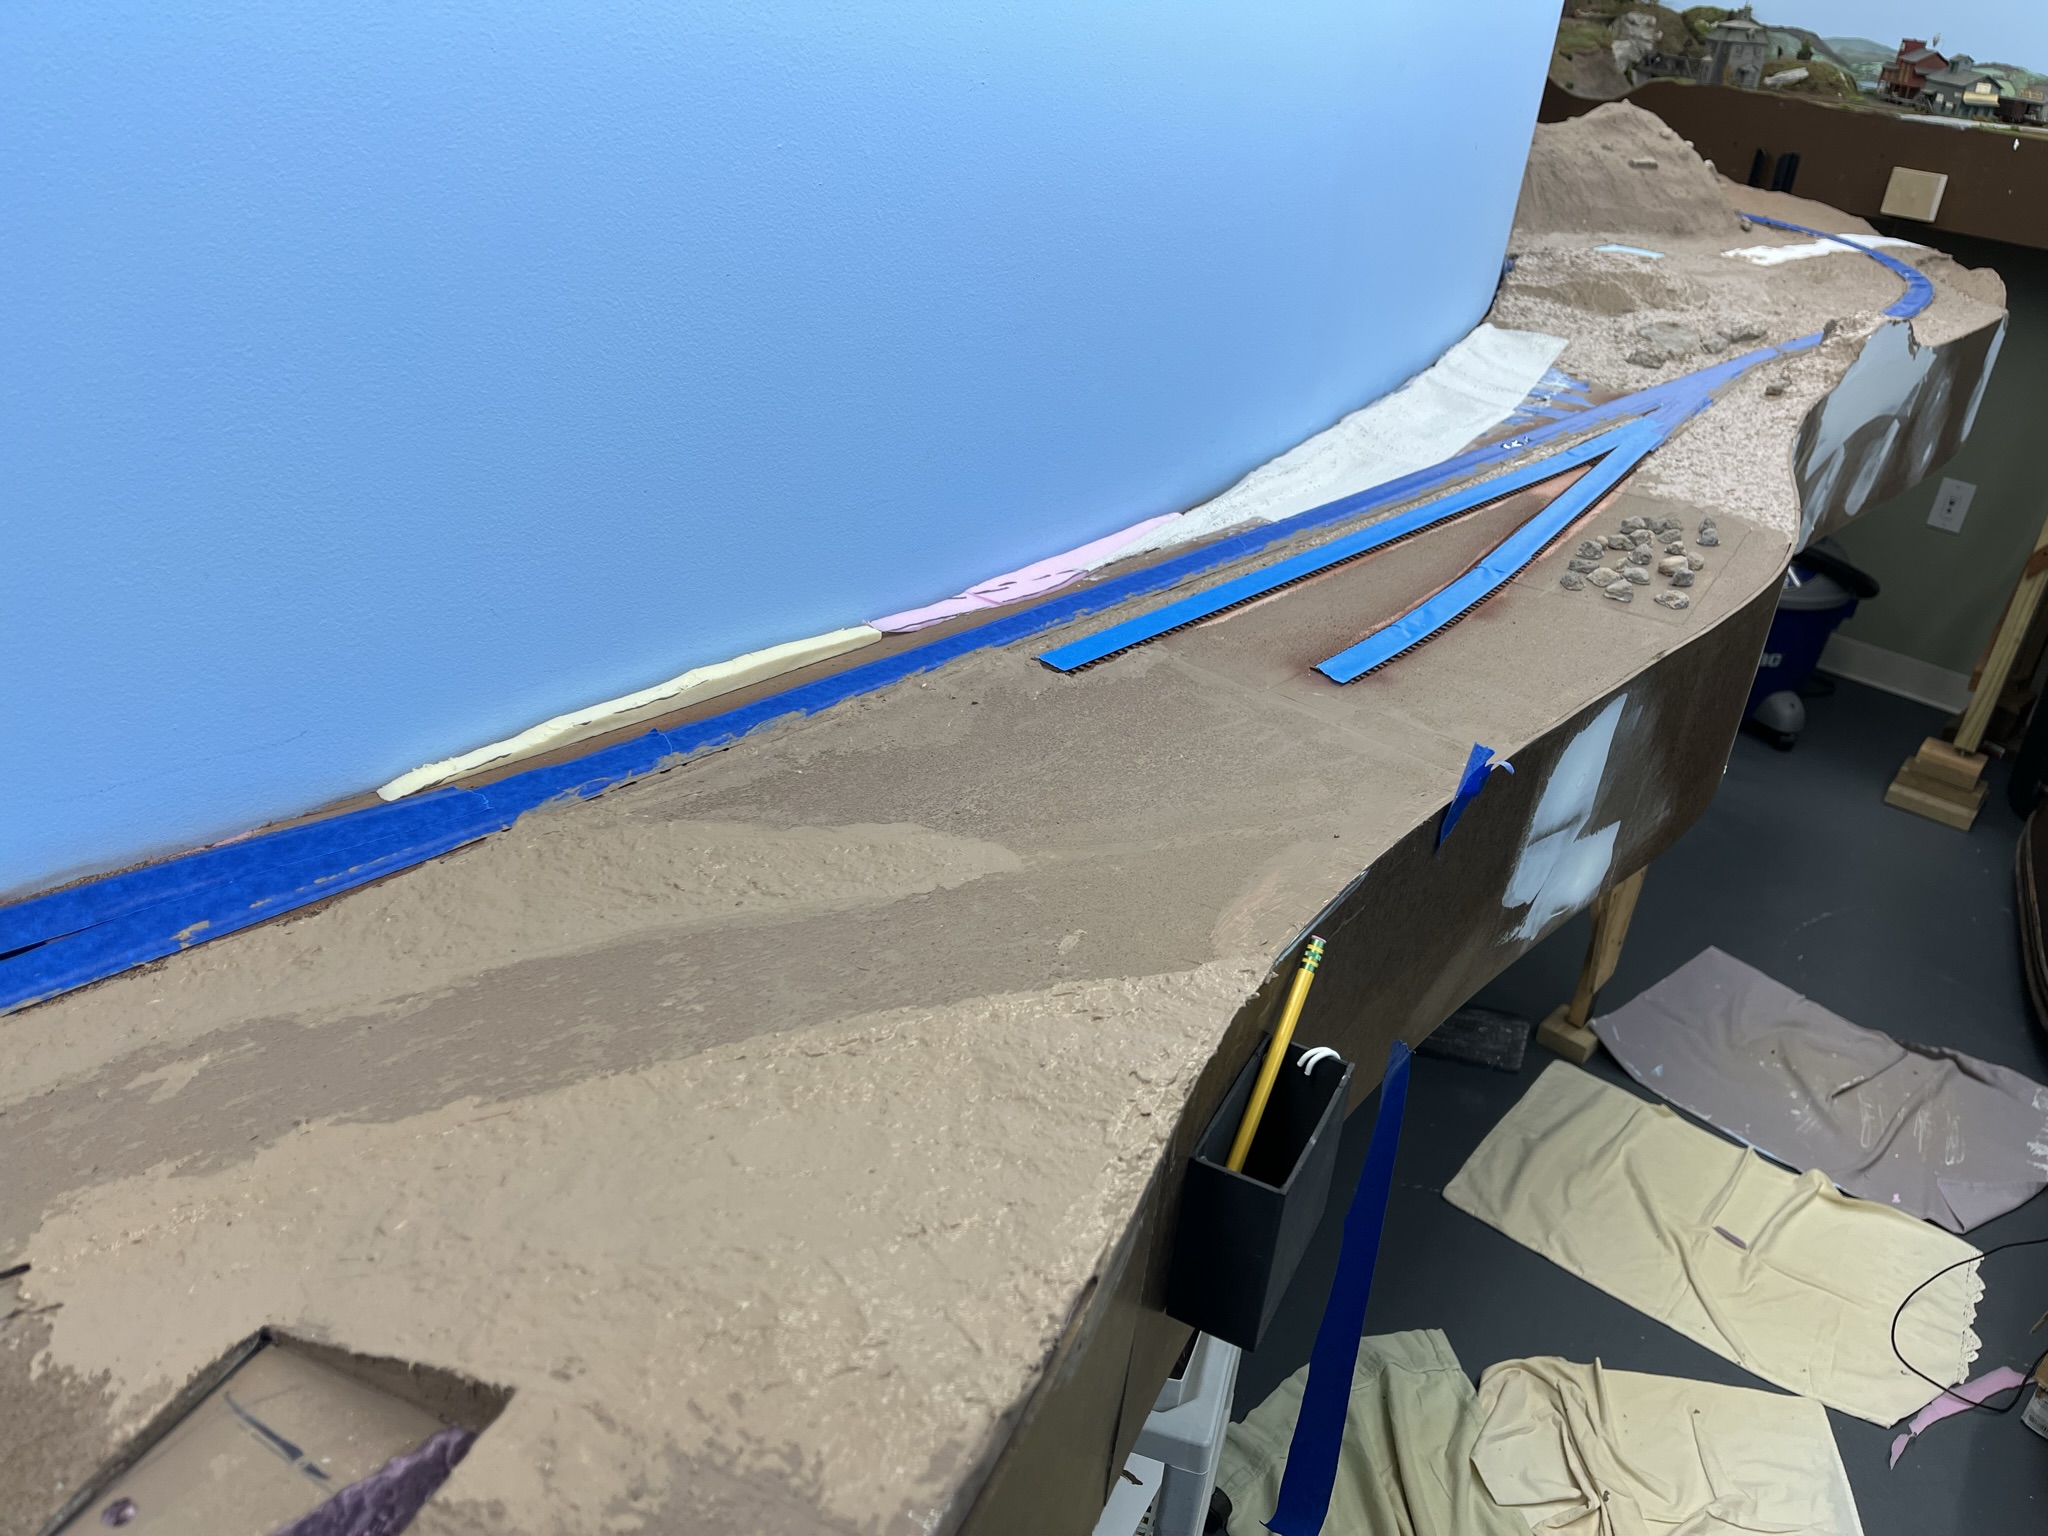
Here's where things currently stand:

The Old Deep River Road grade crossing area is coming out nicely, including a rocky hillside (though I need to add more rocks), as well as the creek along the tracks (note the eroded bank...)

Long-time readers know that I work in fits & starts and my productivity ebbs and flows. I doubt I'm at all alone in that, but I sure do like it when I'm in a "flow" like I am now. And with scenery no less!
Hopefully, this mood will continue and I'll keep making more progress that I can report here. In the meantime, the basement is a nice, cool place to spend some time during a hot, humid summer. And besides, it's always Autumn on the Valley Line!
No comments:
Post a Comment