It's been pretty busy 'round here, but unfortunately because of the day job rather than the layout. But you didn't come here to hear about that - we all have #adulting challenges that get in the way from time to time. So given that your time is likely as limited as mine these days, I'll get right to it . . .
The Atlas S-2 comes with an OEM Loksound Select decoder. It runs great as-is, but I've discovered that adding a "keep alive" capacitor provides some nice peace of mind that the sound is never going to cut out nor is the engine going to do any herky-jerky and ruin the effect we're after on our railroads.
Fortunately, installing the ESU version of the "keep alive" (called a "PowerPack") is relatively straightforward. You only have to get over your fear of soldering - on really tiny soldering pads...
The first thing you do is remove the decoder from the motherboard. Just carefully wiggle/pry it off.
MY biggest challenge was actually being absolutely certain I was soldering to the right pads. The instructions help . . .
But a quick text to the always-helpful Matt Herman of ESU confirmed I had the right connections in mind and gave me the confidence to push forward.
Unlike other "keep alive" type capacitors, the PowerPack has 3 wires to solder. While that's a bit of a pain, this allows the PowerPack to turn off for programming without the need to disconnect it.
I lined up the PowerPack's wires to the pads on the decoder to make sure I had everything oriented like it's supposed to be per the instructions . . .
. . . then it was "just" a matter of using a very hot iron, with a very small tip, touching each wire to each pad very quickly.
As soon as you see the solder begin to flow, remove the iron. I wouldn't call it "easy peasy" necessarily, but it wasn't too bad.
Next, plug the decoder back into the motherboard - and try to figure out where to fit the PowerPack(!)
Truth be told, I did do some test fitting ahead of time to make sure it would fit. It's not elegant, but there's plenty of room for it in the cab - and that meant I didn't have to try and mill out anything under the hood for space.
As you can see, I taped the sockets for the plugs from the rear light to the PowerPack to try and keep things tidy.
PRO TIP: In order to activate the PowerPack and have the decoder recognize it, you need to set AUX 6 to "Disable" (the default setting is "Dimmable Headlight"). This is easiest to do using the LokProgrammer. The AUX 6 setting is in the "Function Outputs" section. Even if you don't have the LokProgrammer hardware, the software is free and can be downloaded
here. The software will show you what CVs you need to change. According to the software, changing AUX 6 to "Disable" requires you to:
CV31 = 16, CV32 = 0
----------------------
CV315 = 0
But, like I said, it's easiest to use the hardware. Or have a buddy do it for you :^)
Ok, that's enough electronics. Back to modeling!
After LOTS of vacillating, hemming, and hawing about how to assemble the cab, it basically came down to just doing it. I was happy to discover that the edges of the walls had perfect 45 degree bevels so I applied some slow-setting thick CA to an edge and then used my 1-2-3 blocks (which have perfect 90 degree corners) to hold the walls in position while the glue set. I did the back to a side and the front to the other side. Then I glued these two subassemblies together. Before the glue totally set, I added the roof, making sure everything was square and that the tops of the four walls met the locating ridges on the roof properly.
This was all made a bit more stressful by the fact that everything was painted and decaled already. And you can see in the top photo that there's a small gap between the top of the wall and the cab roof. I think next time I'll assemble the cab first so any additional body work can be done before painting.
The handrails ended up being more complicated than I expected. I realize now that I should have mentioned that I applied the long rails on each side of the doorway - and the little grab iron to the left of the light - before I painted the back wall. Fortunately, those details are easy to locate - Mike has molded the NBW detail right where you need to drill the holes and you can use the little grab iron from the Atlas parts for the grab next to the light. Unfortunately, you'll have to bend the door railings to fit.
The stair rails were what was complicated. But fortunately, I came up with a solution:
I just used the Atlas cab as a drilling template. You can see in the pic above that I've already created small dimples (using a push pin) for where to drill. Here's another view:
And another . . .
For the engineer's side railing, I positioned the cab on the frame, and made a dimple where the railing would go in. . .
You can just make it out below the window on the left (engineer's) side of the cab.
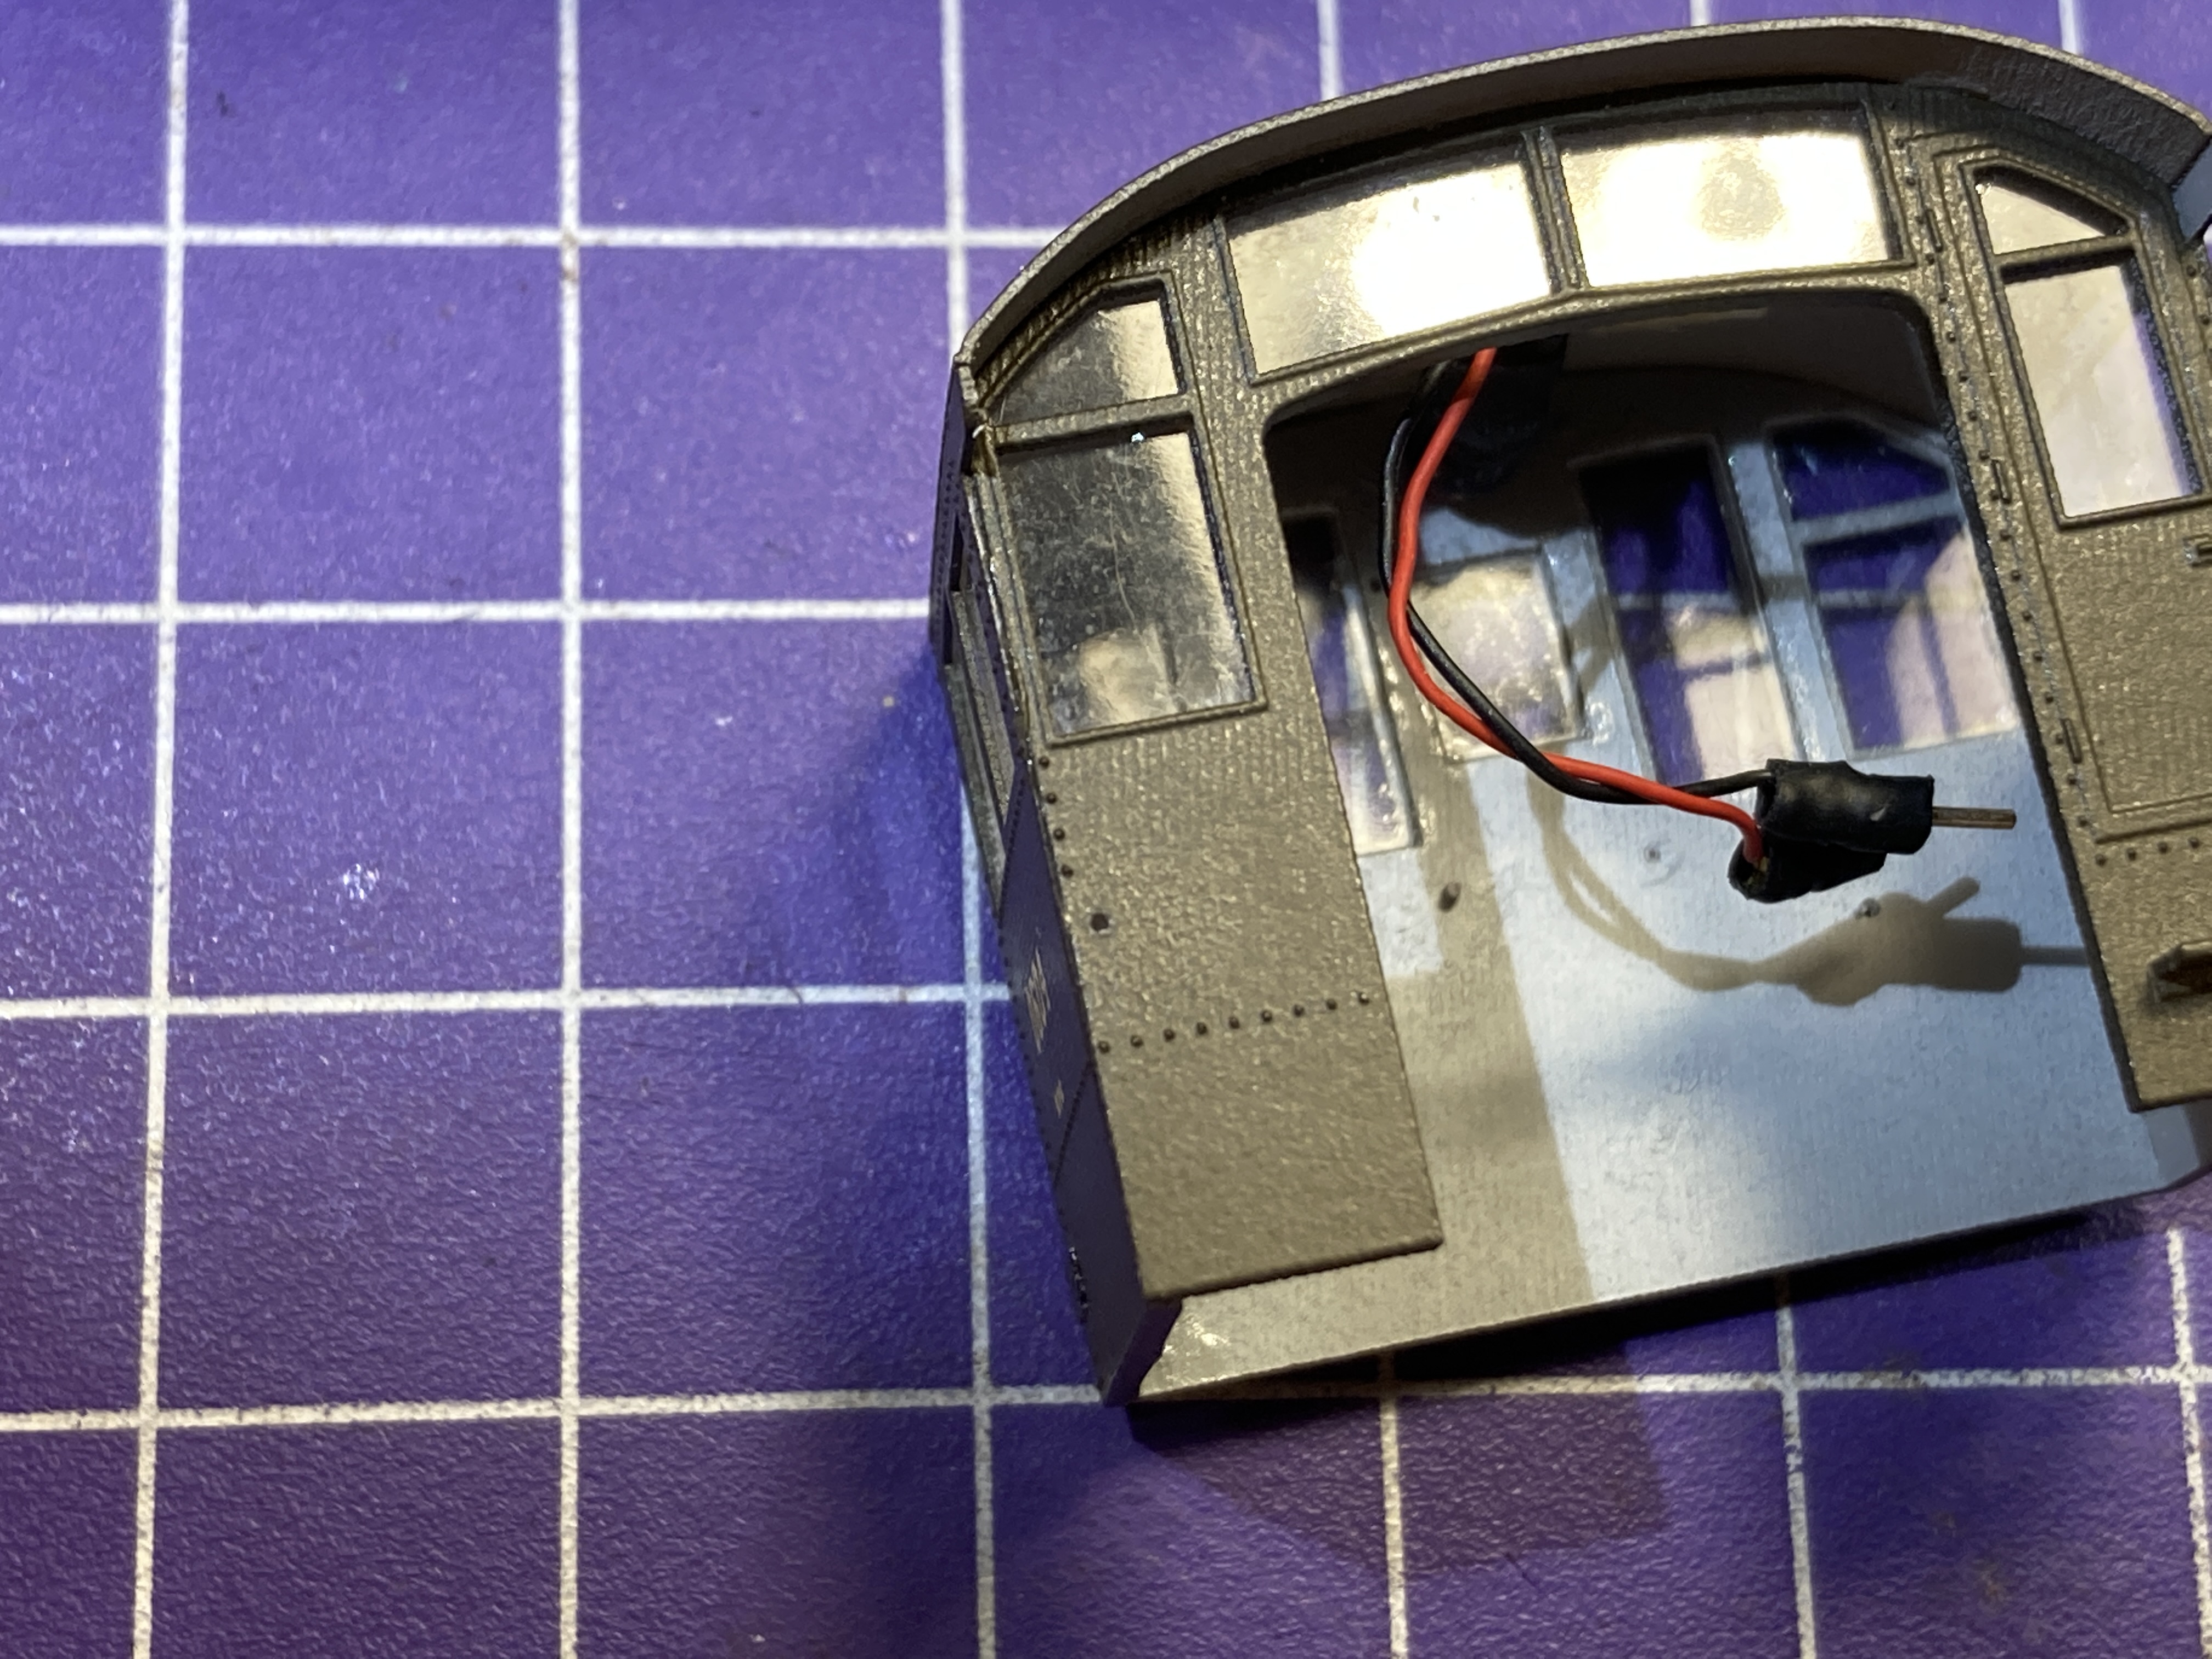
It was when I was fitting the cab to the frame that I discovered that the cab wouldn't stay down - the PowerPack and light wires kept pushing it up off the frame.
And then I discovered why . . . Unlike the Atlas cab, there were no locking tabs in the resin-printed cab. So I made them.
Here's a shot of the slots that the stock cab locks into:
Using my calipers, I measured not only the height of the slot, but also took measurements to determine the precise location. . .
Then I glued some strip styrene to the insides of the walls to make the locking tabs . . .
Note in the pic above that I used some double-sided foam tape to position and secure the rear bulb. And those are the plugs that go into the sockets we saw earlier.
A little bit of styrene here goes a long way - and you only want JUST ENOUGH to keep the cab in place - not so much you can't get the cab off once it's locked in.
And you'll want to be sure and sand a bevel in order to make it easier to slide the cab onto the frame. This all took a bit of trial and error and test fitting to get that perfect match of positive lock along with ease of removal.
Like so much of this project, much more time was spent trying to figure out how to do a task and think it through than it did to actually do it. I'm hoping the next build (DEY-3 #0967, a P2k S-1) will go MUCH more quickly as a result.
With the cab done, it's REALLY starting to look like a New Haven DEY-5, rather than just another Alco S-2. We're in the home stretch now, with a little scratchbuilding and adding some additional details being all that's left to do. But these details will go a long way to "New Havenizing" this model - so stay tuned!


No comments:
Post a Comment