
After painting comes decaling. Since I wanted to be sure that the decals wouldn't "silver," I applied a gloss clear coat over the hood and cab parts and waited for that to cure.
While decaling isn't complicated, I find that documenting the steps I take keeps me from forgetting anything. Here's my process, taken from previous blog posts on the topic:
- Start with a glossy surface, adding a gloss coat if needed.
- Using a fresh x-acto blade, cut out the decal leaving as little decal film around it as possible and dip in distilled water.
- Place the decal on a paper towel to wick off excess water & allow the decal to loosen from the backing.
- Slide the decal off slightly to expose just enough paper backing to allow you to grab it with tweezers.
- I then brush some MicroSet onto the model where I will be putting the decal (some instructions say to brush on some water, but it beaded up on the glossy surface).
- "Lay the paper on the model while still holding with tweezers and slide the decal on to the model." (direct quote from the instructions I was referring to). Use something dull (I use a toothpick) to hold the decal as you pull/slide the paper backing out from under it.
- If necessary, use the toothpick to move the decal into final position. Be careful you don't damage the decal!
- Once in position, leave it alone until it dries completely. You can use a corner of a paper towel to wick away any excess fluid/water. But then, leave it alone.
- Next day, if there's any "silvering" or air bubbles, prick with a sharp pin and add a decal setting solution (I use MicroSol) at the edges of the decal and at the pricked parts. Capillary action will pull the solvent underneath the decal. Leave it alone and allow it to dry again completely.
- Repeat step 9 if necessary, using Walthers Solvaset if needed to get the decal to really settle in and snuggle down over detail and into crevices. But beware - Solvaset is very aggressive.


While next time I plan to put the cab together before painting/decaling, you can see how nice it is to do it beforehand. You can do all sides at once without having to wait.


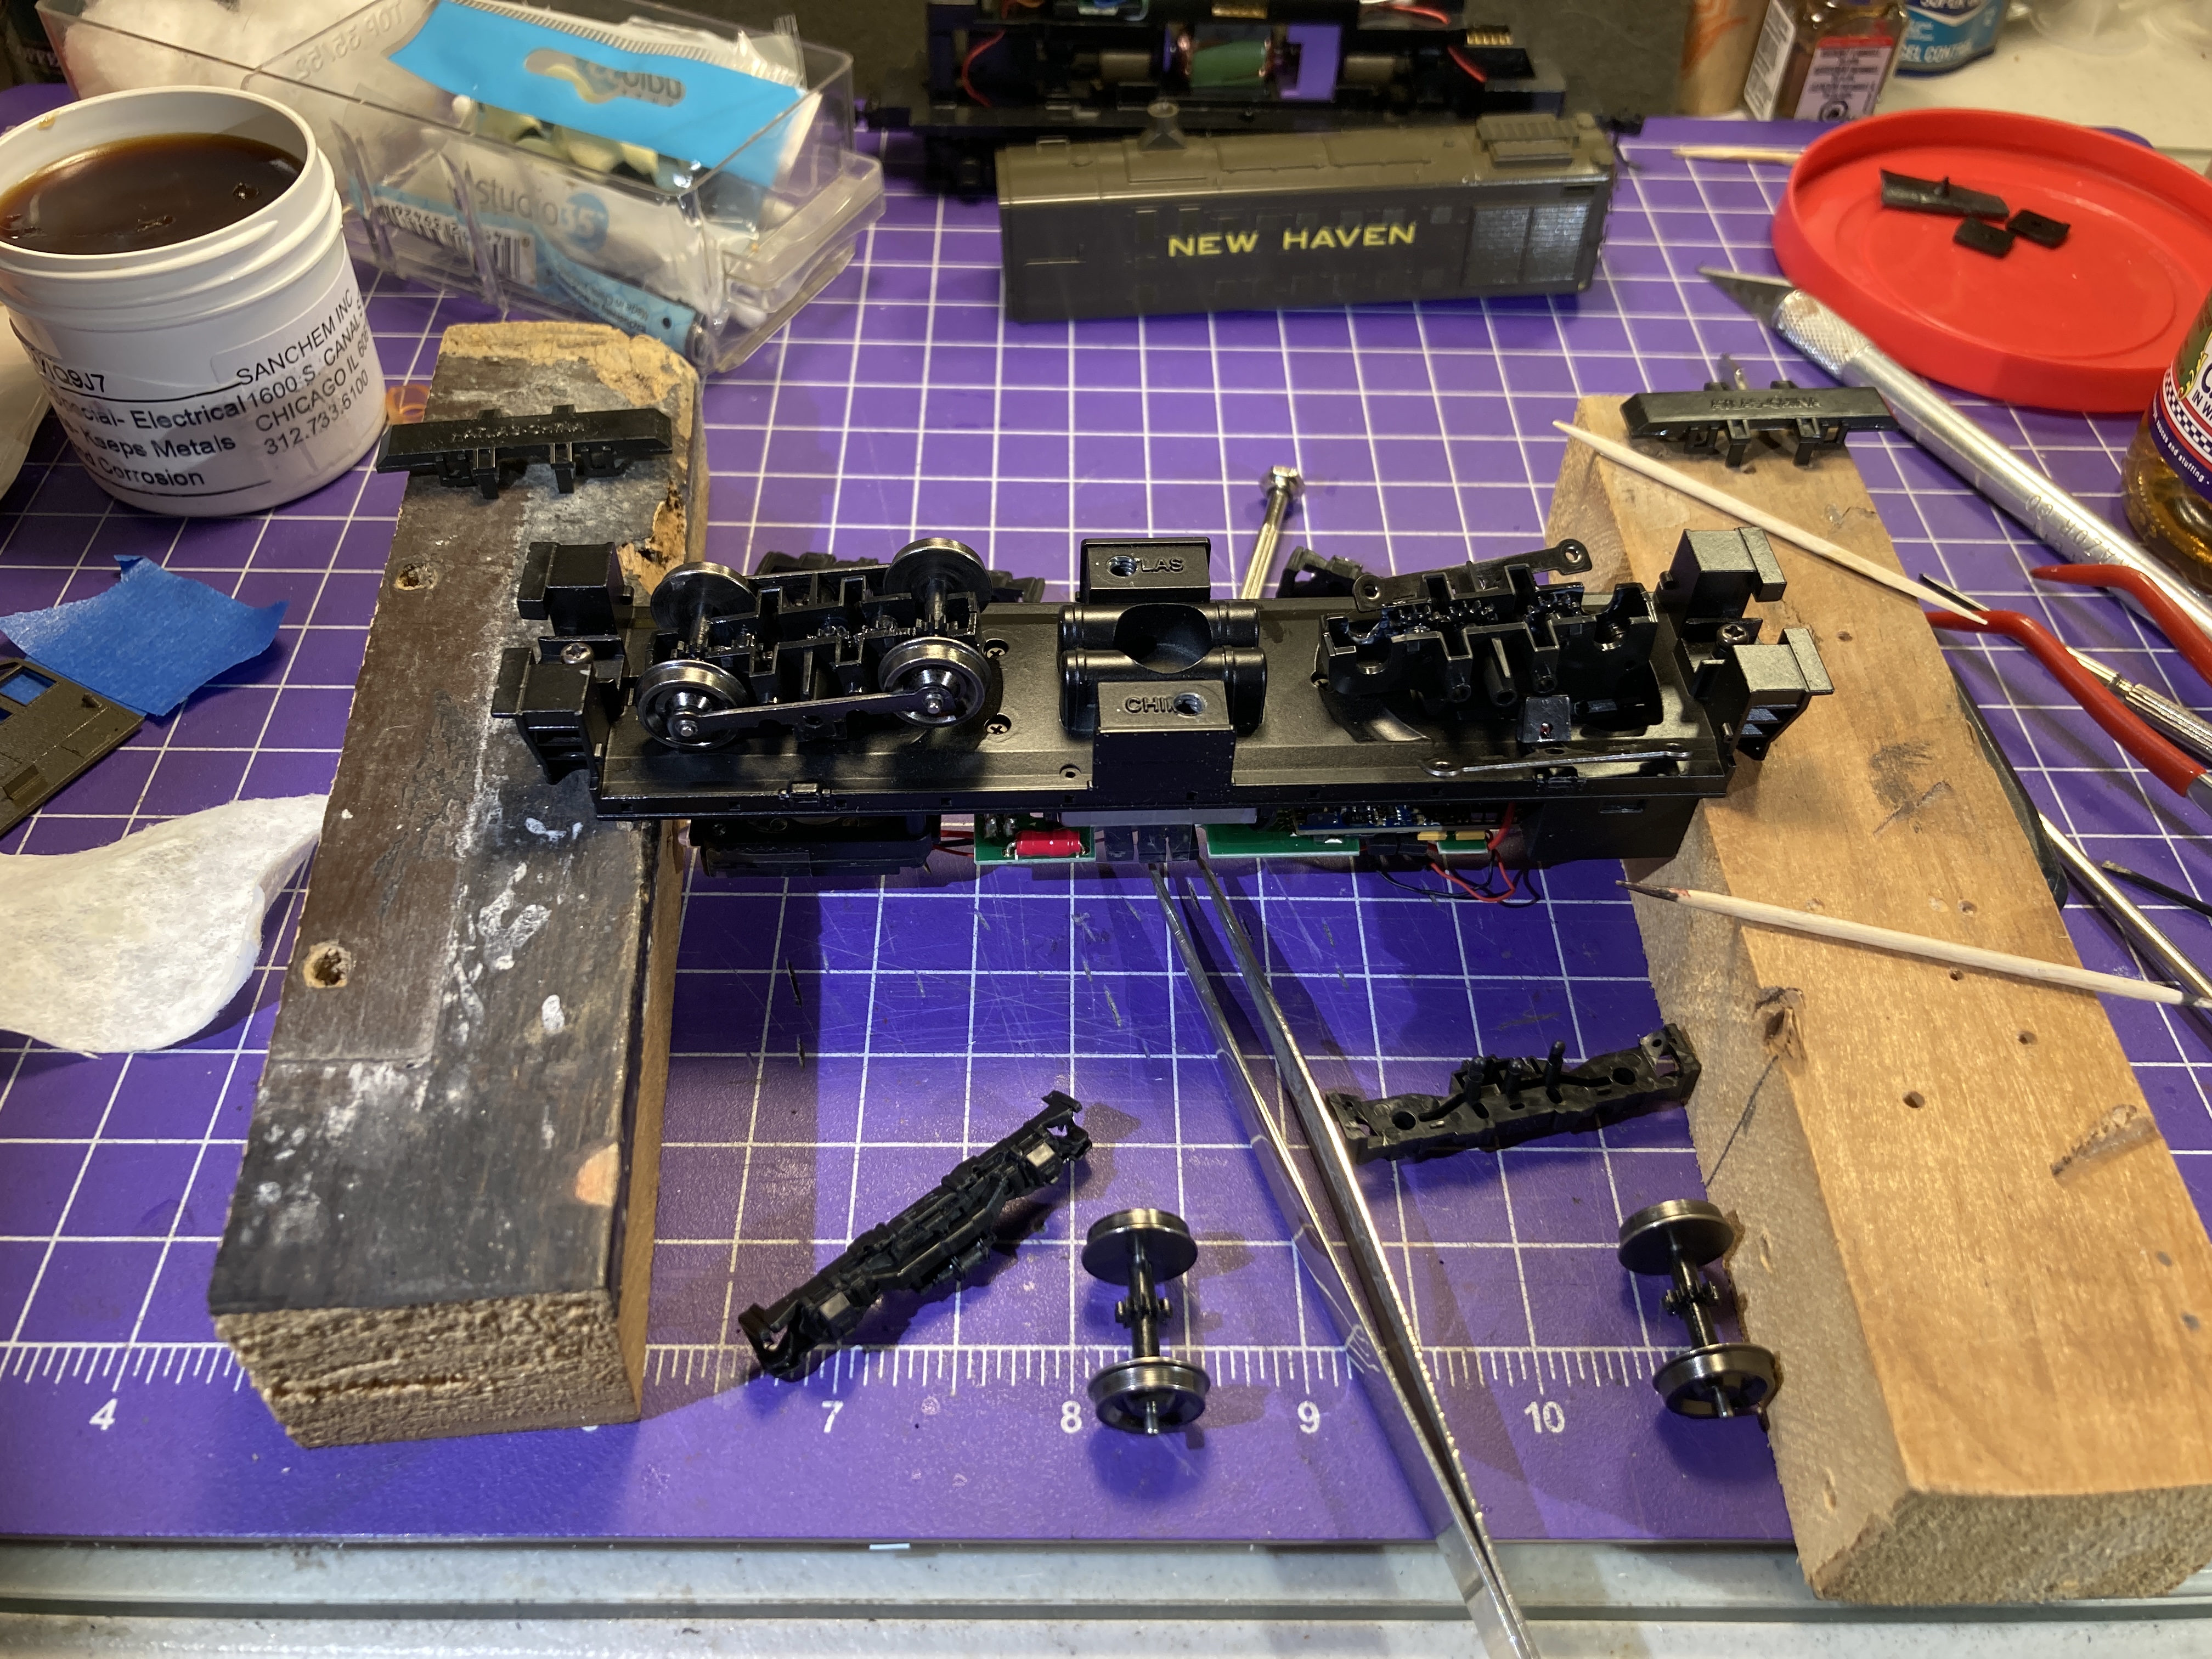


With the painting and lettering done, and everything sealed with dullcote, we've reached a major milestone. The only major thing left to do is assemble the cab, and the only (minor-ly) difficult things left to do are scratchbuild a whistle mount and detail a cab control box.
But before that - and to give me a chance to do something a little different - I decided to add an ESU PowerPack (aka "keep alive) capacitor to the OEM ESU Select decoder.
We'll get to that and to building the cab in the next post!
In the meantime, (if you observe it) here's hoping you and yours are having a blessed Easter weekend!
No comments:
Post a Comment