
With the prototype research done, let's take a closer look at the Atlas model and get started on the build!

As I mentioned last week, the Atlas S-2 with horizontal louvers provides a great start to modeling the first nine New Haven DEY-5 class switchers (0600-0608). And as I mentioned yesterday, the main visual changes will be to add a new cab and a different horn/whistle. But there are a couple of - thankfully minor - issues with the model itself. . .
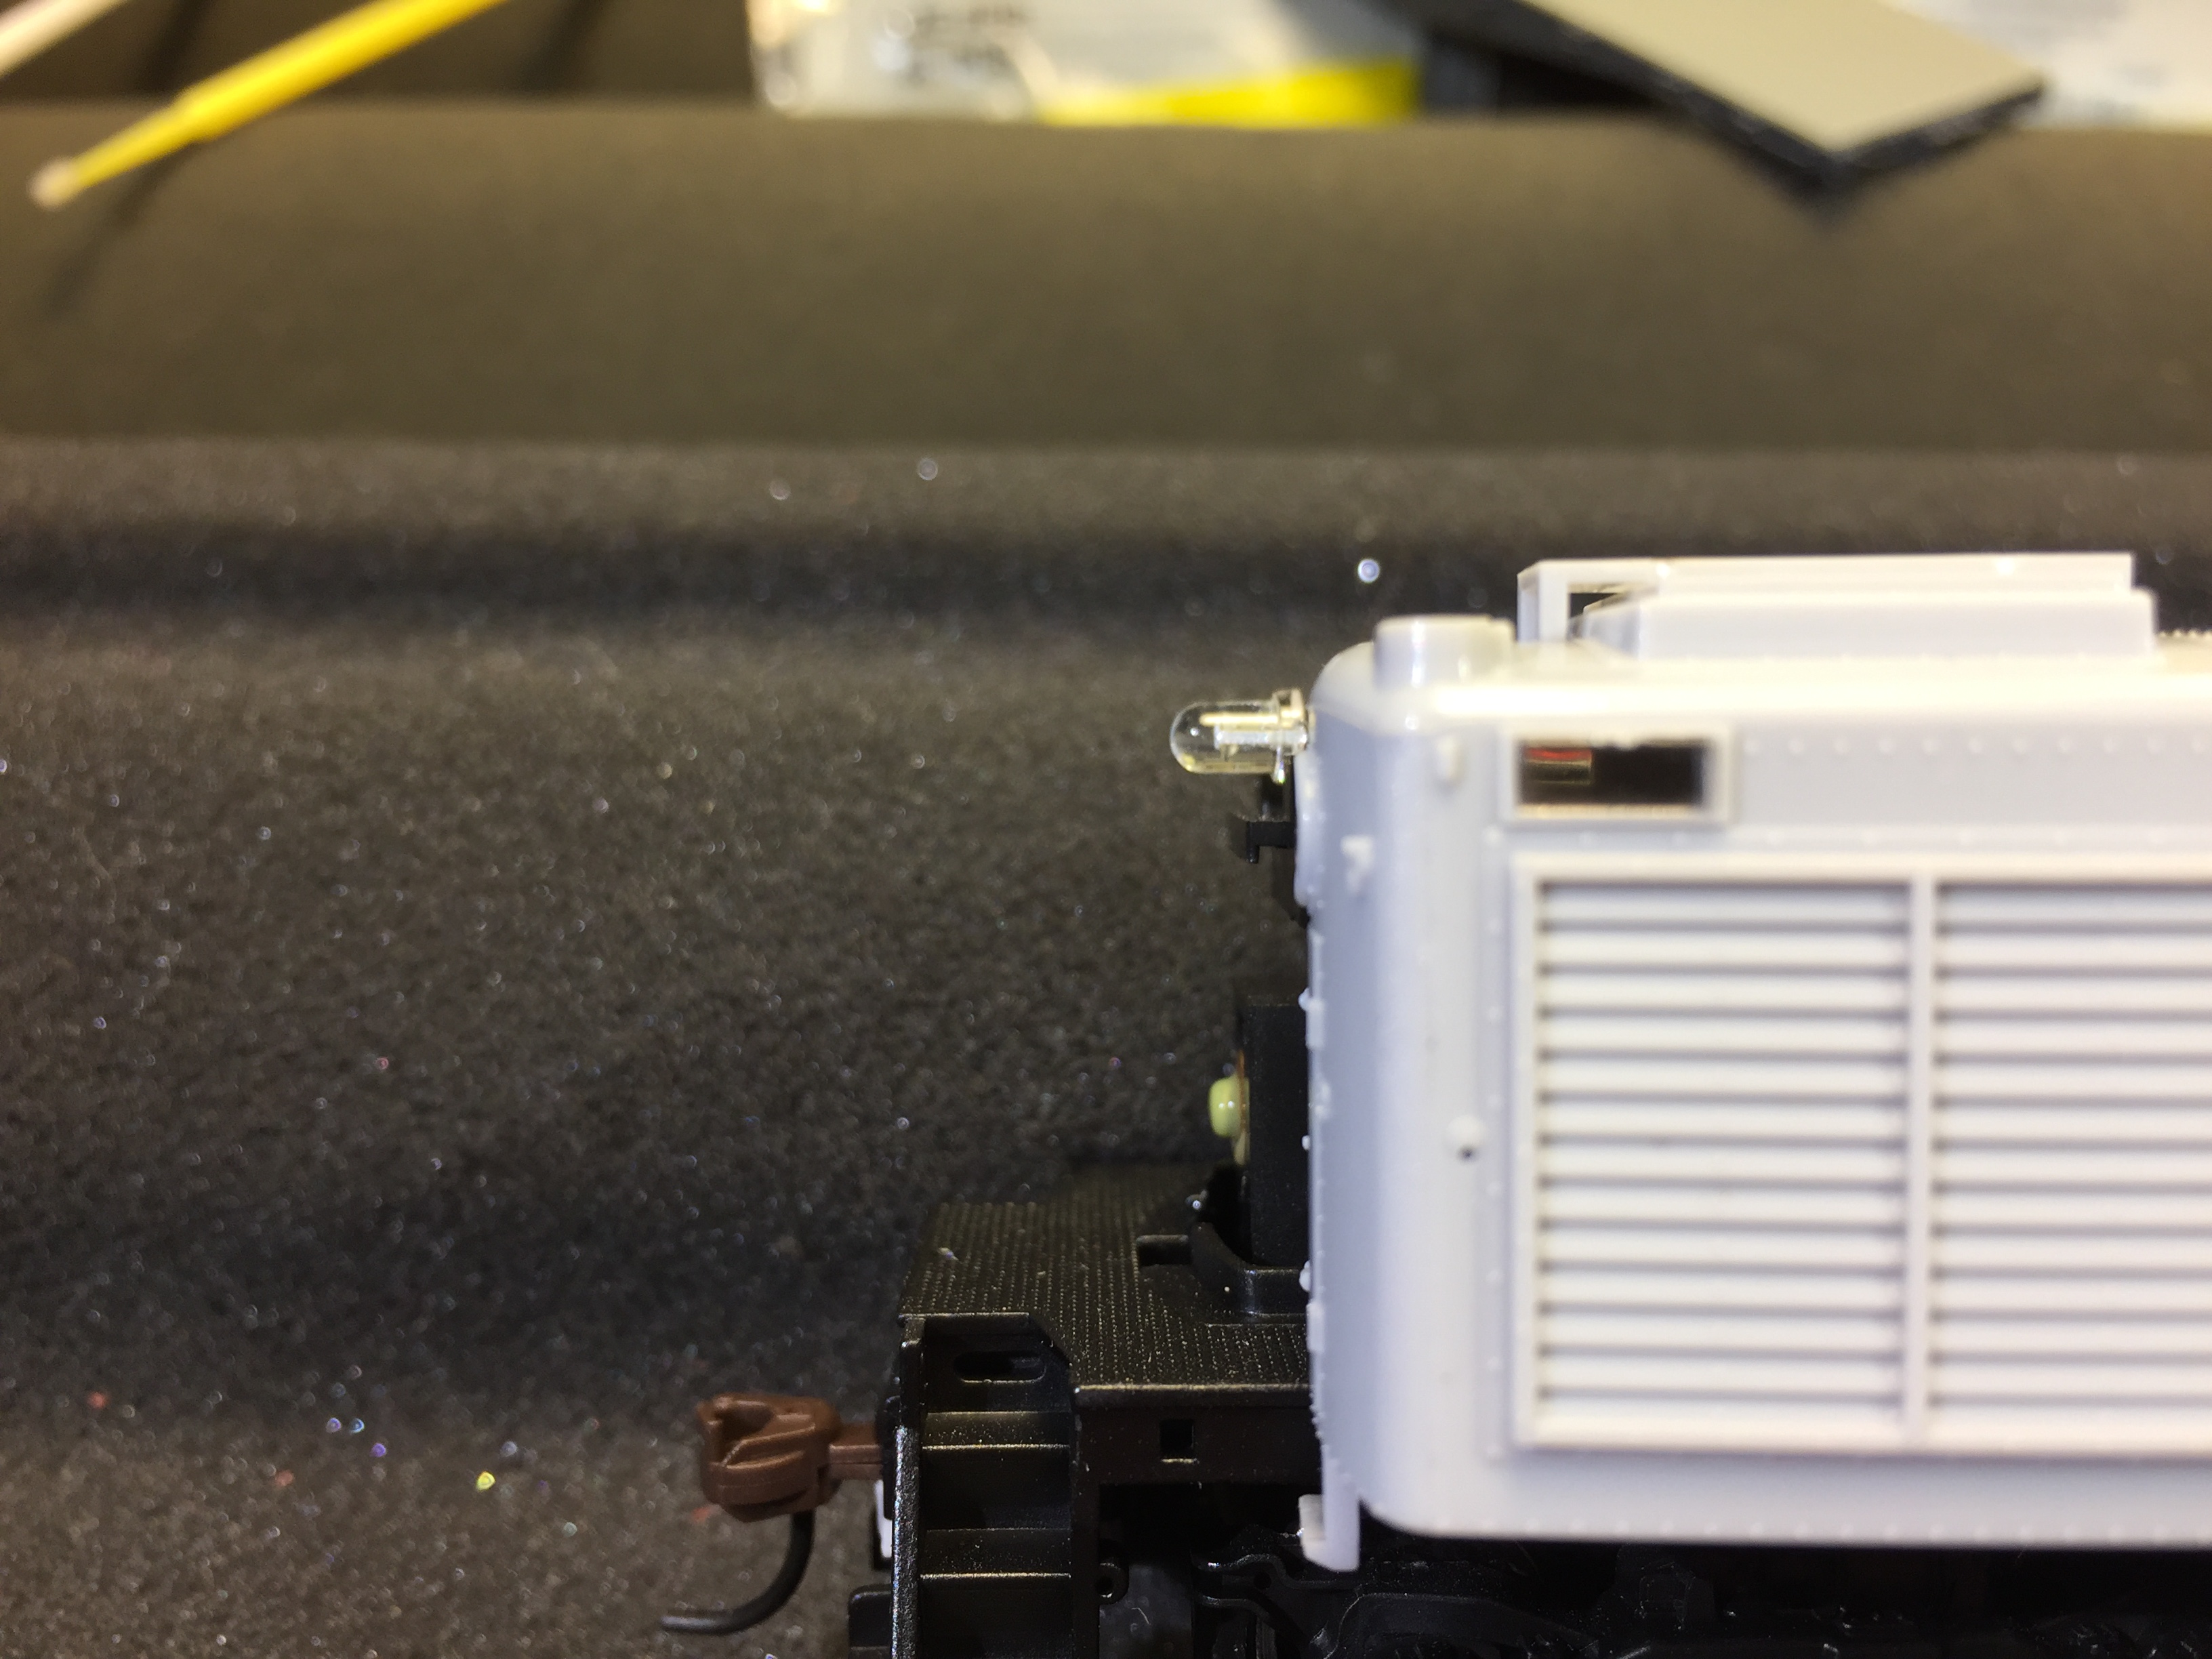
The first thing I noticed "wrong" with the Atlas S-2 right out of the box was the position (and brightness!) of the headlight:


Another problem - at least on the model I got - was that the cab fitment wasn't great.


But these problems are no big deal at all. I plan to replace the cab with a new low-profile NH cab from my friend Mike Redden of NE Modelworks (5-piece kit, seen above), and I just figured out how I'm going to fix the headlight issue - but I'll wait and share that solution when I get to that point in the build.
Speaking of the build, let's get started building!


Once the grabs were applied, I turned my attention to the cab. Given that it's a 5-piece kit itself, it warrants a post of its own. Which we'll get to next time.
Hope you're enjoying following along, and if you are - and especially if you have any special tips/tricks to share - be sure to let us know in the comments!
Looking at the photo of my cab kit I realized it must've been an earlier version that required the builder to use the fuel filler from the original cab. Later versions included it on the print of the back.
ReplyDeleteI think that was the stock photo from Shapeways since I (thankfully!) have the version that has the filler molded in.
Delete