In keeping with my "new approach" to blogging, here's a quick/short post on how I do my base layer of scenery (along with a couple of "oopsies"), using my latest effort in Deep River as an example.
 |
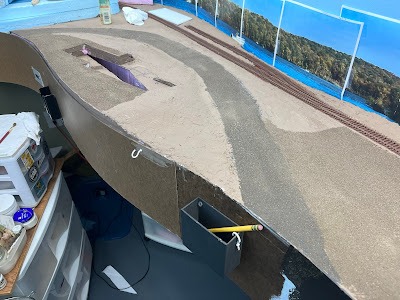
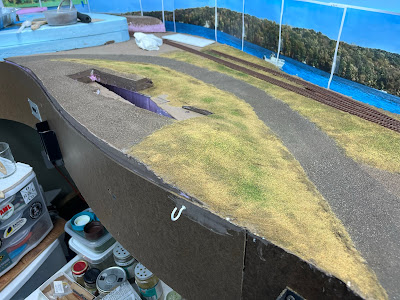
| Steps 1 & 2: Unfortunately, I don't have a photo of the 1st step. Instead of brushing on white glue as I typically do over a base that's been previously painted, I painted on a thick coat of my brown dirt paint in the areas that are going to be lots for parking/etc. and a thick coat of black paint for the main road area (like this). The photo above shows the 2nd step - a layer of fine dirt sifted all over the wet paint areas. |
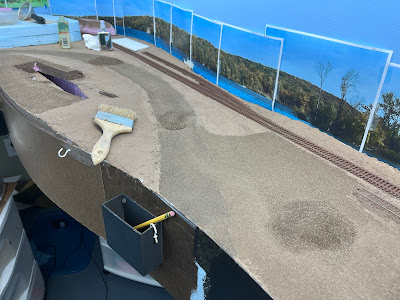 |
| Step 3: Once that dried overnight, I reclaimed the dirt (even though it's "dirt cheap" it's still nice dirt to salvage!) by brushing it into piles and using an index card as a "dust pan" to collect it. |
 |
| Brushing up the dirt not only leaves what's adhered to the layout, but also reveals variations in tone revealed by the underlying paint. |
 |
| Close up of Depot Road (tar & dirt) |
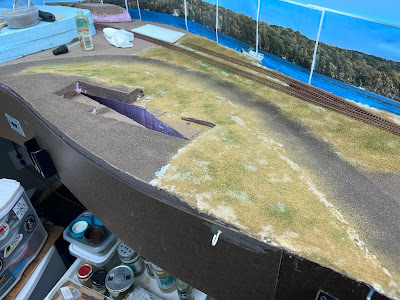 |
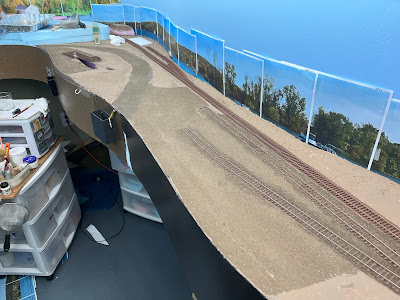
| Step 4: Figuring grass typically goes over dirt, I added the base layer of vegetation next. I first brushed on straight white glue and then sifted on various colors of fine ground foam all over - Earth, Earth Blend, Green Blend, and - mostly - Burnt Grass. I also used Yellow fine turf sparingly as an accent color. |
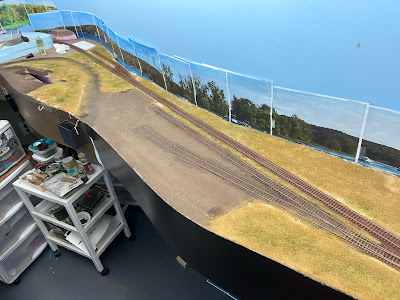 |
| Step 5: I misted everything heavily with "wet" water from a fine mist sprayer. I used to use alcohol, but found that it tended to screw up my fine mist sprayers over time. So far, I haven't had this problem with the water/soap mix. And - bonus! - I think the water, since it takes longer to dry, gives the glue more time to wick up into the foam, which is what I want. |
 |
| Step 6: You'll see areas where the water & glue saturated the foam a little too much. I just sprinkled more foam over those areas and let it all dry. |
Step 0It was at this point that I realized I'd gotten ahead of myself.
If you're going to weather the ties, weather your ties before dirt & ground foam!
This is especially important if you plan to apply your dirt over sidings.
So "Step 0" - the step I'll do first next time, before "Step 1" above - "Weather Ties."
 |
| Here's my tie weathering arsenal all laid out - various colors of gray and light brown craft paints, a palette, a cup of water (was well as a cup of coffee!), and an old small brush. Click here (and scroll down) for the details on this process, but to summarize it in a word: "Drybrushing". |
 |
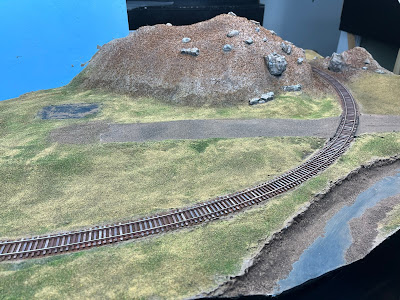
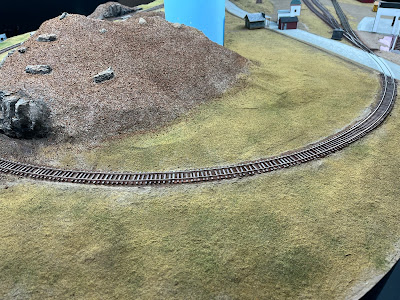
| As alluded to above, it's difficult - if not impossible - to get a good effect on track that's already ballasted, or on sidings that are already embedded in dirt. I could try, but I'd probably get paint on the dirt as well as the ties. So I'll leave these sidings alone and see if I actually notice the difference in the long run. The main line above though IS weathered, and you can certainly notice the difference there. But it was a pain to have to keep brushing/picking off ground from from the ties. Much better to weather the ties first. |
 |
| And I even had to go back "south" of Deep River, past Old Deep River Road . . . |
 |
| . . . and just about into Essex to weather the ties, after the base scenery had long been done here. Thankfully, I'd been able to get almost all of the fine ground foam off the ties first. |
So there you have it - and I have a quick reference for next time I need to do base scenery. If you're at all like me, you have a really hard time getting started - especially on scenery. But hopefully you'll see (and I'll remind myself) how easy it really is to get started. And the results are HUGE!! There's no mistaking these areas for being "finished" - but BOY! - they certainly look better than just plain brown areas (or, worse, foam board or plywood areas!) and it immediately gives your layout a "more finished" look.
So get out an old paintbrush, some white glue, some dirt and fine ground foam, and have at it! But be sure and remember to paint and weather your track first!
 |
| Mill Hollow shows my first efforts at "finished" scenery, with just ground foam. Other than adding some polyfiber bushes though, this is only what I would consider "base" scenery nowadays. |


Looks Great Chris and thanks for documenting your process... Keep up the great work on the Valley Local! I'll be following along with you progress. Paul
ReplyDelete