Showing posts with label WOMW. Show all posts
Wednesday, November 23, 2022
Wednesday, November 16, 2022
Wednesday, July 27, 2022
Wednesday, March 9, 2022
Wednesday, February 9, 2022
Tuesday, August 10, 2021
Wednesday, November 6, 2019
Wednesday, June 6, 2018
Wordless Wednesday #218 - The State of Things
B&O flatcar to complete and Rt. 15 overpass girders to assemble - but at least I finally got back to the bench, if only to take this photo. %^) |
Thursday, February 15, 2018
Do a little SOMEthing
Wow - did Springfield already happen? It's been so nuts around here the past few weeks between family stuff and work stuff that it all just seems like a dream. Good thing I took pictures. Not much time for a show report. Or much else hobby-wise, unfortunately. I even managed to miss posting a Wordless Wednesday - a first, I think, sadly.
But I've managed to do just a little bit this past week . . .
I finally opened up the Micro-Mark casting materials that I got far too long ago (ahem, 3 years?!) with a view to ginning myself up to make some progress on the Rt. 15 overpass. All I could manage though was to watch the video. Dave Frary makes the whole process look pretty easy so I'm itchin' to try it out. Soon.
I'm also trying to dial-in my choice of ballast, so I took a few minutes on another day to make a "test bed" to try the different ballasts and see how they fare with different adhesives & stains. So I got a scrap of styrofoam, painted it brown, and laid down some Aileen's to glue the track down...
Then I spread out the glue and stuck the track to it. And there it sat for most of the week since I'd run out of my my favorite brown spray paint (Rustoleum Camo Earth Brown) that I use on the track.
But tonight, after another late night at work, I figured I'd swing by the store and spend a few minutes while waiting for dinner to heat up painting the track . . .
Now, I can't do anything until that paint dries, but at least it's painted. 15 minutes well spent.
Which leads to the moral of this post, if there is one: Always try to do at least a little SOMEthing. It's a lesson that easily remembered but all-too-often forgotten. If you do nothing, you'll never advance. But if you do a little something - even 5 minutes worth - you're just that little bit further along. And anything hobby-wise is better than nothing.
Wednesday, November 29, 2017
Wednesday, May 3, 2017
Wordless Wednesday #169 - Shore Line Schedule
Tuesday, March 7, 2017
Tuesday Tips: Mounts for Drill Press and iPhone
I don't know how innovative this week's tips are, but I'm pretty happy with how these quick projects came out. Maybe you could use one/both of them yourself...
First off, I have a typical WalMart/Staples plastic worktable that I use for my workbench. Unlike banquet tables of old (wood/metal construction), or an actual, honest-to-gosh workbench, this table has a plastic top on a metal frame. I really wanted to mount my Dremel drill press to it, but the plastic doesn't really let you mount anything to it very easily. It keeps "giving" and doesn't at all provide a firm foundation.
So I came up with a solution involving drilling just one hole through the table, and using two pieces of plywood and 5/16" carriage bolts to mount/clamp the press to the table very securely. Once I figured out this approach, it was a pretty quick job. Check out the pics.
Secondly - and likely cuz I was procrastinating on my DERS-1b detailing project - I decided to finally, permanently mount my iPhone holder. This is acheap inexpensive car mount that supposedly uses a suction cup to mount to a window. Well, for a while now, it's been mounted to the piece of plate glass I used as a flat base for my work area (another tip - you get that one for free). Unfortunately, it seems the suction cup loses its sucky-ness over time. It sucks - cuz it doesn't. No worries - a few #4 sheet metal screws did the trick . . .
The LED desk lamps I use are pretty inexpensive, so I didn't worry about messing them up. And 1/4" screws go into the metal base no problem. Be sure and drill pilot holes first - and clearance holes through the plastic mount.
Not quite as nice as having a laptop, or even an iPad near at hand - but perfectly fine for quick research/lookup and/or for seeing texts/emails. Of course, the primary reason I have it here is for music and listening to old-time radio shows while working on projects. And now I don't have to worry about my phone taking an unexpected dive.
First off, I have a typical WalMart/Staples plastic worktable that I use for my workbench. Unlike banquet tables of old (wood/metal construction), or an actual, honest-to-gosh workbench, this table has a plastic top on a metal frame. I really wanted to mount my Dremel drill press to it, but the plastic doesn't really let you mount anything to it very easily. It keeps "giving" and doesn't at all provide a firm foundation.
So I came up with a solution involving drilling just one hole through the table, and using two pieces of plywood and 5/16" carriage bolts to mount/clamp the press to the table very securely. Once I figured out this approach, it was a pretty quick job. Check out the pics.
Secondly - and likely cuz I was procrastinating on my DERS-1b detailing project - I decided to finally, permanently mount my iPhone holder. This is a
The LED desk lamps I use are pretty inexpensive, so I didn't worry about messing them up. And 1/4" screws go into the metal base no problem. Be sure and drill pilot holes first - and clearance holes through the plastic mount.
Not quite as nice as having a laptop, or even an iPad near at hand - but perfectly fine for quick research/lookup and/or for seeing texts/emails. Of course, the primary reason I have it here is for music and listening to old-time radio shows while working on projects. And now I don't have to worry about my phone taking an unexpected dive.
Monday, March 6, 2017
Weekend Progress - Valley Coal, Goff Brook
This past weekend started early Friday morning, before work. I'd planned on doing a workout (really, I did!) but decided instead to do some plaster-cloth-ing at Valley Coal. Last time, I (re)did all the cork roadbed and cardboard lattice, so getting that area covered was the next logical step - and it could be drying/curing while I was at work.
As you can see, Bill always dives right into whatever he's doing with unbridled enthusiasm. But I had him beat - I used a saber saw and created an even BIGGER earthquake in Rocky Hill than he did with his piddly little hand saw. But even I'm mellowing - last time I was here (over 3 years ago?! Yikes!), I used a SawzAll...
There's still a LONG way to go in this scene - and recent efforts have been more like 3 steps back for 1-2 steps forward. But now that we're focusing more closely on this area, I'm hoping we can finally get it finished. Who knows - maybe next time we'll be able to start pouring some water into Goff Brook . . .
![]() |
After the Christmas module/layout project, doing quickie plastercloth is certainly no biggie. |
![]() |
And certainly looks better than cardboard lattice - or, worse, a gaping hole |
![]() |
With the coal hoist in place (click here for how I modeled it), it's starting to look more like the prototype scene below... |
John Wallace photo - c. 1943 |
With what little time I had on Saturday, I actually got back to the DERS-1b a little bit. I really would like to get the detailing on this engine done so I can get it out of the shop and back into service. Hopefully soon.
On Sunday, Bill was able to come over to help out a bit just south of Valley Coal, just over the line in Rocky Hill at Goff Brook.
As you can see, Bill always dives right into whatever he's doing with unbridled enthusiasm. But I had him beat - I used a saber saw and created an even BIGGER earthquake in Rocky Hill than he did with his piddly little hand saw. But even I'm mellowing - last time I was here (over 3 years ago?! Yikes!), I used a SawzAll...
![]() |
The foam stand-ins for the abutments - ably and beautifully hand-crafted by Pieter and installed by him and Roman - have been replaced by more permanent stone abutments. |
![]() |
RR bridge put back in place temporarily - and roadway narrowed (not to mention old wood abutments and cardboard wingwall stand-ins removed) |
Saturday, September 3, 2016
And now for something completely different....
Since I apparently don't have enough of my own locomotive detailing to satisfy me, I've offered to help out Roman a little with his Providence & Worcester GP-38-2. Yeah, it's a bit after my era, but at least it ran (and I think is still running) on the present-day Valley Line :)
Wednesday, August 24, 2016
Wordless Wednesday #133 - WOMW
Sunday, July 3, 2016
What's in my Spray Booth
As a variation on "What's On My Workbench," I figured I'd share - or at least memorialize - the fact that - YES! I actually did use my airbrush today. This is officially a Big Deal because I have historically been scared stiff of using an airbrush. I started out well enough - I got my airbrush when I was 16 or 17, painted an undec Atlas S-2 body in New Haven green and orange (green cab, orange hood), and promptly put it away. Where it sat for, oh, about 30 years.
I took it out a few years ago to use it - under my friend Pieter's guidance and direction (he got a kick out of the fact I still had the original Propel can and promotional materials in the box: "Badger - Choice of the '80s!") - and did pretty good. I even "flew solo" a couple other times after that. But along with the distractions of layout construction, &etc I haven't airbrushed in a while. And like most things, if you don't use it you lose it - or at least the confidence you once had (or maybe that's just me).
I used it today though, and All Went Well, mostly. I started with the low-hanging fruit of shooting the underbody of my GTW boxcar with acrylic Grimy Black (figuring even if I screwed up, nobody would see it). Then proceeded to shoot the East Berlin Bridge (I had grimy black left, and it's a bridge so I couldn't really screw that up), then used up the grimy black on the truck sideframes (using a hand-held cardboard to mask the inside of the journal bearing boxes). So far so good . . .
Next I needed to paint the carbody itself - a bit more intimidating. And I decided to use Tru-Color #93 Oxide Brown acetone-based paint. But what I had on-hand had gelled a bit (it's a bit old). So I thinned it about 2:1 with acetone and it sprayed fine. Mostly. A couple times it wouldn't come through the nozzle, so I stopped the nozzle and back-pumped the air into the cup. That always loosened things up enough to cause the paint to flow.
Thinned so much, it took a while to get full, even coverage over the whole car, but at least the brush didn't clog. And, better yet, I'm pleased with the result so far.
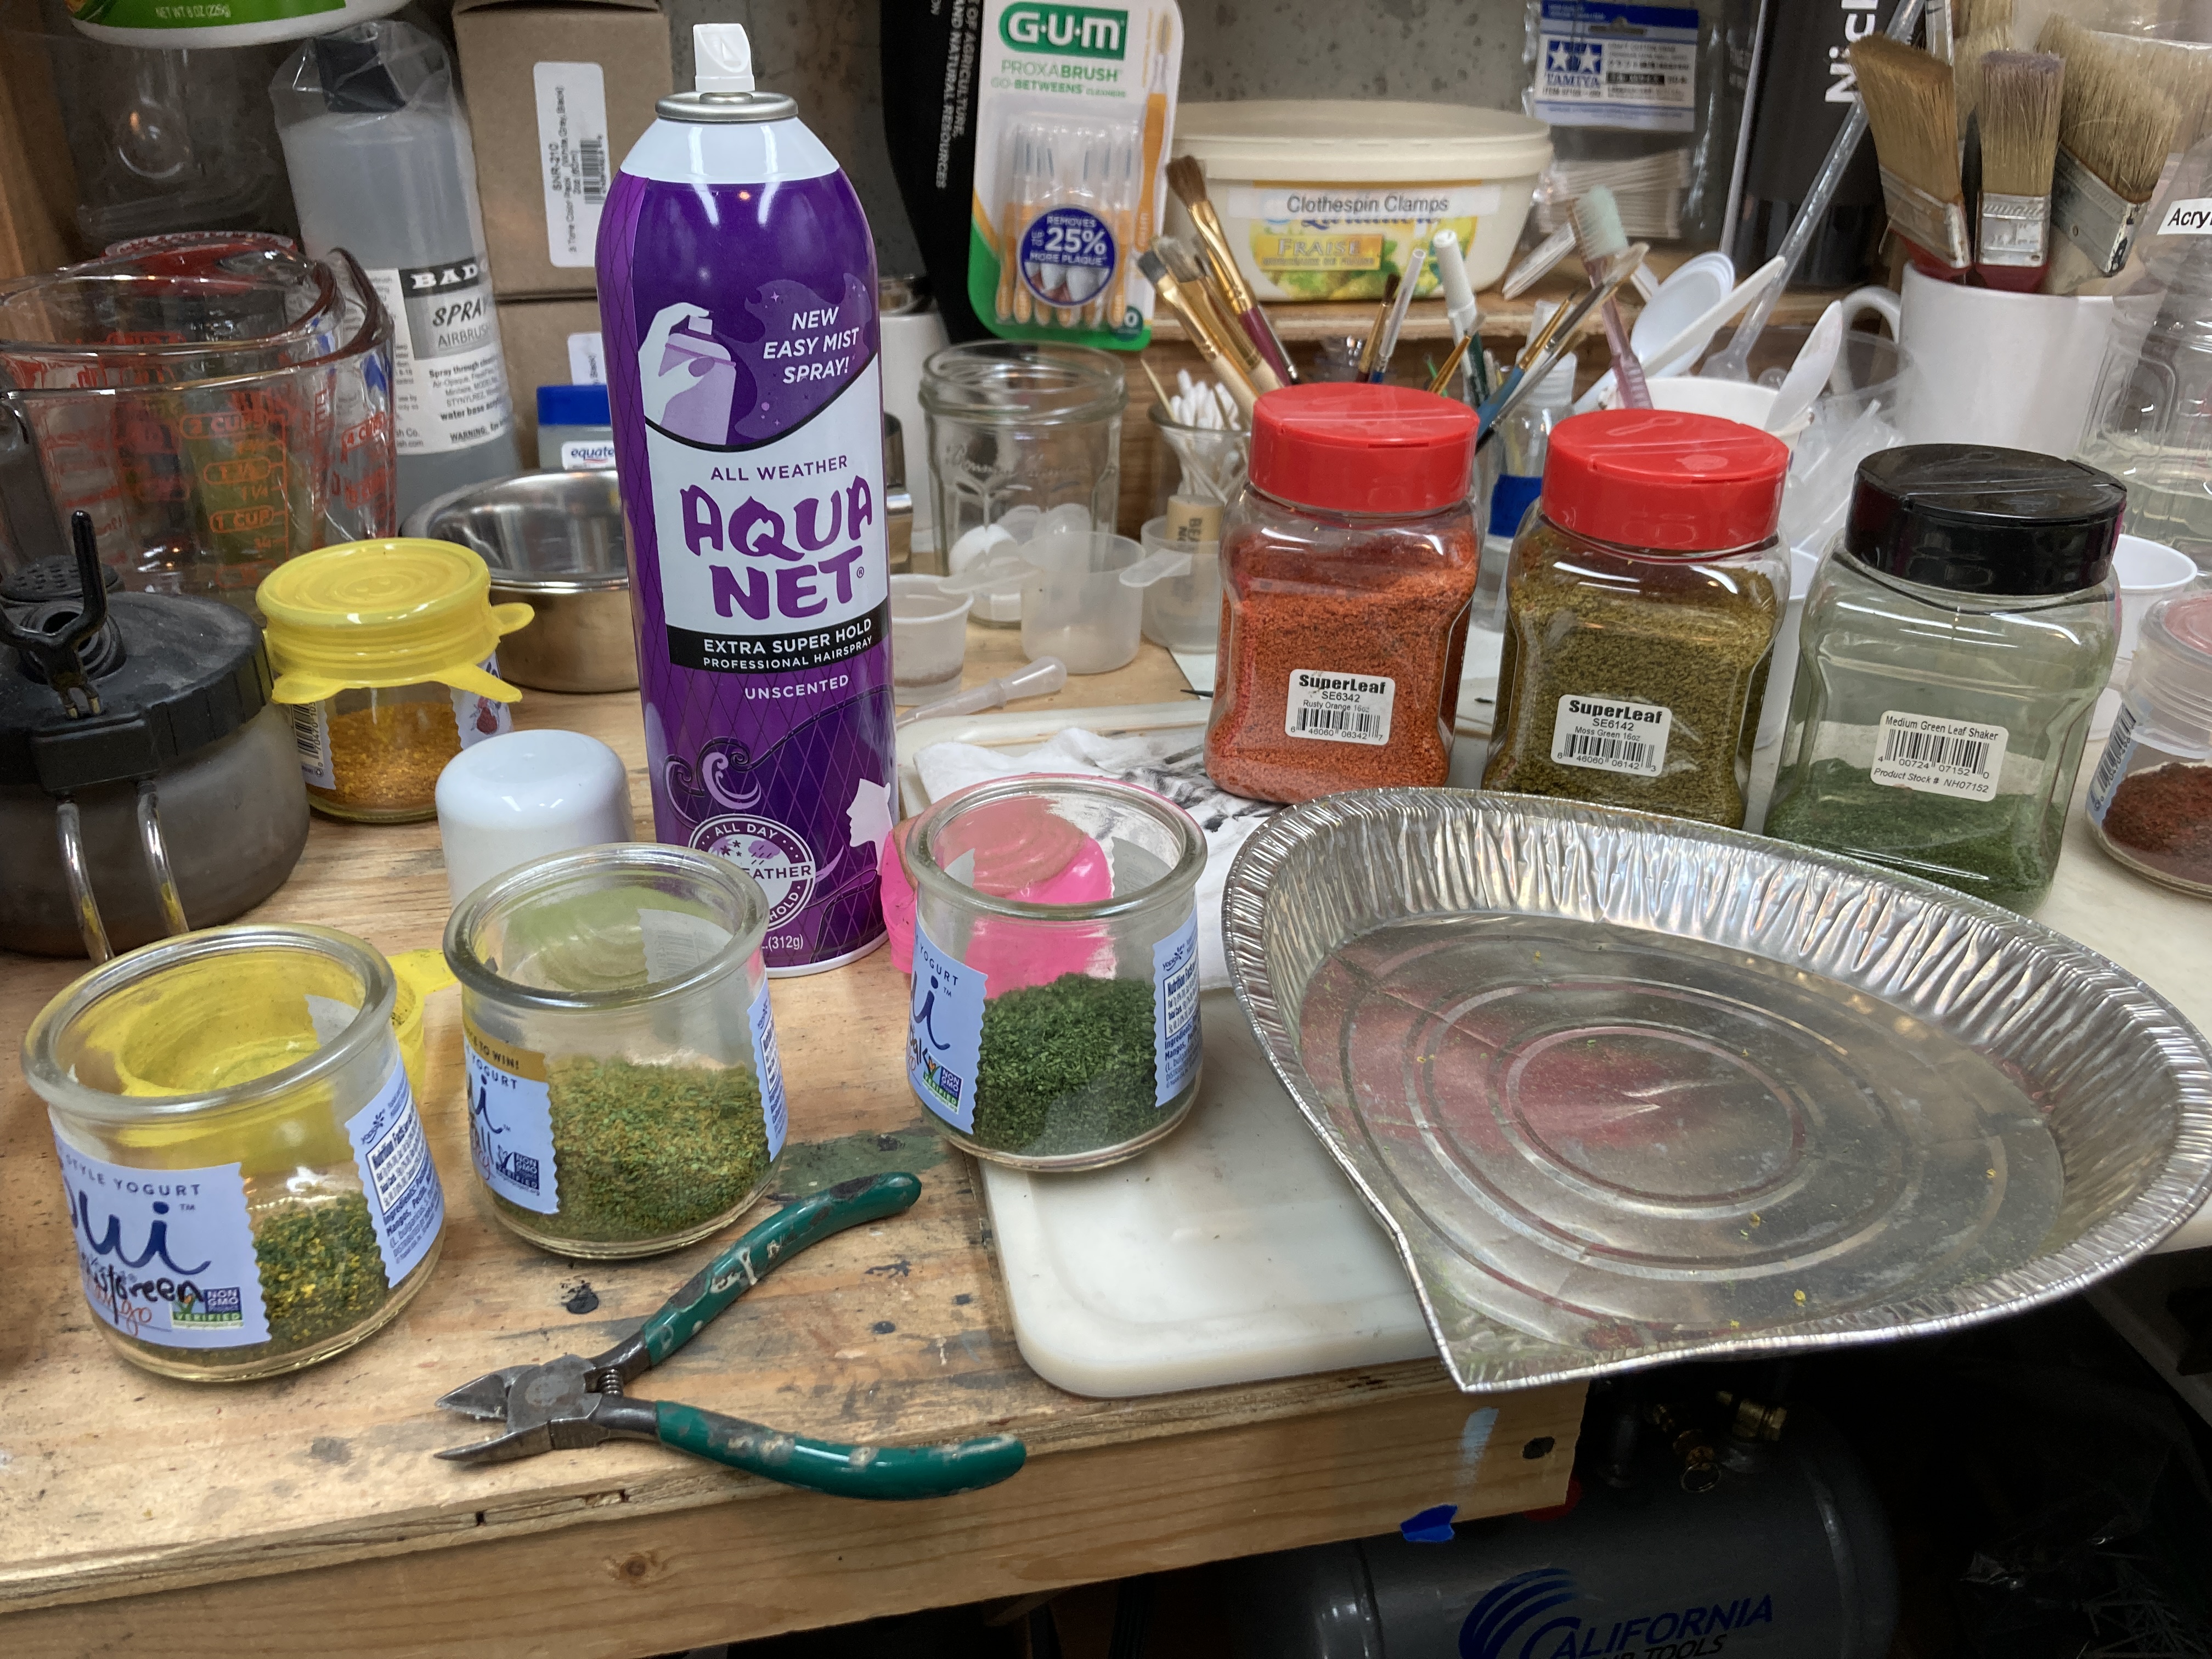
As per usual, it took me as long or longer to clean up than it did to paint. I'd done a "quickie" clean (didn't disassemble the airbrush) with Windex after finishing with the acrylic. And I used acetone, then lacquer thinner to fully clean the airbrush after I was all done.
Once I put the brush back together though, I figured I'd shoot one more pass of lacquer thinner through to be extra clean. And the brush started pulsating. Did the same thing with Windex. And with distilled water.
So I'm glad I got these things painted while things were still working- cuz I dunno whether I've somehow messed up the airbrush now or not. Can't imagine that I did, but I know enough to know a pulsating airbrush is Not A Good Thing. If you have any ideas/suggestions for what I should try, please let me know.
In the meantime, at least I've taken another step toward Being Comfortable with airbrushing. Hope this pulsing doesn't kill my mojo.
Hope you're able to get to some RR stuff this weekend - Happy 4th of July!
Friday, June 24, 2016
Friday Fun: What's On My Workbench
Door-and-a-half boxcar and Micro-Engineering bridge, standing by waiting for the paintshop, but primarily New Haven DERS-2b (RS-2) #0510 (a Proto1000 loco) broken down, waiting for NHRR-specific details to be added. If anybody's done that before, I'd love to hear about it!
What's on YOUR workbench for the upcoming weekend?
Happy Friday!
Monday, June 13, 2016
Modeling Monday - What's On My Workbench
Working on the GTW/CN 1-1/2 door boxcar I started at Don Valentine's Hands-On clinic at the NERPM last weekend. And the decals from Black Cat Publishing arrived in today's mail!
Finished the MicroEngineering bridge for the Mattabassett River on the East Berlin branch. Just needs paint and weathering.
And, taped to a small piece of glass in the lower right corner there, is my first attempt at attaching a die-cast metal MU connector/plug part to a Delrin end railing. Just starting to "New Havenze" my Proto1000 RS-2. . .
So, what's on YOUR workbench?
Friday, May 6, 2016
Friday Fun - What's On My Workbench
Now that regular legislative session is over (we didn't get a state budget done in time, so we'll be going into special session next week), I have a chance to catch up on my sleep and get a few things done at the ol' workbench to clear my mind - which works best if what you're working on doesn't stress you out . . . but that's another story.
Here's what I have on the bench at the moment:
- NCE Cab04pr throttle - the last one I need to convert to antenna-less operation
- Tortoise switch machine - to allow me to move one of the MicroMark machines
- I've already wired/soldered up a new reversing toggle to control that moved MicroMark machine, which in turn will control a turnout in a tunnel (you're welcome, Tom)
- And I've already re-wired and re-soldered a Rapido switch machine toggle that had its wires broken off (with my help, I'm afraid)
By far, the hardest part of all this was removing the antenna boss off of the PCB in the throttle. I swear, I must've had beginner's luck on my first conversion cuz this step has gotten more difficult each time I've done it. So I'm glad this is my last one to do. Let's just say I have to get a LOT better at unsoldering...
I also got the first coat of paint on the Essex/Deep River backdrop, but that's a topic for another post. Suffice it to say that I'll be really really glad when I can finish building this railroad and actually focus on operating it.
So - what's on YOUR workbench?
Tuesday, April 5, 2016
What's On My Workbench - Wireless Throttle Antenna Elimination
Since I've been focused so much lately (like the last 14 months or so) on layout construction/expansion, I haven't spent much time at the workbench. That's changed over the last couple of evenings.
So, this latest edition of WOMW, shows my handy-dandy NCE wireless throttle antenna elimination modification - this time beingattempted performed on an NCE CAB-04pr throttle.
Despite the fact that the Cab04 is a much less expensive throttle than the ProCab, this mod is actually proving to be much more cold-sweat-inducing. Everything is Just So Cramped. Thankfully, I just tested it and it works(!). I just need to add the battery pack cut-out switch and this project should be done. I'll decide later whether to do the same surgery on my other Cab04 (it's currently at NCE for "other issues").
When I'm finished, I'll do a more detailed post. For now though, a quick tip: use 20 gauge rather than 18 gauge wire in this one.
So, this latest edition of WOMW, shows my handy-dandy NCE wireless throttle antenna elimination modification - this time being
Despite the fact that the Cab04 is a much less expensive throttle than the ProCab, this mod is actually proving to be much more cold-sweat-inducing. Everything is Just So Cramped. Thankfully, I just tested it and it works(!). I just need to add the battery pack cut-out switch and this project should be done. I'll decide later whether to do the same surgery on my other Cab04 (it's currently at NCE for "other issues").
When I'm finished, I'll do a more detailed post. For now though, a quick tip: use 20 gauge rather than 18 gauge wire in this one.
Subscribe to:
Posts (Atom)